
To know you’re finished sharpening without overdoing it, use a combination of tactile and visual checks. Feel for a smooth, firm edge by running your finger along it—avoid rough or jagged spots. Perform a paper cut test; if the blade slices effortlessly without tearing, you’re good. Inspect the edge with a magnifier for burrs or over-sharpened, glass-like spots. Listening for a crisp tap sound also helps. Mastering these cues guarantees a sharp, durable edge—keep going to learn more.
Key Takeaways
- Ensure the edge feels smooth and resistant when run with your finger, indicating proper sharpening without over-sharpening.
- Perform a paper cut test; effortless, clean cuts confirm sharpness without overdoing it.
- Listen for a crisp, clear tapping sound and avoid jagged or chipped edges visually.
- Use magnification to check for tiny burrs or overly shiny, glass-like edges that signal over-sharpening.
- Confirm the blade doesn’t wobble or bend easily, and avoid excessive polishing that weakens the edge.

Intelitopia Complete Knife Sharpening Stone Set – Dual Grit Whetstone 400/1000 3000/8000 Knife Sharpener with Leather Strop, Flattening Stone, Bamboo Base, 3 Non-slip Rubber Bases & Angle Guide
【Complete Knife Sharpening Stone Kit】You don't need to be a Pro to sharpen your blades, all you need…
As an affiliate, we earn on qualifying purchases.
As an affiliate, we earn on qualifying purchases.
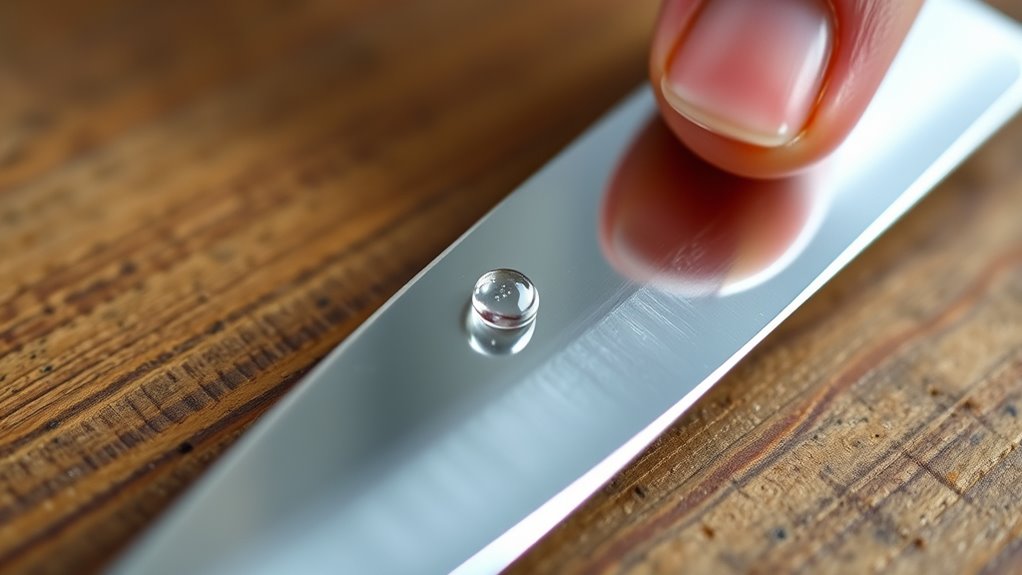
Recognizing the Sharpness Test: The Fingertip Method
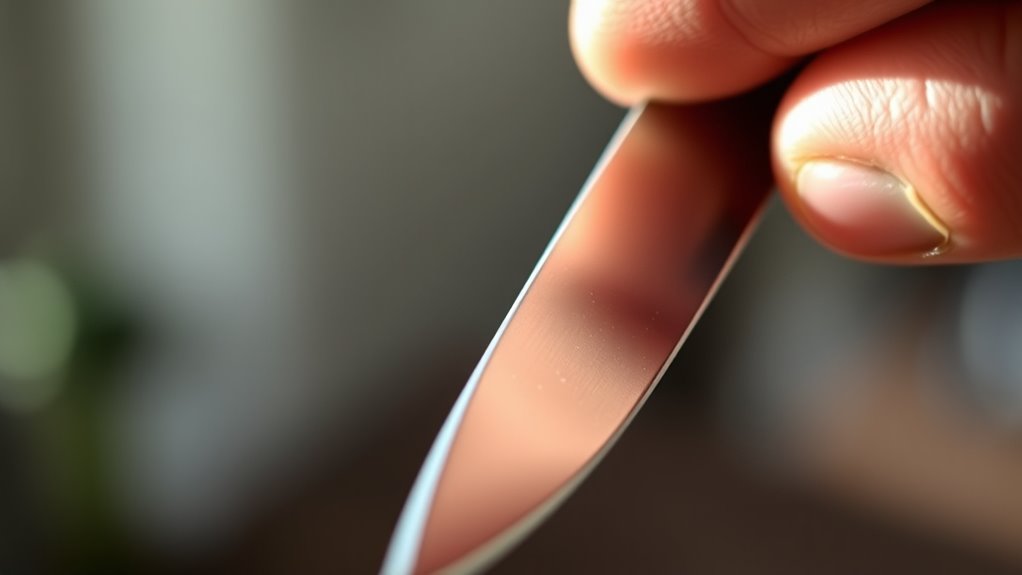
When you’re sharpening a knife, the fingertip test is a simple way to check if it’s sharp enough. As you run your fingertip gently along the blade’s edge, focus on edge consistency. A sharp edge feels smooth and uniform; if you notice any rough spots or irregularities, it needs more work. Pay attention to blade flexibility—if the edge feels wobbly or bends easily, it’s a sign you should refine the sharpening. A properly sharpened knife maintains a steady, firm edge without wobbling or feeling loose. The fingertip test helps you gauge whether the blade’s edge is even and well-formed. Recognizing the proper sharpness is essential for safety and efficiency, especially when working with sustainable and secure tools. Proper technique and consistent testing ensure you achieve the optimal edge quality for safe use. Once the edge feels consistently sharp and firm, you’re likely ready to move on or finish sharpening.
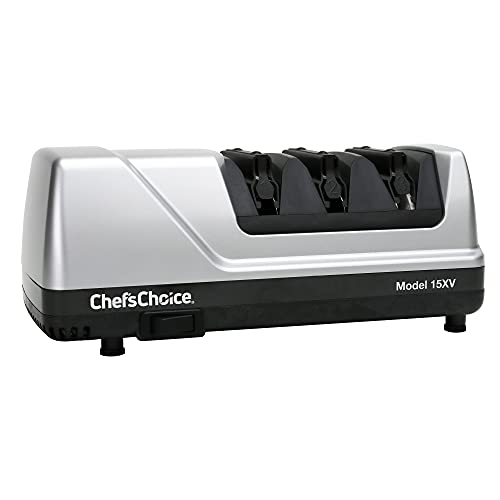
Chef’sChoice 15XV EdgeSelect Professional Electric Knife Sharpener with 100-Percent Diamond Abrasives and Precision Angle Guides for Straight Edge and Serrated Knives, 3-Stage, Gray
CONVERT YOUR KNIVES: Ideal for converting traditional 20-degree factory edges of household knives into high performance Trizor XV…
As an affiliate, we earn on qualifying purchases.
As an affiliate, we earn on qualifying purchases.
The Paper Cut Test: When Your Blade Slices Effortlessly
The paper cut test is a straightforward way to determine if your knife is sharp enough. If your blade slices through paper effortlessly, it’s a good sign you’ve reached ideal sharpness. Proper blade geometry plays a vital role, ensuring the edge is thin and precise. Using quality sharpening tools helps refine this edge without overdoing it. When performing the test, look for smooth, clean cuts without tearing or snagging. If the paper tears or the cut feels uneven, your edge might need more work. Keep in mind, over-sharpening can damage blade geometry, leading to a duller edge over time. Regular testing with this method ensures you maintain sharpness without excessive sharpening. Remember, a sharp knife reduces effort and enhances safety in the kitchen. Additionally, maintaining the correct blade angle is essential to prevent over-sharpening and preserve the blade’s integrity. Proper sharpening frequency based on use can help avoid unnecessary wear and tear. Monitoring the sharpening quality ensures that each honing session maintains the blade’s optimal performance.

Chisel Sharpening Jig, Wood Honing Guide for Chisels and Planes Width 0.1" to 2.8" with Sharpening Angle Fixture, Angle Gauge from 10° to 45°(With 2 Sharpening Stones)
For Accurate Honing: This chisel sharpening kit consists of a sharpening guide, a sharpening stone, a sharpening angle…
As an affiliate, we earn on qualifying purchases.
As an affiliate, we earn on qualifying purchases.
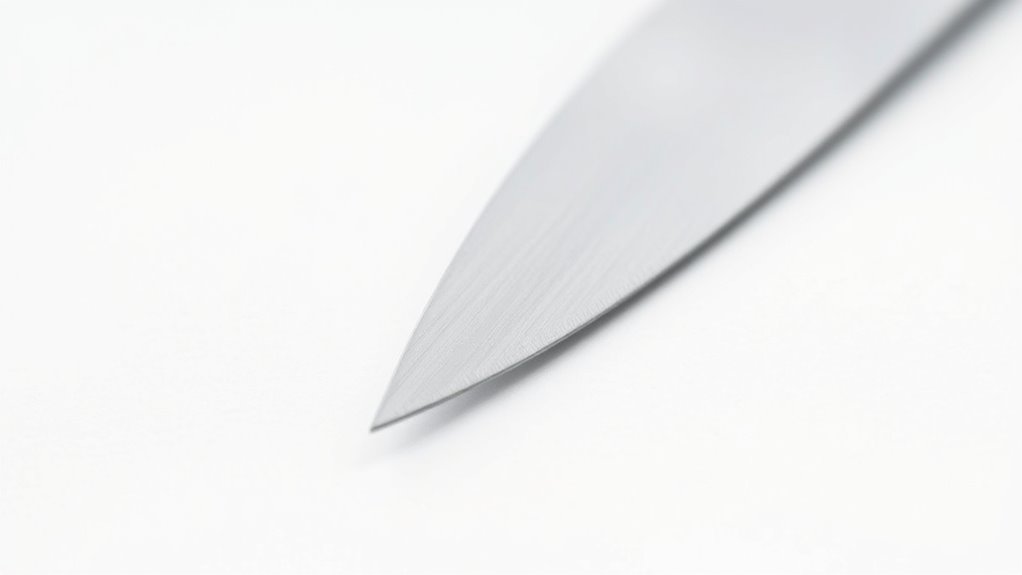
Visual Inspection: Checking for Burrs and Edges

Look closely at your blade’s edge to spot any burrs or uneven spots. These imperfections can indicate whether your sharpening is complete or needs more work. By carefully inspecting, you’ll get a clear idea of the edge’s sharpness and whether it’s ready for use. Additionally, evaluating the quality of the blade’s edge can help determine if further sharpening is necessary. Incorporating precision tools can aid in making more accurate assessments of your edge’s condition. Regularly performing visual inspection techniques can ensure your blades stay in optimal condition and help prevent over-sharpening.
Detecting Burrs Effectively
Detecting burrs effectively begins with a careful visual inspection. Look closely at the edge for tiny metal shavings or rough spots that signal burr formation. Well-maintained edges have good durability and won’t easily develop burrs when honed correctly. Check for uneven or jagged edges, as these indicate over-sharpening or insufficient honing frequency. Use a magnifying glass if needed to spot subtle burrs or irregularities. Consistent inspection ensures you avoid removing too much material, which can weaken the edge. Proper visual checks help you decide if the burrs are minimal or if further honing is necessary, preventing over-sharpening. Remember, maintaining edge durability and proper honing frequency reduces burr formation and prolongs your blade’s sharpness.
- Tiny metal shavings or rough spots on the edge
- Uneven, jagged, or chipped edges
- Irregularities or inconsistencies in the edge surface
- Visible burrs along the edge
- Signs of excessive material removal or dullness
Assessing Edge Sharpness
Evaluating edge sharpness through visual inspection is a straightforward way to determine if your blade needs more honing or is ready for use. Historically, sharpening methods relied heavily on visual cues, but myths often suggest that a perfectly polished edge equals sharpness. The reality is that a keen edge may look slightly dull or even appear matte under close inspection. Check the edge carefully—look for tiny burrs, nicks, or irregularities. A smooth, consistent edge typically indicates sharpness, while uneven or jagged edges suggest further honing. Remember, visual inspection isn’t foolproof; it’s best combined with tactile tests like a paper cut or hair whorl test. By understanding the differences between myth and reality regarding sharpening, you’ll better assess when your blade is truly sharp enough. Additionally, proper maintenance techniques are essential to prolong the sharpness and effectiveness of your blade over time.

JARLINK 30X 60X Illuminated Jewelers Loupe Magnifier, Foldable Jewelry Magnifier with Bright LED Light for Gems, Jewelry, Coins, Stamps, etc
Precision Instrument: Ideal for gems, jewelry, coins, stamps, rocks, watches, hobbies, antiques, models, photos industry and more. This…
As an affiliate, we earn on qualifying purchases.
As an affiliate, we earn on qualifying purchases.
The Tap and Feel Technique: Assessing Blade Smoothness
To check if your blade is smooth enough, give it a gentle tap along the edge and listen for a clear, sharp sound. Then, run your finger across the blade to feel for consistent resistance and smoothness. When the blade offers minimal resistance and sounds crisp, you’re likely done sharpening. Ensuring your sharpening technique is precise can help prevent over-sharpening and prolong your blade’s lifespan blade maintenance tips. Additionally, paying attention to the quality of the blade can guide you toward whether further sharpening is necessary. Using a simple passive voice detection tool can also help you identify areas where your writing may be overly passive, improving clarity and engagement.
Gentle Tap Test
Have you ever wondered how to quickly gauge if your sharpening is complete? The gentle tap test is a simple, effective way to do so. Lightly tap the blade’s edge on a soft surface or your fingertip, feeling for a consistent, crisp sound. This indicates the blade is smooth and even, reducing the risk of over-sharpening. Remember, frequent sharpening can impact blade durability, so knowing when to stop is key. Use this test regularly to avoid unnecessary wear.
Here are some tips to help you master the gentle tap test:
- Listen for a clear, high-pitched ring
- Feel for the tap’s firmness and rebound
- Avoid excessive force during the tap
- Check the sound consistency across the edge
- Combine with other assessments for accuracy
Smoothness and Resistance
Wondering how to determine if your blade is truly smooth and properly resistant? The tap and feel technique helps you assess this. Lightly tap the edge against your fingernail or a soft surface; a smooth, consistent sound indicates good blade durability. When you run your finger along the edge, it should feel even, with no rough spots or burrs. Resistance shouldn’t be too stiff or too loose—just enough to confirm the blade’s sharpness without over-sharpening. Proper smoothness and resistance mean you’ve achieved the right sharpening balance, preventing unnecessary sharpening frequency that can weaken your blade over time. Maintaining blade longevity depends on recognizing these signs of proper sharpening. When these qualities are met, you can confidently stop sharpening, knowing your blade is both effective and durable. Additionally, understanding haute couture principles such as intricate details and luxurious fabrics can inspire a meticulous approach to blade care, ensuring your tools remain in top condition over time. Paying attention to blade consistency during sharpening also helps avoid uneven edges that could compromise performance. Incorporating techniques from sound healing science can further enhance your understanding of vibrations and their impact on precision tools.
Monitoring Cutting Performance During Use
Monitoring your cutting performance as you work is essential to determine whether your blade is still sharp or needs more sharpening. Pay attention to how easily the blade slices through material, and note any resistance or tearing. Different blade materials react differently to use, so observe how your tool handles tasks. Keep an eye on how long cuts take and if you need to apply extra pressure. Using appropriate sharpening tools can help maintain ideal performance, but over-sharpening may damage the blade. Regularly assess your progress to avoid unnecessary wear. Remember, a sharp blade improves efficiency and safety. Additionally, blade maintenance techniques can extend the lifespan of your tools and ensure consistent cutting quality. Incorporating proper inspection routines helps you catch dullness early, saving time and preventing damage.
The Honing Interval: Knowing When to Switch to Maintenance
Knowing when to switch from sharpening to honing is key to maintaining your blade’s ideal performance. The honing interval depends on your blade material and how often you use it. Softer steels may need honing more frequently, while harder materials can go longer between sessions. Typically, if you notice a slight dullness or resistance during cutting, it’s time to hone. Regular honing helps keep the edge aligned without removing too much material, preserving your blade’s integrity. Keep track of your sharpening frequency; over-sharpening too often can wear down the blade prematurely. As a general rule, hone after every few uses or when performance drops slightly. This approach ensures your blade stays sharp and effective, reducing the need for frequent sharpening. Incorporating proper maintenance techniques like honing can extend the lifespan of your blades and improve overall performance. Additionally, understanding blade material properties can help you determine the optimal honing schedule to maintain your tool’s longevity, especially considering that AI tools can aid in analyzing usage patterns for more precise maintenance planning. Furthermore, paying attention to edge retention can help you better anticipate when your blade needs attention to prevent unnecessary wear, and understanding honing techniques can ensure you maximize effectiveness without damaging your edge.
Common Signs of Over-Sharpening and Damage

Over-sharpening your blade can do more harm than good, leading to visible signs of wear and damage. When you over-sharpen, you risk removing too much of the blade material, weakening its structure. Different blade materials react uniquely to sharpening stones; some may become dull faster or chip easily. Look out for these signs:
- Chips or nicks in the edge
- An uneven or jagged edge
- Loss of blade strength or durability
- A burr that’s difficult to remove
- A shiny, overly-refined edge that dulls quickly
These signs indicate you’ve gone too far in sharpening, often caused by using coarse sharpening stones or applying excessive pressure. Recognizing these clues helps prevent permanent damage and extends your blade’s lifespan.
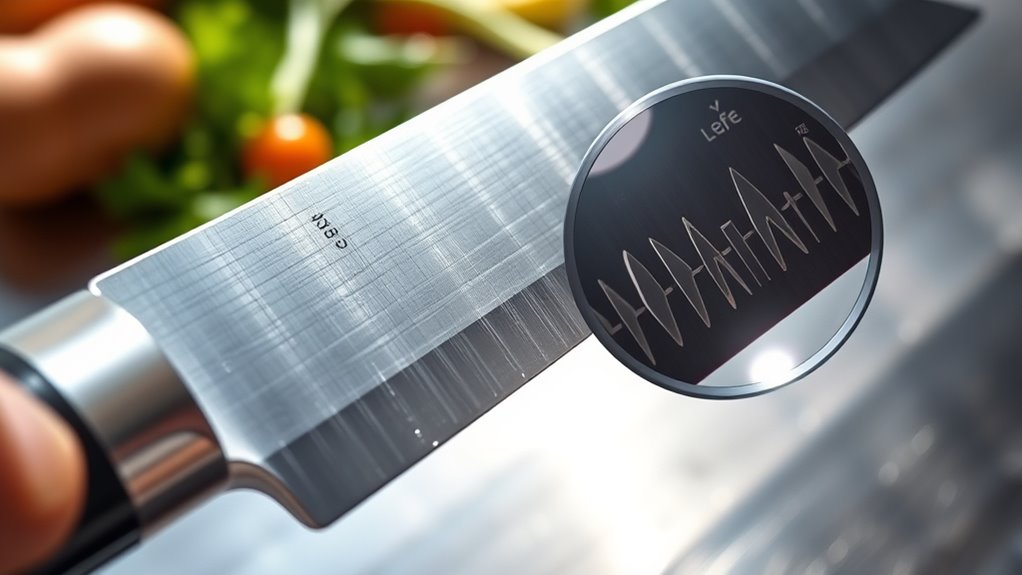
Using a Magnifying Glass to Spot Over-Refined Edges
A magnifying glass is a valuable tool for inspecting your blade’s edge closely, helping you identify signs of over-refinement that might not be visible to the naked eye. When examining, look for a very fine, shiny line along the edge—if it appears too thin or glass-like, it could indicate over-sharpening. Over-refined edges often lose durability, making them prone to chipping or dulling faster, which impacts your sharpening frequency. By scrutinizing these details, you can determine if you’ve sharpened enough or if further work will weaken the edge. Regularly using a magnifying glass prevents unnecessary over-sharpening, preserving edge strength and extending its lifespan. This careful inspection helps you find the sweet spot between a sharp edge and *ideal* edge durability. Understanding the concept of edge durability can help you make more informed sharpening decisions, especially since it influences the overall performance of your blade.
Trusting Your Intuition: Developing a Sharpening Sense

Developing a sharpening sense relies on tuning into your instincts and paying close attention to how the blade feels and responds during each stroke. As you sharpen, trust your intuition development to guide you, reducing sharpening anxiety. Over time, you’ll notice subtle cues—like increased smoothness or resistance—that signal when you’re close. Your instincts become sharper with practice, helping you avoid over-sharpening. Focus on these indicators rather than just the edge’s appearance. Remember, your sense of touch and feel is your best tool.
- Pay attention to the blade’s resistance and smoothness
- Notice changes in sound during sharpening
- Sense the balance between sharpness and dullness
- Check for consistent feedback from the stone
- Trust your instinct over time, not just visual cues
Frequently Asked Questions
How Can I Tell if My Knife Is Over-Sharpened Visually?
You can tell if your knife is over-sharpened through visual inspection by checking the bevel symmetry. If the bevel appears uneven or too thin in certain areas, it’s a sign you’ve sharpened too much. Also, look for a very sharp, almost mirror-like edge, which might indicate over-sharpening. A balanced, consistent bevel suggests you’ve sharpened correctly without overdoing it. Keep inspecting until the edge looks evenly refined.
What Are the Risks of Sharpening Too Frequently?
Sharpening too frequently can weaken your blade’s durability and compromise edge stability. When you over-sharpen, you remove too much material, making the edge more fragile and prone to dulling quickly. This not only shortens the lifespan of your knife but also requires more frequent sharpenings. To avoid these risks, sharpen only when necessary and use proper techniques to maintain the balance between sharpness and blade integrity.
Can Over-Sharpening Weaken the Blade Over Time?
Yes, over-sharpening can weaken your blade over time. When you sharpen too frequently, you remove more metal than necessary, reducing blade durability. This continuous thinning makes the edge more prone to chipping or dulling faster. To prevent this, adjust your sharpening frequency based on use, and only sharpen when needed. Proper technique helps maintain the blade’s strength and longevity, avoiding unnecessary damage caused by excessive sharpening.
How Does Over-Sharpening Affect Cutting Performance?
Think of your blade like a musician’s instrument—over-sharpening dulls its harmony. When you over-sharpen, it can weaken the blade’s durability and cause it to chip or dull faster, reducing cutting performance. Remember, honing maintains the edge without removing too much material, while sharpening restores a dull blade. Striking the right balance ensures your knife stays sharp longer, delivering the best cutting power without compromising its strength.
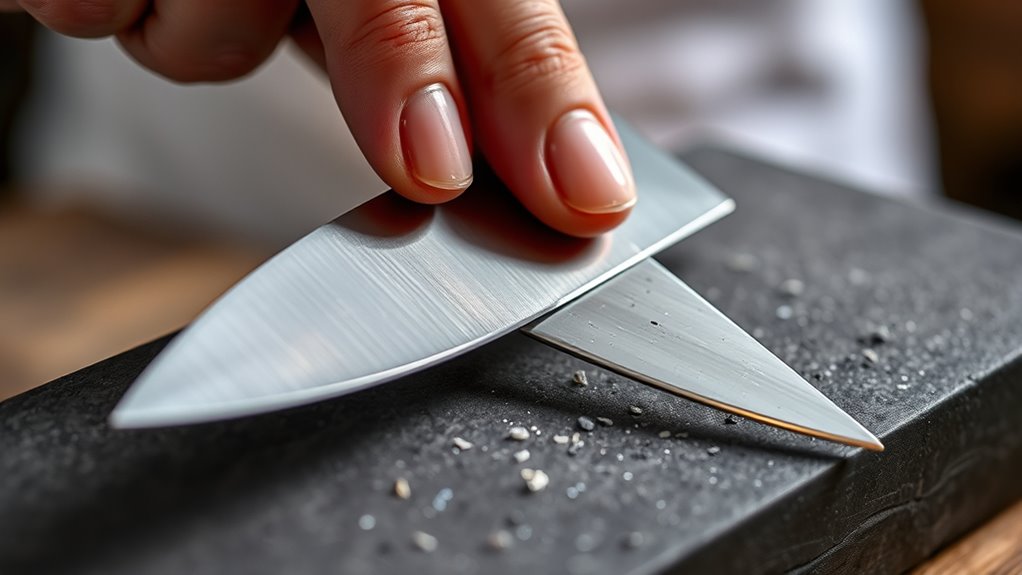
Is There a Way to Restore a Damaged or Over-Sharpened Edge?
If your edge is damaged or over-sharpened, you can try restoration techniques like using coarse sharpening tools to reshape and smooth the blade. Start with a diamond stone or a coarse grit sharpening stone to remove nicks and restore the proper angle. Then, progressively move to finer sharpening tools to refine the edge. Be patient and careful, and you’ll bring your blade back to supreme cutting performance.
Conclusion
So, after all that fuss, the real trick is trusting yourself. Ironically, the more you try to be perfect, the easier it is to overdo it. Remember, a dull knife is safer than an over-sharpened one, and sometimes, a little patience saves the day. So go ahead, sharpen with confidence—just don’t forget, the true skill lies in knowing when to stop. After all, a tiny bit of dullness might just be your best friend.