Keeping your KitchenAid Artisan mixer clean is essential for optimal performance and longevity. Regular cleaning prevents buildup, ensures hygiene, and keeps your appliance looking like new. Follow these practical steps for safe, effective cleaning without damaging your mixer.
Remember to unplug your mixer before cleaning and avoid submerging the motor housing or electrical parts in water. Use gentle cleaning tools and appropriate products to maintain your appliance’s quality.
Gather Your Cleaning Supplies
- Soft, damp cloths or microfiber cloths
- Warm water and mild dish soap
- Soft-bristled brush or toothbrush
- Dry towels or microfiber cloths
- Optional: food-safe degreaser or vinegar
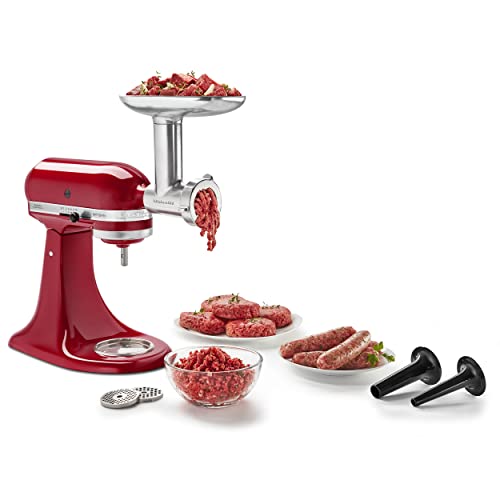
KitchenAid Stand Mixer Attachment, Food Grinder KSMMGA, Metal Food Grinder
Connect to any household KitchenAid Stand Mixer power hub and use the power of the motor to run...
As an affiliate, we earn on qualifying purchases.
Remove Attachments and Accessories
- Unplug your mixer from the power outlet.
- Detach all removable attachments such as the paddle, dough hook, or wire whip.
- Wash these parts in warm, soapy water. Rinse thoroughly and dry completely.
Clean the Mixer Body
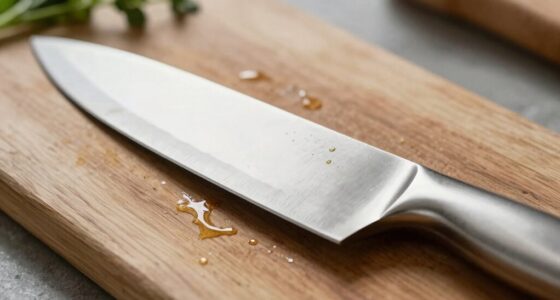
- Wipe down the exterior of the mixer with a damp cloth. Use a mild dish soap if needed to remove grease or stains.
- For stubborn spots, apply a small amount of vinegar or a gentle degreaser on a cloth and wipe gently.
- Avoid getting water into the motor housing or electrical components.
Clean the Mixer Head and Attachments
Use a soft brush or cloth to clean crevices and around the attachment hub. For tough residue, a toothbrush dipped in warm soapy water works well. Dry all parts thoroughly before reassembling.
Reassemble and Final Checks
- Ensure all attachments are dry and properly fitted.
- Wipe down the entire mixer with a clean, dry cloth to remove any remaining moisture.
- Plug in your mixer and run briefly to ensure everything functions smoothly.
Products That Help

KitchenAid Stand Mixer Attachment
- ✔ Weight: 4 lbs
- ✔ Dimensions: 8 x 6 x 4 inches
- ✔ Warranty: 1 year
KitchenAid Stand Mixer Attachment
The KitchenAid Metal Food Grinder attachment is perfect for processing fresh ingredients cleanly and efficiently. Its durable construction and multiple grinding plates make it a valuable addition for any KitchenAid user, especially when maintaining cleanliness and performance.
Pros:
- Sturdy metal construction
- Multiple grinding plates
- Easy to clean
- Organized storage case
Cons:
- Requires refrigerator pre-chilling
- Sold separately
- Cleaning may require disassembly
Best for: Processing fresh meats, vegetables, and making sausages
Not ideal for: For those who prefer a built-in grinder or all-in-one appliance
Bottom line: A durable, versatile attachment ideal for fresh grinding needs.
Frequently Asked Questions
Can I submerge my KitchenAid mixer in water?
No, never submerge the motor housing or electrical parts in water. Use a damp cloth for cleaning exterior surfaces.
How often should I clean my mixer?
Wipe down the exterior weekly and wash attachments after each use. Deep clean the entire unit monthly or as needed.
What should I avoid when cleaning my KitchenAid Artisan?
Avoid abrasive cleaners, steel wool, or harsh chemicals that could damage the surface. Do not immerse the main unit in water.
Can I use a dishwasher to clean attachments?
Some attachments are dishwasher safe, but check the manufacturer’s guidelines. Hand washing with warm, soapy water is generally safest.
Affiliate disclosure: As an Amazon Associate we earn from qualifying purchases. Prices and availability are accurate as of the time of publishing.