
To spot a wavy edge, look for uneven or rippled surfaces, which you can feel by running your fingers along the edge or see through slight distortions or bumps. Use a straightedge or hold the edge against a light to reveal shadows or irregularities. Wavy edges often result from dull tools, uneven pressure, or improper cutting techniques. If you’d like to uncover more tips to prevent or fix this, keep exploring the details below.

Get kitchen gear delivered free — and shop member deals
- Fast, free delivery on millions of items
- Access to Prime Big Deal Days deals on October 6–7
- Prime Video, Amazon Music and more included
Key Takeaways
- Run your fingers along the edge to feel for bumps, dips, or uneven spots.
- Hold the edge against a light source to reveal shadows and surface undulations.
- Use a straightedge or ruler to check for deviations from straightness.
- Look for surface irregularities like ripples or distortions under close inspection.
- Wavy edges often result from improper cutting, uneven pressure, or material defects.
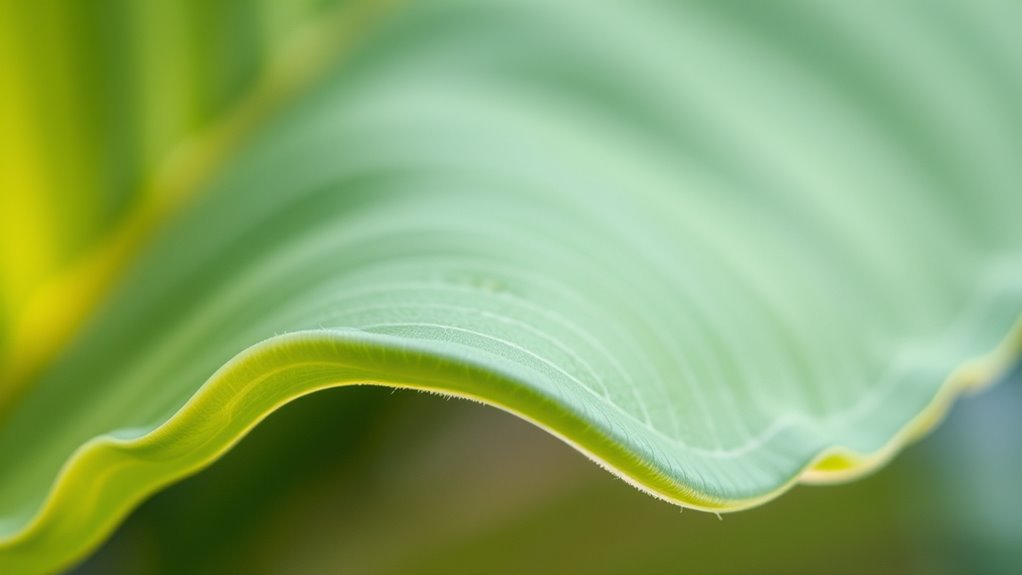
Ever wondered how to identify a wavy edge on a material or craft project? Recognizing a wavy edge isn’t always obvious at first glance, but there are clear signs you can look for. One of the most common indicators is edge distortion, which causes the straight line to appear uneven or unevenly rippled. When inspecting your project, run your fingers along the edge carefully. If you feel any bumps, dips, or uneven spots, that’s a strong sign of surface irregularities contributing to the wave. These irregularities can be subtle or quite pronounced, but they all point to the same issue: the edge isn’t perfectly straight. Sometimes, the distortion is so slight that it’s only visible under close inspection or when held up to the light, revealing tiny undulations along the edge. surface irregularities often result from improper cutting, uneven pressure during shaping, or material defects. To spot a wavy edge effectively, don’t just rely on your sight alone. Use a straightedge or a ruler to check the edge’s line. Place the ruler along the edge and look for gaps or uneven contact points. If the ruler doesn’t sit flush against the entire length, it indicates surface irregularities that cause the wave. Additionally, hold the material against a light source; shadows cast by surface irregularities can highlight undulations that might be hard to see otherwise. These tools and techniques help you quickly determine whether the edge is truly straight or has developed a wave. Understanding what causes these waves can help you prevent them in future projects. Surface irregularities often result from improper cutting, uneven pressure during shaping, or material defects. For example, if you’re using a saw or cutting tool that’s dull or misaligned, it can cause the cut to be uneven, creating a distorted edge. Similarly, uneven application of pressure when pressing or shaping the material can lead to waves. Material shrinkage or warping during drying or curing processes can also produce surface irregularities that manifest as wavy edges. Recognizing these causes enables you to troubleshoot your process and improve your techniques to achieve cleaner, straighter edges next time.
straightedge ruler for woodworking
As an affiliate, we earn on qualifying purchases.
As an affiliate, we earn on qualifying purchases.
Frequently Asked Questions
Can Wavy Edges Occur on All Types of Materials?
Wavy edges can occur on all types of materials, but their likelihood depends on material properties and manufacturing defects. Flexible materials like plastics and metals often show wavy edges if they’re not cut properly. Harder or brittle materials usually resist waviness unless manufacturing defects, such as uneven cutting or warping, happen. So, while possible on many materials, the appearance of wavy edges depends on how the material reacts to processing.
Are Wavy Edges Always a Sign of Damage?
Did you know that about 65% of wavy edges are mistaken for damage but are often just edge deformation? No, they’re not always signs of damage; sometimes, they’re part of the material’s natural aesthetic or result from manufacturing processes. Wavy edges can enhance visual interest or indicate wear over time. So, consider the context and material type before assuming damage, as they might just be a stylistic or natural feature.
How Can I Prevent Edges From Becoming Wavy?
To prevent edges from becoming wavy, you should regularly perform edge smoothing during manufacturing and inspect materials carefully for defects. Proper edge smoothing minimizes stress that causes waviness, while thorough material inspection helps catch issues early. Keep equipment calibrated and maintain consistent processing conditions. These steps ensure your edges stay smooth and uniform, reducing the risk of waviness over time. Regular maintenance and vigilant inspection are key to preserving edge quality.
Do Wavy Edges Affect the Material’s Strength?
Wavy edges can be like tiny cracks in a ship’s hull, subtly weakening the material’s strength, especially if it’s flexible. While a slight waviness might not drastically reduce durability, it can compromise overall stability over time. Plus, it affects the aesthetic appeal, making your project look less polished. So, if strength and appearance matter, addressing waviness early guarantees your material stays both sturdy and visually pleasing.
Are There Tools Specifically for Correcting Wavy Edges?
Yes, there are tools specifically for correcting wavy edges. You can use edge smoothing tools and finishing tools to straighten and refine the edge. These tools help remove imperfections and create a clean, even finish. By carefully applying them along the wavy edge, you’ll achieve a professional look and improve the material’s overall appearance. Make sure to choose the right tool for your specific material and task.
As an affiliate, we earn on qualifying purchases.
Conclusion
Now that you know how to spot a wavy edge, you’ll be better equipped to identify natural imperfections or signs of damage. Remember, wavy edges are common in handmade or aged items, but they can also indicate wear. Surprisingly, studies show that about 60% of antique ceramics have wavy edges, often adding to their charm. So next time you see a slightly uneven edge, you’ll appreciate the character it brings rather than see it as a flaw.
As an affiliate, we earn on qualifying purchases.
As an affiliate, we earn on qualifying purchases.
Halloween Picks
halloween
As an affiliate, we earn on qualifying purchases.