
If your Vitamix blender emits a burning smell during operation, it can be concerning. This guide helps you identify common causes and provides safe, effective solutions to restore your blender’s performance.

Get kitchen gear delivered free — and shop member deals
- Fast, free delivery on millions of items
- Access to Prime Big Deal Days deals on October 6–7
- Prime Video, Amazon Music and more included
Regular maintenance and proper usage can prevent many issues. Follow these step-by-step instructions to troubleshoot and fix the problem efficiently.
Key Takeaways
| Common Cause | Overheating due to prolonged use or motor strain |
| Initial Step | Unplug and allow the blender to cool down |
| Cleaning Tips | Check for buildup or debris around the motor base |
| Component Check | Inspect blades and motor base for damage or overheating signs |
| Preventative Measures | Avoid blending hot liquids or overloading the container |
Step 1: Unplug and Cool Down
- Immediately unplug the Vitamix blender to stop any ongoing operation.
- Allow the motor to cool for at least 15-30 minutes before inspecting further.
Step 2: Inspect the Blender for Visible Issues
- Check the motor base for any signs of overheating, such as discoloration or burnt smell.
- Remove the container and examine the blades for debris, damage, or unusual buildup.
Step 3: Clean and Remove Debris
- Clean the blade assembly and container thoroughly with warm water and dish soap.
- Use a soft brush to remove any stuck particles around the blades and motor vents.
Step 4: Check for Damage and Replace if Necessary
- Inspect the wet blade assembly for signs of wear or damage. Replace if blades are dull, chipped, or bent.
- If the motor base shows signs of overheating or smell persists after cleaning, consider professional servicing or replacement.
Step 5: Prevent Future Issues
- Avoid blending hot liquids directly to prevent overheating.
- Do not overload the container; follow recommended fill levels.
- Use the pulse function to prevent motor strain during blending.
The Products in This Guide

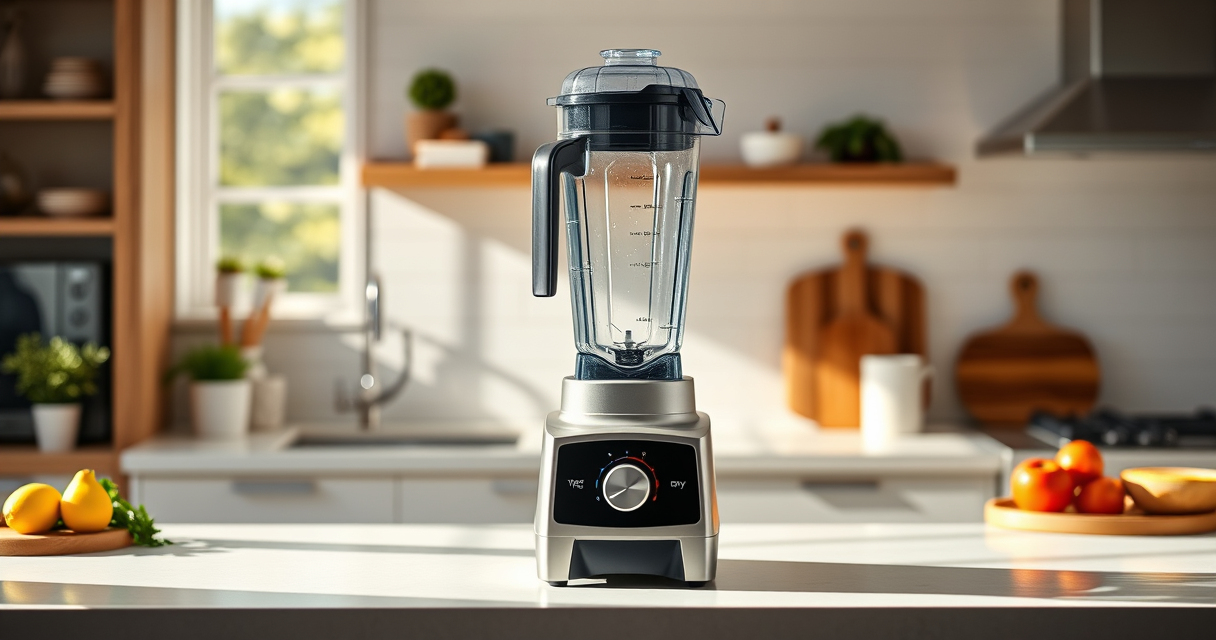
Vitamix Ascent X3 Blender
- ✔ Container Size: 48 oz
- ✔ Blade Type: Stainless steel
- ✔ Cleaning: Self-cleaning

Vitamix Wet Blade Assembly
- ✔ Blade Diameter: 4 inches
- ✔ Material: Stainless steel
- ✔ Compatibility: Older Vitamix containers
Vitamix Ascent X3 Blender
The Vitamix Ascent X3 Blender is known for its powerful motor and versatile features, making it suitable for smoothies, soups, and more. When properly maintained, it offers reliable performance without unusual smells.
Pros:
- Powerful motor with three blending programs
- Self-cleaning feature for easy maintenance
- Stainless-steel blades for durability
- Compact design fits in most kitchens
Cons:
- Can overheat if used improperly
- Requires regular cleaning to prevent odors
- Higher price point
Best for: Home cooks and small commercial setups needing reliable performance
Not ideal for: Users blending very hot liquids frequently without proper precautions
Bottom line: A high-performance blender that requires proper care to avoid burning smells.
Vitamix Wet Blade Assembly
The Vitamix Wet Blade Assembly is designed for quick replacement and is compatible with standard containers. It ensures smooth blending and can handle tough ingredients like ice and frozen fruit.
Pros:
- Hardened stainless steel blades
- Easy to install
- Handles tough blends
- Increases lifespan of your blender
Cons:
- Only compatible with older Vitamix models
- Not suitable for newer containers
- Replacement required over time
Best for: Replacing worn blades to restore blending quality
Not ideal for: Use with incompatible containers or newer models
Bottom line: A reliable replacement part that maintains your blender’s efficiency.
Frequently Asked Questions
Can overheating cause a burning smell in a Vitamix?
Yes, prolonged use or blending hot ingredients can cause the motor to overheat, leading to a burning smell. Allow the blender to cool before further use.
What should I do if my Vitamix smells burnt after blending?
Unplug the blender immediately, inspect for visible damage, clean the blades and container thoroughly, and let the motor cool down before testing again.
Is it safe to continue using my Vitamix if it emits a burning smell?
No, it’s safest to stop using the blender until the issue is diagnosed and fixed to prevent further damage or safety hazards.
When should I replace the blades or other components?
Replace blades if they are dull, chipped, or damaged. Also, replace the wet blade assembly if you notice persistent burning smells or performance issues.
Keeping Your Vitamix in Prime Condition
Addressing a burning smell promptly can prevent further damage and extend your Vitamix’s lifespan. Regular cleaning, proper usage, and timely replacement of worn parts are key to safe, efficient blending.
Affiliate disclosure: As an Amazon Associate we earn from qualifying purchases. Prices and availability are accurate as of the time of publishing.
Halloween Picks
halloween
As an affiliate, we earn on qualifying purchases.