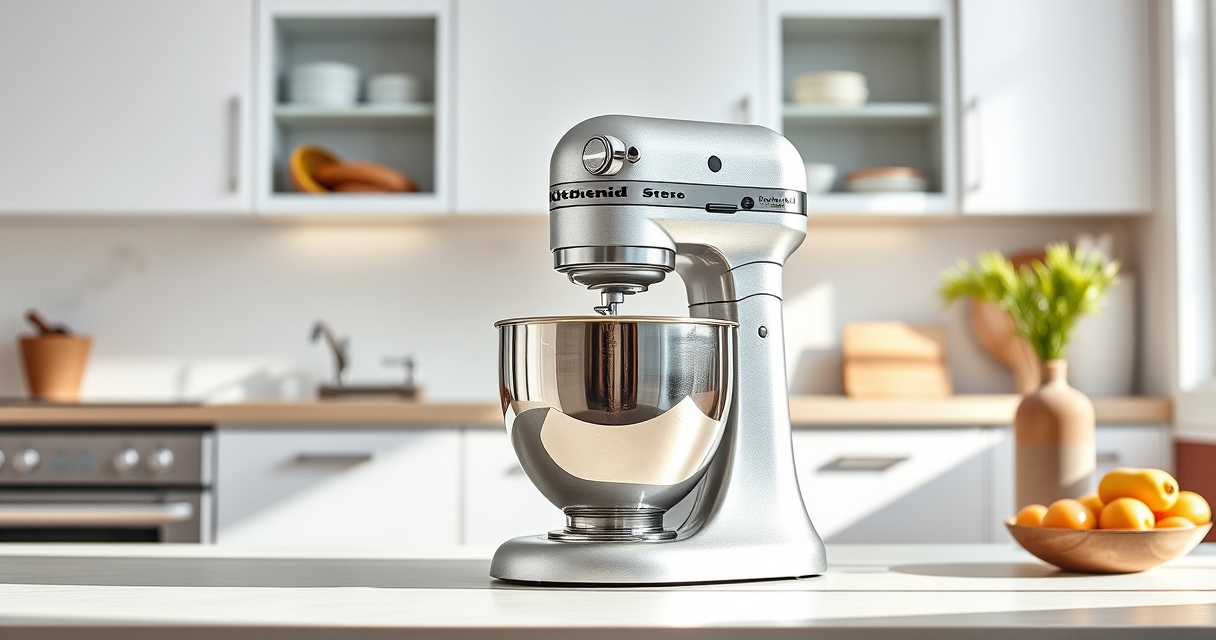

If your KitchenAid Artisan Series 5 Quart Tilt Head Stand Mixer is leaking oil, it can be concerning. Oil leaks can indicate worn seals or other issues that, if ignored, might cause further damage. Fortunately, many leaks can be fixed with some basic troubleshooting and maintenance. This guide walks you through the causes, safe fixes, and tips to keep your mixer running smoothly.
Listen free for 30 days with Audible
Thousands of audiobooks and originals — cancel anytime.
Start your free trialAs an affiliate, we earn on qualifying purchases.
Before starting, ensure your mixer is unplugged and clean the area around the leak for better inspection. Handling internal components involves some disassembly, so proceed carefully to avoid damage or injury.
Key Takeaways
| Identify the Leak | Determine whether the oil is from the head, motor, or bowl area. |
| Check Seals and Gaskets | Worn or damaged seals are common causes of oil leaks. |
| Disassemble Safely | Carefully remove the tilt head and access internal parts. |
| Replace Faulty Parts | Replace seals or gaskets as needed with proper parts. |
| Reassemble and Test | Ensure everything is secure before testing the mixer. |
Identify the Source of the Leak
- Unplug the mixer and wipe the area around the leak for clear inspection.
- Check if the oil is coming from the head, motor housing, or around the bowl.
- Note any unusual smells or excessive oil accumulation, which can indicate seal failure.
Disassemble the Mixer Carefully
- Loosen and tilt back the mixer head to access internal components.
- Remove the screws holding the head in place, following your model’s specific instructions.
- Keep track of all screws and small parts to ensure proper reassembly.
Inspect and Replace Worn Seals or Gaskets
- Locate the seals or gaskets around the motor shaft or internal housing.
- Check for cracks, wear, or oil residue indicating failure.
- Replace worn seals with genuine replacement parts compatible with your model.
Reassemble and Test
- Carefully reattach the mixer head, ensuring all screws are tightened securely.
- Refill or add oil if necessary, following the manufacturer’s specifications.
- Plug in and run the mixer at low speed to check for leaks.
Tips and Warnings
- Always unplug the mixer before disassembly or maintenance.
- Use genuine replacement parts for durability and safety.
- Do not over-tighten screws to avoid damaging internal components.
- If unsure about internal repairs, consult a professional or authorized service center.
The Products in This Guide

KitchenAid Artisan Series 5 Quart Tilt Head Stand Mixer
- ✔ Weight: 26 pounds
- ✔ Power: 325 watts
- ✔ Warranty: 1-year limited

KitchenAid Stand Mixer Attachment
- ✔ Color: Metal
- ✔ Power: Uses mixer motor
- ✔ Cleaning: Wipe clean with a damp cloth
KitchenAid Artisan Series 5 Quart Tilt Head Stand Mixer
The KitchenAid Artisan Series 5 Quart Tilt Head Stand Mixer is built to last with durable metal construction and high-quality parts. However, like all mechanical devices, seals can wear over time, leading to oil leaks. Regular inspection and timely replacement of seals can prevent costly repairs.
Pros:
- Solid metal build for longevity
- Powerful 10-speed motor
- Easy tilt-head access
- Large 5-quart bowl capacity
Cons:
- Seal issues may develop after prolonged use
- Disassembly required for repairs
- Potential for oil leaks if seals degrade
Best for: Home bakers and cooking enthusiasts seeking durable performance.
Not ideal for: Users uncomfortable with minor disassembly or internal repairs.
Bottom line: A reliable mixer that requires occasional seal maintenance to prevent leaks.
KitchenAid Stand Mixer Attachment
The KitchenAid Stand Mixer Attachment Food Grinder adds versatility to your mixer, allowing you to grind meat, vegetables, and more. It connects easily to the power hub and features multiple grinding plates and sausage stuffer tubes for fresh, customizable results.
Pros:
- Expands mixer capabilities
- Durable metal construction
- Multiple grinding plates included
- Easy to clean and store
Cons:
- Attachment sold separately
- Requires cleaning after use
- Additional storage space needed
Best for: Home cooks wanting to process fresh ingredients at home.
Not ideal for: Those seeking a standalone grinder or minimal attachments.
Bottom line: A robust attachment that turns your mixer into a versatile food processing tool.
Frequently Asked Questions
Why is my KitchenAid mixer leaking oil?
Oil leaks often occur due to worn or damaged seals, especially around the motor shaft or internal components. Regular inspection and replacement of seals can prevent leaks.
Can I fix the oil leak myself?
Yes, if you’re comfortable with disassembly and have the correct replacement parts. Follow safety precautions and consult your model’s repair guide or a professional if unsure.
What parts should I replace to stop the leak?
Typically, seals or gaskets are the culprits. Replace these with genuine parts designed for your specific model to ensure proper sealing.
Is it safe to operate the mixer after fixing an oil leak?
Yes, once all internal parts are correctly reassembled and secured, and any oil is cleaned up, the mixer can be safely used.
Keep Your Mixer Running Smoothly
With regular inspections and timely replacement of worn seals, you can prevent oil leaks and extend the life of your KitchenAid Artisan stand mixer. Proper maintenance ensures consistent performance and safety, so don’t ignore signs of leaks. When in doubt, seek professional help to keep your mixer in top condition.
Affiliate disclosure: As an Amazon Associate we earn from qualifying purchases. Prices and availability are accurate as of the time of publishing.
NFL season / tailgating Picks
team gear
As an affiliate, we earn on qualifying purchases.