
If you notice a rolled edge, start by gently pressing it with a hot iron, using a pressing cloth to protect the fabric. Lightly moisten the area if needed, then re-press to set the edge flat. For extra security, add stitching or use fabric glue, being careful not to stiffen the material. To prevent future issues, focus on proper finishing and tension control—stay tuned to discover even more helpful tips to keep your edges crisp and neat.
Key Takeaways
- Gently press the rolled edge with a warm iron and pressing cloth to flatten and smooth the fabric.
- Use proper seam finishing techniques like zigzag stitches or serging to prevent edges from rolling.
- Reinforce the edge with sewing or fabric glue for added stability and a cleaner look.
- Maintain consistent tension during sewing and handle fabrics carefully to avoid future rolling.
- Regularly press edges during construction to set and keep them flat over time.

imarku Chef Knife 7 Inch Kitchen Knife Ultra Sharp Santoku Knife - High Carbon Japanese Chefs Knife, Kitchen Gadgets 2025, Apartment Essentials, Birthday Gifts for Him Her, Best Gifts for Women Men
Professional Santoku Knife: This imarku super sharp santoku knife is made of high carbon stainless steel that resists...
As an affiliate, we earn on qualifying purchases.
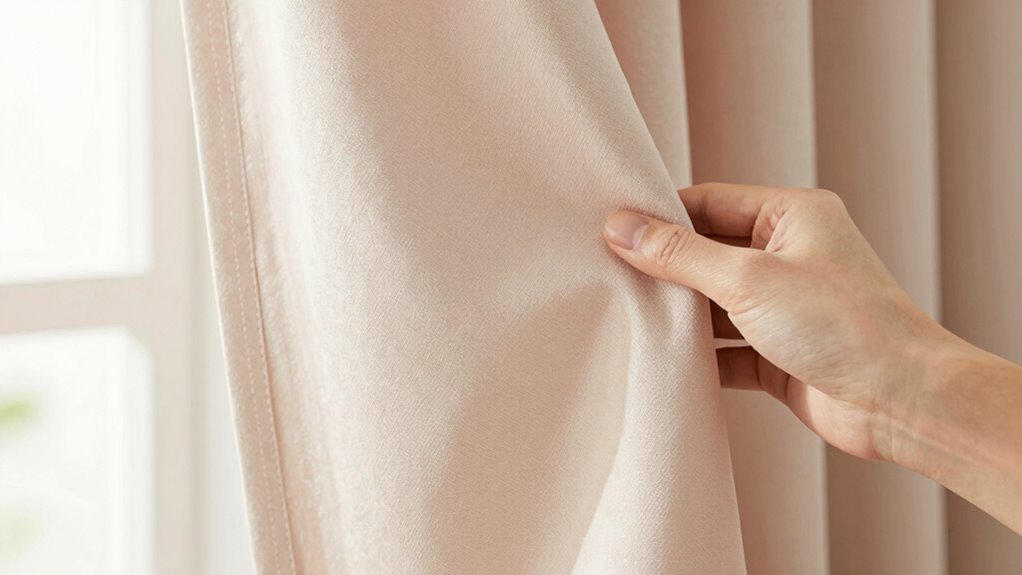
Identifying the Cause of the Rolled Edge
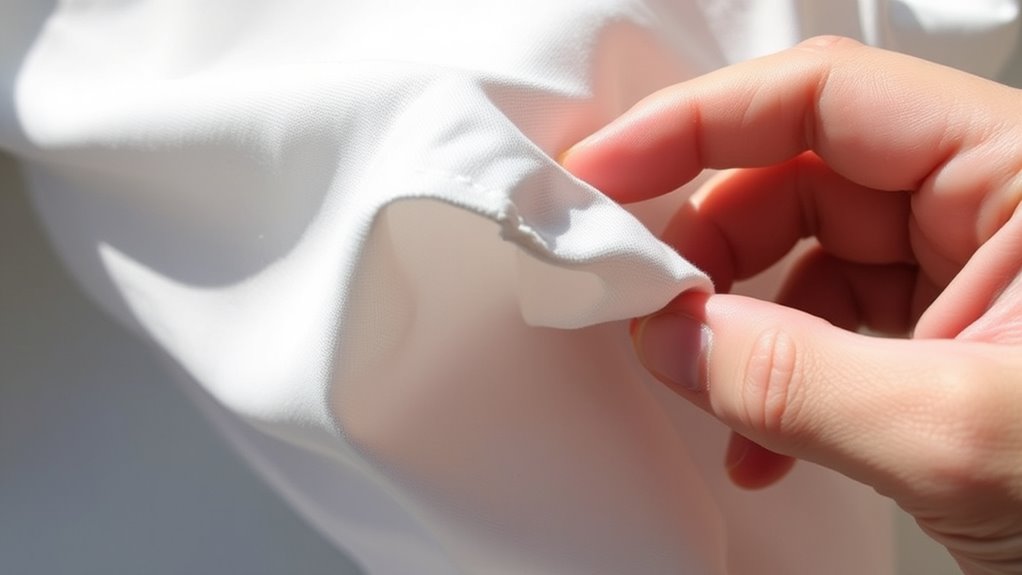
To effectively address a rolled edge, you first need to identify what caused it in the first place. Different fabric types react differently, so understanding your fabric is essential. For example, lightweight silks and delicate linens are more prone to rolling because of their thin, smooth textures. Conversely, heavier fabrics like denim or canvas are less likely to roll but can still develop edges if mishandled. Common causes include improper seam finishing, insufficient pressing, or stretching the fabric during sewing. Sometimes, tension issues in your machine or using the wrong needle can also lead to rolled edges. Recognizing these factors helps you determine whether the problem stems from fabric characteristics or sewing techniques, guiding you toward the most effective fix.

MITSUMOTO SAKARI 8 inch Gyuto Chef Knife, Japanese Hand Forged Kitchen Chef's Knives, 3-Layer 9CR18MOV High Carbon Steel, Rosewood Handle & Sandalwood Box
JAPANESE TRADITIONAL HAND FORGED: Professional chef knife blends traditional handmade forging craft with advanced tech and premium materials....
As an affiliate, we earn on qualifying purchases.
Preparing Your Supplies and Workspace
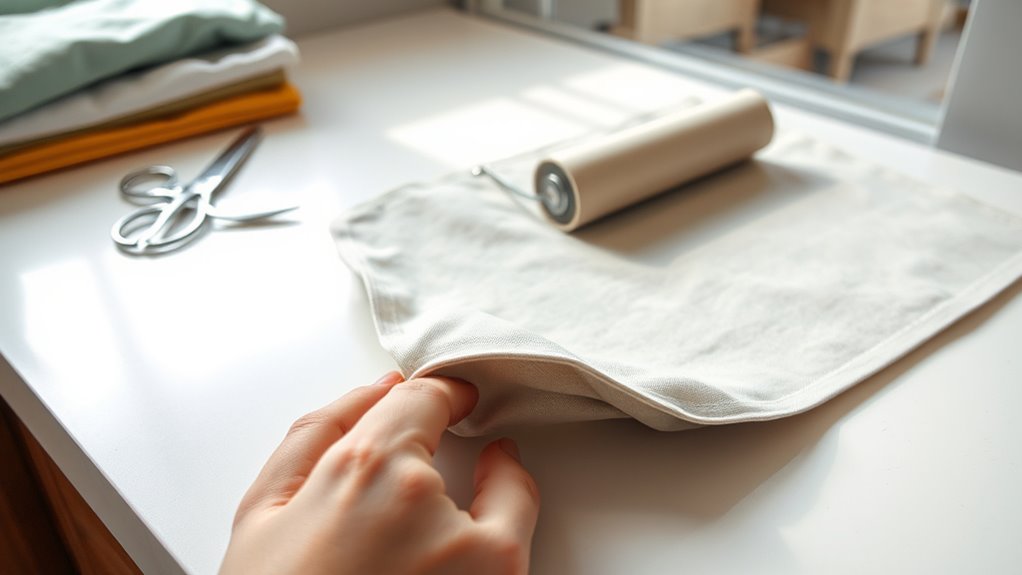
Before you start fixing a rolled edge, gather all your necessary supplies and set up a clean, organized workspace. Choose the right fabric selection that matches your project to guarantee consistent results. Have your sewing machine nearby, and double-check your sewing machine settings—adjust the stitch length and tension to suit the fabric and prevent further rolling. Keep pins, scissors, and a seam ripper within reach for quick adjustments. Clear a flat surface free of clutter to work efficiently. Preparing your workspace helps you stay focused and minimizes mistakes. Having everything ready before you begin assures a smoother process and reduces frustration, making the fix quicker and more effective. Additionally, considering energy-efficient tools can reduce your environmental impact during the sewing process. Using quality supplies from reputable sources can also ensure better durability of your finished project. Incorporating proper lighting will help you see details clearly and avoid errors during sewing. Ensuring your workspace has adequate ergonomic setup can also help prevent fatigue and improve your sewing precision. Taking a moment to organize your tools beforehand can save you time and keep your workflow seamless.

HOSHANHO Kitchen Knife in Japanese High Carbon Steel, Professional High-Class Chef's Knife 8 inch, Non-slip Ultra Sharp Cooking Knives with Ergonomic Handle
【High-End Japanese Steel Chef's Knife】 HOSHANHO chef's knife is made of Japanese high carbon steel 10Cr15CoMoV, 2x of...
As an affiliate, we earn on qualifying purchases.
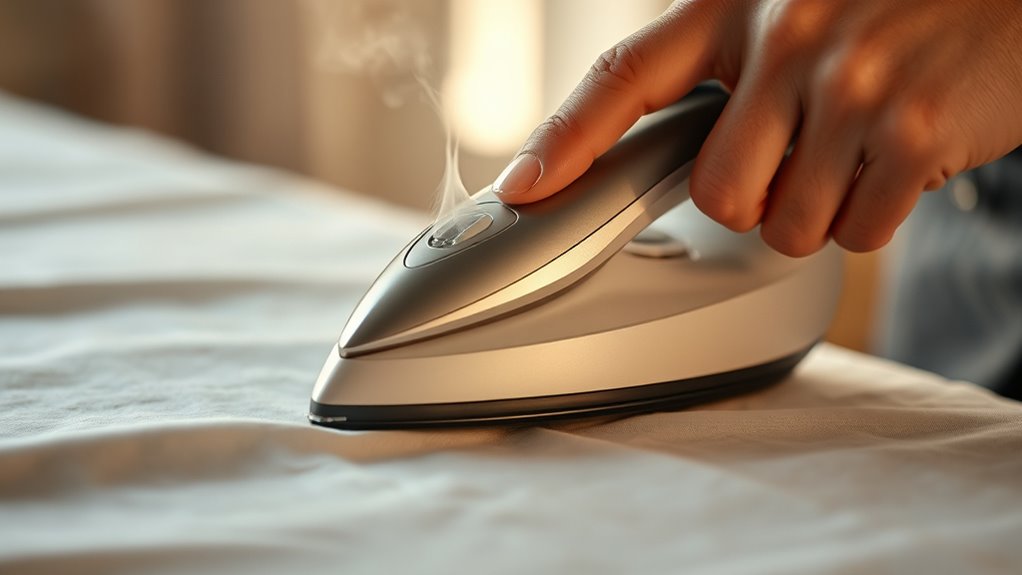
Using a Hot Iron to Flatten the Edge
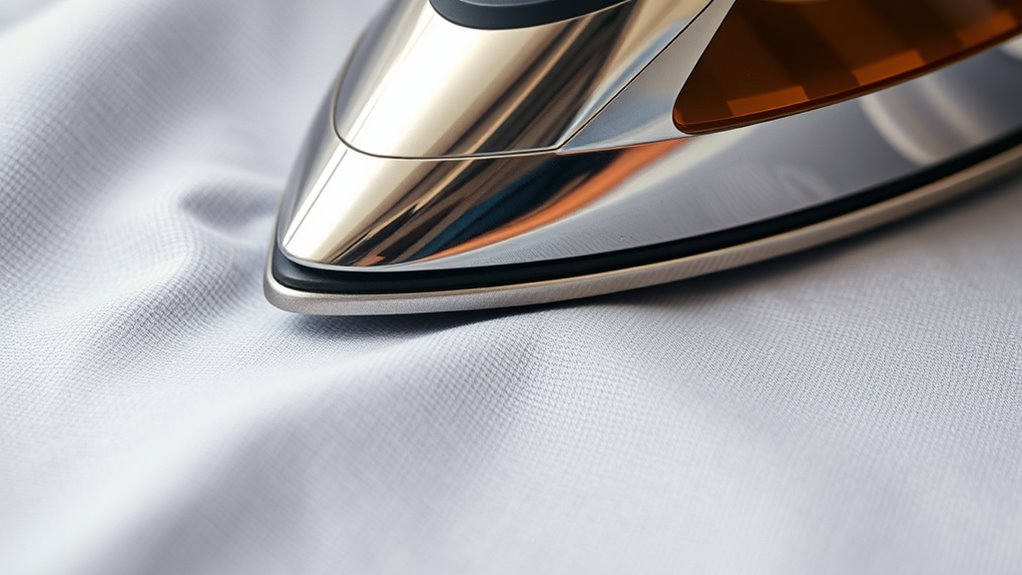
Start by preparing your iron so it’s at the right temperature for your fabric. Gently press the rolled edge with steady, even pressure, avoiding excessive force. Use a pressing cloth to safeguard the fabric and guarantee a smooth, flat finish. Properly fabric care techniques can help prevent further damage and ensure a professional-looking result. Additionally, temperature control plays a crucial role in achieving optimal results without damaging the material. Being aware of net worth management can also help you make better decisions when investing in quality tools for your sewing projects. Incorporating knowledge of sound vibrations can even enhance your relaxation during tedious tasks like pressing.
Prepare the Iron Properly
Heating your iron to the right temperature is essential for effectively flattening a rolled edge. Before you start, select the appropriate fabric type, as different materials need different iron settings. Confirm your iron’s temperature matches the fabric selection—delicate fabrics require lower heat, while sturdier fabrics can handle higher temperatures. Proper preparation prevents damage and ensures a smooth finish. Additionally, understanding the concept of Free Floating can help you maneuver the fabric more easily during the ironing process.
- Check the fabric care label for recommended iron temperature
- Adjust the iron’s temperature setting accordingly
- Use a clean, well-maintained iron for even heat distribution
- Test the heat on a scrap piece if unsure about the fabric’s tolerance
Getting the iron properly heated and set up for your fabric makes the flattening process easier and more effective.
Apply Gentle Pressure
Once your iron is heated to the correct temperature, gently press it down onto the rolled edge. Use a fabric choice that responds well to heat, like cotton or linen, to avoid damaging the material. Carefully apply light pressure, ensuring you’re not stretching or distorting the fabric. Focus on the seam allowance, pressing it flat to help the rolled edge settle smoothly. Keep the iron moving gently across the area, avoiding excessive heat or pressure that could cause puckering. This method helps flatten the edge without risking damage. Remember, patience is key—apply gentle, consistent pressure to encourage the fabric to lie flat. Proper technique and careful handling are essential to achieving a neat finish. Employing the correct heat application technique ensures the fabric responds well without damage. Using a pressing cloth can also provide an extra layer of protection and help distribute heat evenly. With proper technique, your rolled edge will be smooth and neat in no time.
Use a Pressing Cloth
To protect your fabric from direct heat damage while ironing, always use a pressing cloth. This simple step prevents scorch marks and preserves your fabric’s quality. When using a pressing cloth, select the appropriate heat setting on your iron, based on your fabric type. Gently place the cloth over the rolled edge, then press with even, light pressure to flatten the fold. Avoid sliding the iron to prevent stretching or distorting the fabric. Keep the iron moving and check frequently to avoid overheating. Remember, a pressing cloth acts as a barrier, ensuring your fabric stays safe from heat damage. Proper heat management is essential to achieve the best results and maintain your fabric’s integrity.

imarku Japanese Chef Knife - Sharp Kitchen Knife 8 Inch Chef's Knives HC Steel Paring Knife, Unique Gifts for Men and Women, Gifts for Mom or Dad, Kitchen Gadgets with Gift Box, Gyutou Knives
High-Carbon Stainless Steel Blade: It is manufactured from high-quality stainless steel that maintains its functionality for a long...
As an affiliate, we earn on qualifying purchases.
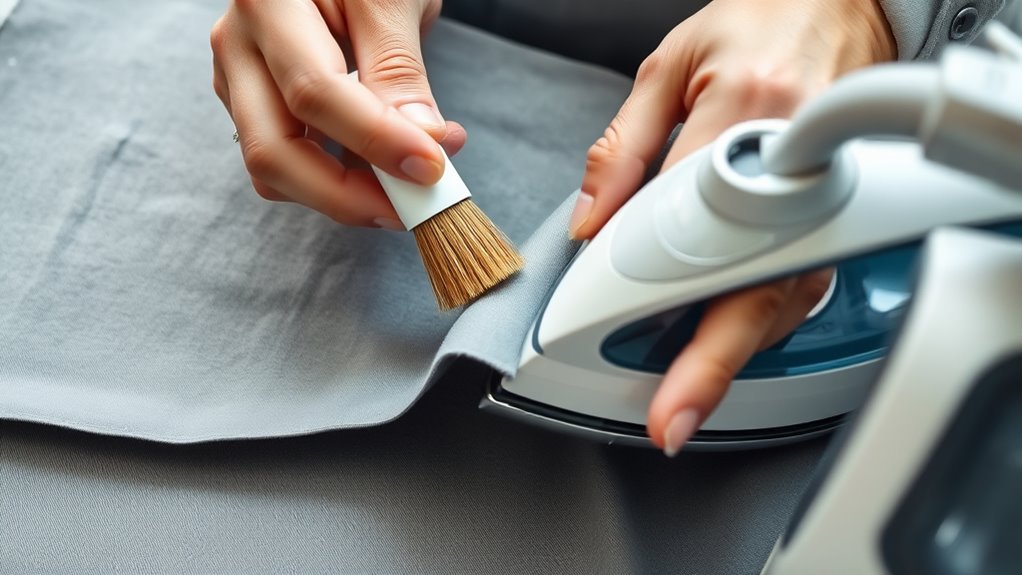
Applying Pressing Tools for Better Results
Applying pressing tools correctly can substantially improve the appearance of a rolled edge. Using the right tools, like a seam roller or pressing ham, helps you achieve smooth, crisp results. These tools are essential for decorative edge techniques, giving your finished edge a professional look. Before pressing, confirm your fabric is stabilized with proper fabric stabilization methods—this prevents shifting or distortion. When pressing, apply gentle, even pressure and avoid dragging the tool across the fabric, which can cause unwanted creases. Using a pressing cloth over your rolled edge can also help protect delicate fabrics. With practice, you’ll find that applying these pressing tools enhances your control, making your edges look cleaner and more polished every time.
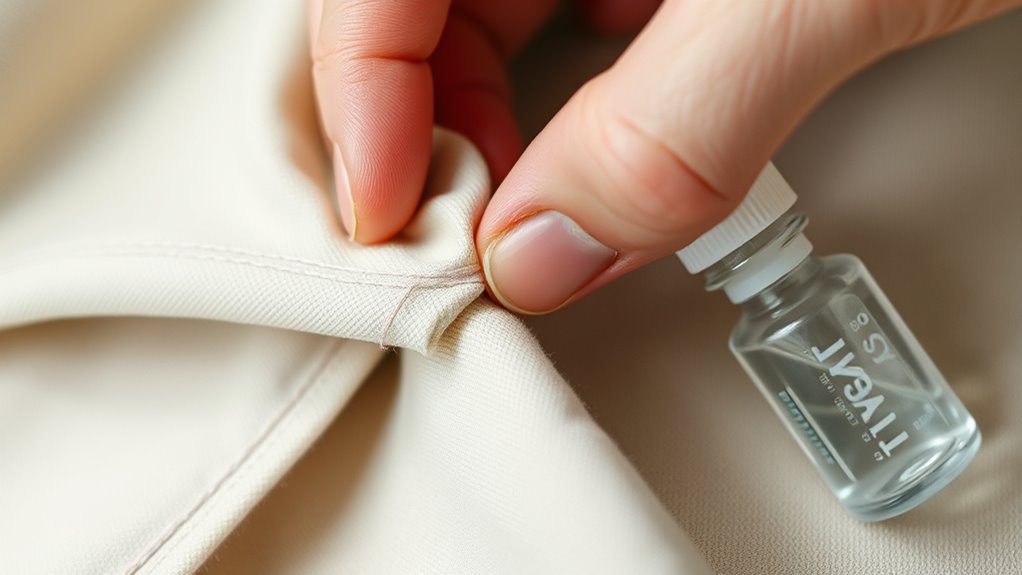
Moistening and Re-pressing the Edge
Moistening the fabric before re-pressing helps set the rolled edge more effectively. It softens the seam allowances and helps the fabric dyes bond better, making the edge less prone to rolling again. Lightly dampen the fabric with a spray bottle or a damp cloth, then carefully press. This process ensures the fabric molds to the desired shape and stays in place longer. Keep these tips in mind:
- Use a fine spray to avoid oversaturation
- Focus moisture on seam allowances for better stability
- Press with a hot iron, but avoid direct contact with dyes
- Repress until the edge feels firm and smooth
Employing Adhesive Solutions for Secure Fixing
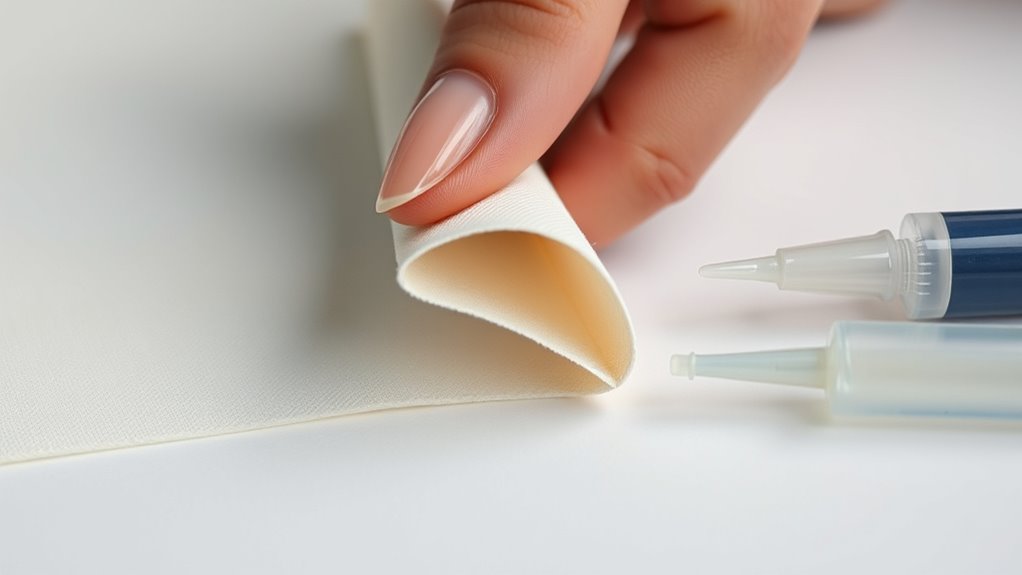
Using adhesive solutions can provide a quick and effective way to secure a rolled edge in place. Fabric adhesives are excellent for bonding the edge without sewing, offering a seamless finish. Apply a thin layer of fabric adhesive along the underside of the rolled edge and press firmly to hold it in position. Seam tape is another handy option; it’s designed specifically for fabrics and creates a strong, invisible bond. Place the tape along the edge, then smooth it out to eliminate air bubbles and ensure a tight seal. These adhesives are especially useful when you need a quick fix or want to avoid sewing. Just make sure to follow the manufacturer’s instructions for drying times and proper application to achieve the best results. Deep product research can help you select the most reliable adhesive solutions for your project, especially when considering adhesive strength and durability.
Reinforcing the Edge With Stitching or Gluing
To guarantee your rolled edge stays secure and durable, reinforcing it with stitching or gluing is an effective option. This method works well across various fabric types, especially those prone to fraying or curling. When using edge trimming, sewing a straight or zigzag stitch along the edge adds strength, preventing further rolling or unraveling. Gluing can also be quick and effective, especially for delicate fabrics or intricate designs.
- Choose the right stitch type for your fabric, like a tight zigzag for woven fabrics or a straight stitch for knits
- Use fabric glue or fusible web for a seamless finish
- Apply glue carefully to avoid stiffening the fabric or creating lumps
- Reinforce high-stress areas with extra stitching or adhesive for added durability
Preventing Future Rolled Edges in Your Projects
To prevent future rolled edges, you should focus on proper edge finishing techniques and selecting quality materials. Maintaining consistent tension during your work helps keep edges stable and smooth. Additionally, incorporating fiber-rich ingredients like chia seeds and flaxseeds into your projects can strengthen the overall structure and reduce the likelihood of edges rolling. Using appropriate reinforcement methods can also provide added support to prevent edges from rolling over time. Paying attention to load calculations and ensuring your materials are suitable for your project’s weight and stress levels can further minimize the risk of edges rolling. Considering material durability and its impact on project longevity can also play a significant role in preventing rolled edges. Proper edge treatment techniques, such as binding or binding with supportive backing, further enhance the stability of edges. By paying attention to these points, you can reduce the chances of edges rolling in your projects.
Use Proper Edge Finishing
Proper edge finishing is essential for preventing rolled edges in your projects. Choosing the right fabric and managing seam allowances are key. Select fabrics with stable fibers that hold their shape, reducing the chance of rolling. Use appropriate seam allowances; wider ones give you more fabric to work with, making finishing easier. Finish edges with techniques like serging, bias tape, or zigzag stitches to secure the fabric’s edge and prevent fraying. Properly pressed hems also help keep edges flat. Incorporate these strategies early in your project to create a clean, durable finish. By paying attention to fabric selection and seam allowances, you set a solid foundation for a professional-looking result free of rolled edges.
Maintain Consistent Tension
Maintaining consistent tension while sewing is essential for preventing rolled edges from forming in your finished projects. Fluctuating tension causes fabric textures to shift, leading to uneven edges. To keep tension steady, adjust your sewing machine settings based on your fabric’s texture, whether it’s lightweight cotton or heavier denim. Proper tension ensures stitches are even and fabric layers stay flat. Here’s a quick comparison:
| Fabric Texture | Ideal Sewing Machine Setting |
|---|---|
| Smooth, lightweight | Lower tension, fine stitches |
| Heavy, textured | Higher tension, stronger stitches |
Consistent tension helps your fabric feed smoothly, reducing the risk of rolled edges. Regularly test your machine on scrap fabric to fine-tune tension settings, making certain your project stays flat and professional-looking. Paying attention to fabric tension can make all the difference in achieving a polished finish. Additionally, understanding how sewing machine tension impacts your stitches can help you troubleshoot issues more effectively.
Choose Quality Materials
Choosing high-quality materials can substantially reduce the chances of rolled edges developing in your projects. When selecting fabric, prioritize options with proven material durability to guarantee your work holds up over time. Good fabric selection means opting for sturdy, well-made textiles that resist wear and deformation, which helps prevent edges from rolling. Additionally, selecting fabrics with high tensile strength can further improve the longevity of your project. Incorporating consistent quality control during fabric selection ensures only the best materials are used, minimizing issues caused by weak fibers or poor construction. Implementing proper finishing techniques can also significantly improve the durability and appearance of finished edges. Using durable, high-quality materials minimizes issues caused by weak fibers or poor construction. This proactive step assures your projects stay neat, with crisp edges that last, reducing the need for frequent fixes and improving overall craftsmanship.
Tips for Maintaining a Crisp, Professional Finish
To keep your rolled edge looking sharp and professional, focus on applying consistent pressure and using the right tools during the finishing process. Different fabric types respond best to specific edge finishing techniques, so choose methods suited to your material. For delicate fabrics like silk or chiffon, gentle hand sewing or narrow hemming works best, while heavier fabrics like denim may require machine stitching or double-fold hems. To maintain a crisp appearance, press the edges as you finish, using an iron set to the appropriate temperature. Use quality tools such as sharp scissors, pressing cloths, and appropriate needles to guarantee clean, precise edges. Regularly check your work and adjust your technique to keep edges neat and professional, no matter the fabric type.
Frequently Asked Questions
Can Rolled Edges Be Fixed Without Sewing or Gluing?
Yes, you can fix rolled edges without sewing or gluing. Try using fabric adhesives designed for upholstery or craft projects to smooth and secure the edge. Alternatively, edge tape works well—simply peel and stick it over the rolled edge to keep it flat and neat. Both options are quick, effective, and don’t require sewing skills, making your repair simple and mess-free.
How Long Does It Take for a Rolled Edge to Set Properly?
It usually takes about 24 to 48 hours for a rolled edge to set properly, depending on fabric types and drying times. For lightweight or delicate fabrics, it might take closer to 48 hours, while sturdier fabrics could set faster. To speed up the process, make sure you keep the fabric flat and allow it to dry in a well-ventilated area. Patience guarantees your rolled edge stays smooth and secure.
Is There a Difference in Fixing Rolled Edges on Different Fabrics?
Fixing rolled edges is like tailoring a suit—you need the right approach for each fabric type. For delicate silks, gentle sewing techniques prevent damage, while sturdier cottons need firmer stitches. Different fabrics respond uniquely, so adjust your tension and stitch length accordingly. By tailoring your sewing techniques to each fabric type, you guarantee a clean, professional finish that lasts. Remember, one size doesn’t fit all—adapt your fix for the best results.
Can Rolled Edges Be Repaired After Washing or Cleaning?
Yes, you can repair rolled edges after washing or cleaning. Gently reshape the fabric, then use a steam iron or a sewing tool to smooth and reinforce the edge. Proper fabric care and edge maintenance prevent further rolling. Be cautious with delicate fabrics, and avoid aggressive pulling. Taking these steps helps maintain your garment’s appearance and extends its lifespan, even after washing.
What Are the Signs of a Successful Rolled Edge Correction?
You’ll know your rolled edge correction is successful when the fabric stretching looks even and the edge reinforcement holds firmly without puckering or fraying. The edge should lay flat and smooth, with no signs of further curling. If the fabric appears stable and the reinforcement maintains its shape after washing, you’ve achieved a good fix. Keep checking for consistent appearance to guarantee your correction stays effective over time.
Conclusion
With these simple tricks, you’ll have no trouble fixing a rolled edge and keeping your projects looking sharp. Remember, a stitch in time saves nine—address issues early to prevent bigger problems down the road. By understanding the cause and applying the right techniques, you’ll turn a frustrating flaw into a professional finish. Keep patience in your back pocket, and soon you’ll be sewing with confidence, knowing you can handle any edge that comes your way.