
To find the right sharpening angle without tools, focus on developing a steady hand and consistent stance. Keep your arms relaxed and align your body to maintain a stable posture. Use tactile feedback by feeling the blade or stone to match the correct bevel, and pay attention to visual cues like even edges and smooth bevels. Practice controlling your movements with steady, mindful strokes—best way to master the angle and achieve sharp edges is to keep practicing.
Key Takeaways
- Develop a consistent stance and grip to support steady hand movements and angle control during sharpening.
- Use tactile feedback with your fingertips to gauge and maintain the correct edge angle naturally.
- Visualize the desired sharpening angle to reinforce muscle memory and guide your hand movements.
- Observe the bevel and edge symmetry for visual cues indicating proper alignment without tools.
- Practice regularly to build muscle memory, focusing on steady, controlled strokes for consistent angles.

imarku Chef Knife 7 Inch Kitchen Knife Ultra Sharp Santoku Knife - High Carbon Japanese Chefs Knife, Kitchen Gadgets 2025, Apartment Essentials, Birthday Gifts for Him Her, Best Gifts for Women Men
Professional Santoku Knife: This imarku super sharp santoku knife is made of high carbon stainless steel that resists...
As an affiliate, we earn on qualifying purchases.
Understanding the Importance of the Correct Angle
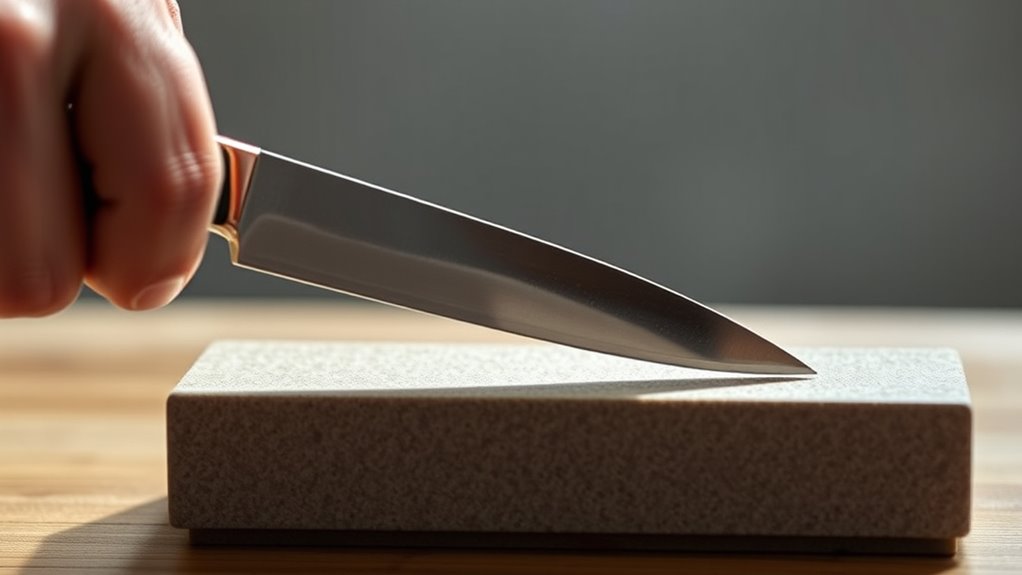
Understanding the importance of the correct angle is essential because it directly affects the sharpness and longevity of your blade. Achieving proper angle precision ensures you sharpen efficiently and meet your sharpening goals. If your angle is too shallow, the edge may become dull quickly or chip easily. Too steep, and you’ll risk removing too much material, weakening the blade. Knowing the right angle helps you create a fine, durable edge that cuts effectively and lasts longer. Consistently maintaining your chosen angle during sharpening is key to reaching your goals, whether for precision slicing or heavy-duty cutting. Additionally, understanding blade geometry and how different angles impact performance can help you make more informed sharpening decisions. Recognizing how projector contrast ratio affects image quality can also guide you in optimizing your display setup. Furthermore, understanding sustainable weight loss principles and how to incorporate them into your routine can assist in maintaining overall health while caring for your blades. Ultimately, understanding and controlling your sharpening angle helps you maximize your blade’s performance and lifespan, saving you time and effort in the long run.

imarku Japanese Chef Knife - Sharp Kitchen Knife 8 Inch Chef's Knives HC Steel Paring Knife, Unique Gifts for Men and Women, Gifts for Mom or Dad, Kitchen Gadgets with Gift Box, Gyutou Knives
High-Carbon Stainless Steel Blade: It is manufactured from high-quality stainless steel that maintains its functionality for a long...
As an affiliate, we earn on qualifying purchases.
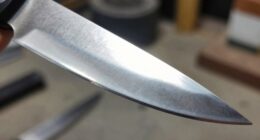
Visual Cues to Identify the Right Edge Position
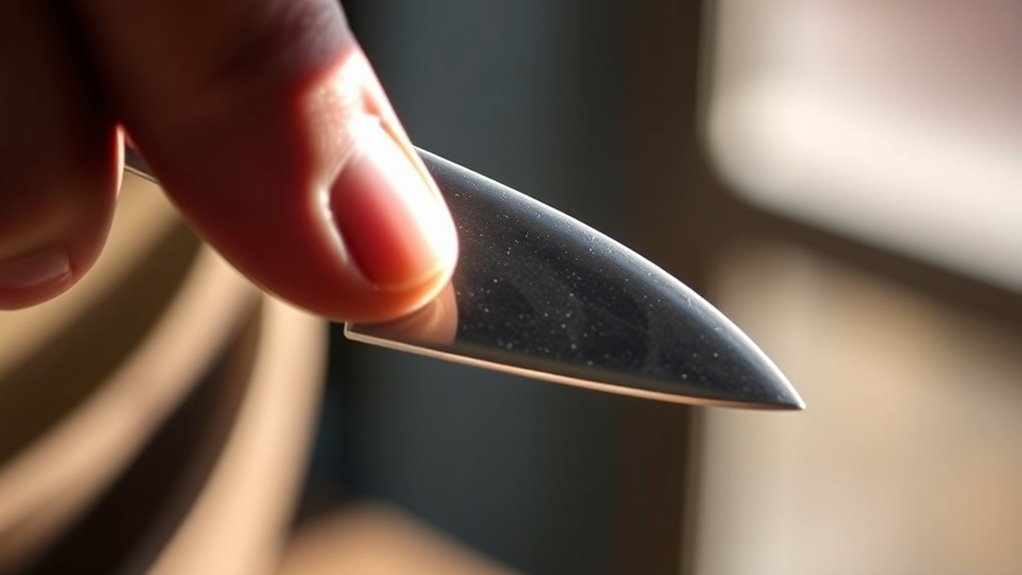
You can spot the right edge position by observing edge alignment indicators, which show you when the edge is properly centered. Look for consistent visual patterns along the edge, such as a uniform bevel or smooth shift. These cues help you make precise adjustments and achieve a sharper, more accurate edge. Additionally, maintaining proper lighting conditions can enhance your ability to see subtle visual cues, ensuring more consistent results. Incorporating Free Floating techniques can also assist in achieving a balanced and precise edge alignment.
Edge Alignment Indicators
When sharpening an edge, recognizing the correct alignment is essential for achieving a precise and effective tool. Edge alignment indicators help you spot the right position by providing clear visual cues. Look for consistent contact points along the edge—these signals show you’re maintaining proper angle and alignment. Pay attention to how the edge appears relative to the sharpening surface; a consistent, uniform contact indicates correct positioning. Always follow safety precautions—wear safety glasses, keep fingers clear of the sharpening path, and handle sharpening tools carefully. Proper alignment ensures you don’t remove too much material or create uneven edges. Using these visual cues helps you maintain control and precision, improving your sharpening results without relying on tools. Regular observation of these indicators can help develop a better sense of edge contact, which is crucial for consistent sharpening and can be refined through practice. Additionally, understanding the 16PF personality traits can help you develop patience and focus during delicate tasks like sharpening. Developing strong visual perception skills will further enhance your ability to recognize proper alignment quickly and accurately. Cultivating attention to detail and visual acuity can also improve your overall sharpening technique. Practicing mindfulness and sensory awareness can help you become more attuned to subtle cues during the sharpening process. Consistent observation is key to achieving a sharp, well‑aligned edge.
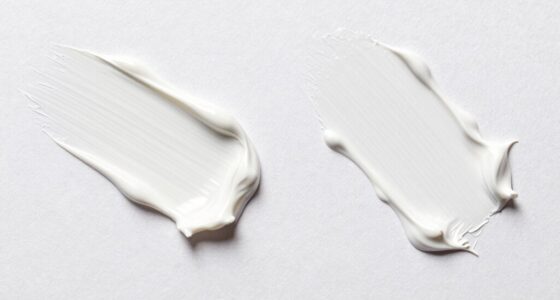
Consistent Visual Patterns
Consistent visual patterns are key indicators that you’re maintaining the correct edge position during sharpening. Look for signs like blade symmetry, where both sides of the bevel are evenly shaped, reflecting proper technique. Bevel uniformity is another vital cue—you want the bevel to be consistent in width and appearance along its length. This consistency ensures the edge is evenly sharpened, preventing weak spots. To keep your technique on track:
- Check that the bevel appears symmetrical on both sides.
- Ensure the bevel width remains uniform from tip to heel.
- Observe that the grind line is smooth and even, without uneven spots.
Focusing on these visual cues helps you achieve a sharp, balanced edge without tools, maintaining the right angle effortlessly.

HOSHANHO Kitchen Knife in Japanese High Carbon Steel, Professional High-Class Chef's Knife 8 inch, Non-slip Ultra Sharp Cooking Knives with Ergonomic Handle
【High-End Japanese Steel Chef's Knife】 HOSHANHO chef's knife is made of Japanese high carbon steel 10Cr15CoMoV, 2x of...
As an affiliate, we earn on qualifying purchases.
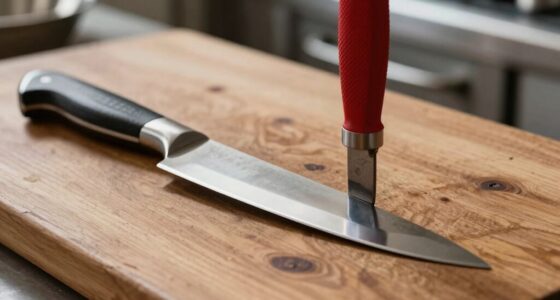
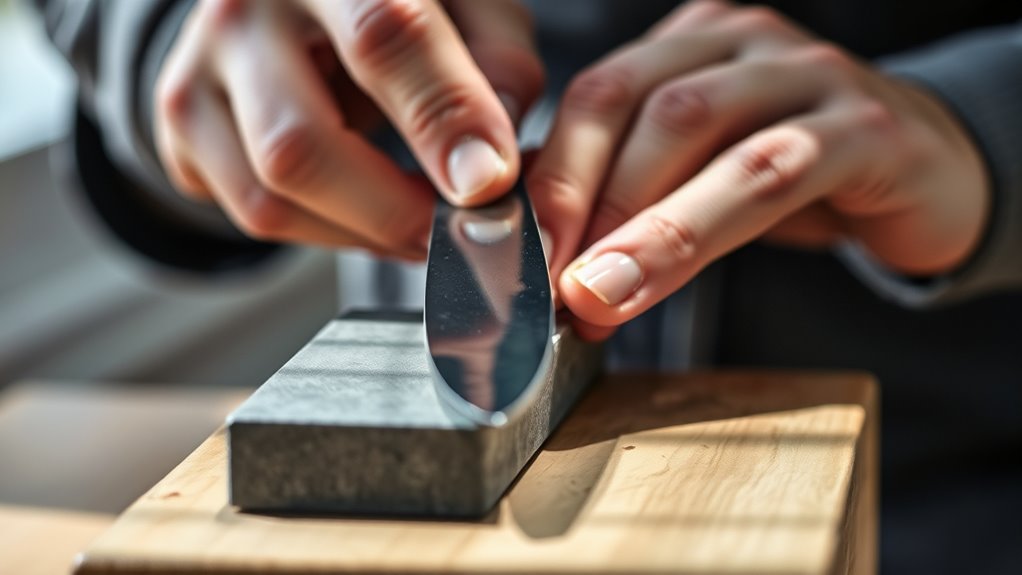
Using Your Hand to Feel the Angle
You can use your fingertip alignment to gauge the correct angle, keeping your fingers straight and steady. Apply consistent pressure as you feel the edge to maintain accuracy. This tactile approach helps you develop a reliable sense of the right sharpening angle. To further improve your writing, consider detecting passive voice and correcting it to create clearer, more direct sentences.
Fingertip Alignment Technique
The Fingertip Alignment Technique leverages your sense of touch to guarantee proper angle formation. By feeling your fingertips, you can accurately gauge the angle without tools. To do this effectively, focus on three key steps:
- Align knuckle positioning so your fingertips naturally follow the intended angle, ensuring consistent reference points.
- Apply gentle finger pressure to feel the subtle differences in tension, helping you adjust the angle precisely.
- Use your fingertips as guides to maintain the correct alignment, making small tweaks until your touch confirms the right angle.
This method harnesses your tactile sense, making it easier to develop a feel for the correct angle, especially when visual cues are limited. Your fingertips become your reliable measuring tools.
Consistent Pressure Application
Applying steady pressure with your hand allows you to feel the subtle resistance and tension that indicate the correct angle. By maintaining consistent pressure, you can assess blade stability and detect pressure variation that signals you’re on the right track. This tactile feedback helps you avoid uneven sharpening or blade wobble. Focus on gentle, controlled pressure—too much causes instability, too little fails to engage the edge properly. Use your fingers to sense the blade’s contact point and adjust pressure accordingly. Remember, a stable blade maintains even resistance, while fluctuation indicates a need for correction. Here’s a quick guide:
| Pressure Level | Blade Response | Resulting Sharpness |
|---|---|---|
| Light | Slight resistance | Incomplete edge |
| Moderate | Steady resistance | Good angle control |
| Firm | Firm resistance | Ideal stability |
| Excessive | High tension | Risk of slipping |
| Insufficient | No resistance | Poor edge contact |
Additionally, paying attention to the angle consistency during sharpening helps ensure a uniform edge and prolongs blade life.

Japanese Chef Knife, 8 Inch Damascus Kitchen Knife with VG10 Steel, Handcrafted Sharp Knife with Ergonomic Handle, Cooking Knives for Home Chefs, Cooking Gifts for Men and Women
【Premium Damascus Chef Knife with VG-10 Steel Core】Our Japanese knives feature a VG-10 steel core (60 HRC) for...
As an affiliate, we earn on qualifying purchases.
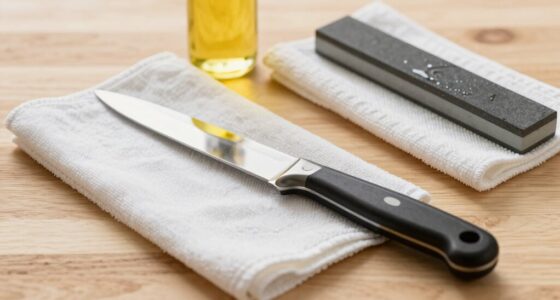
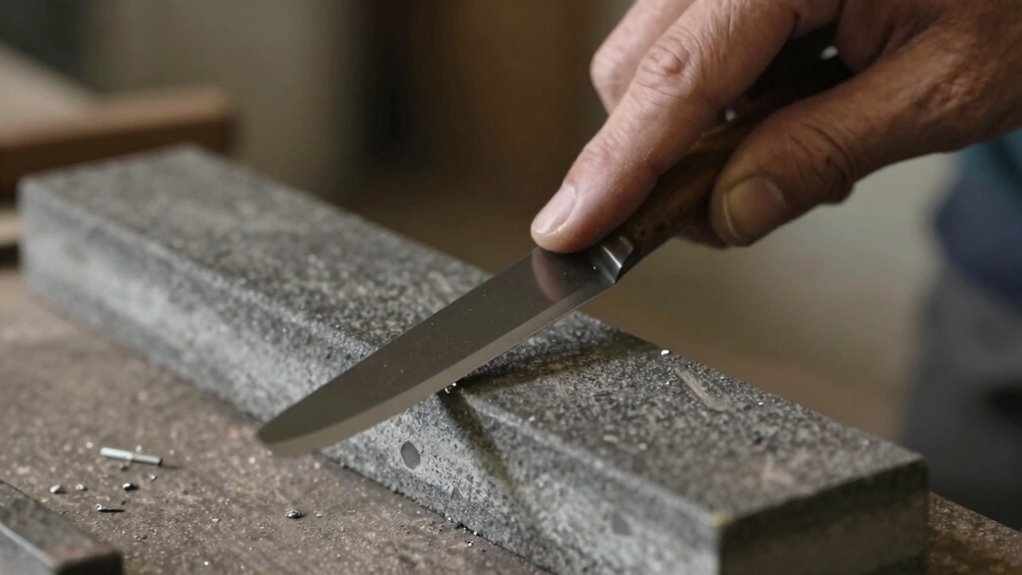
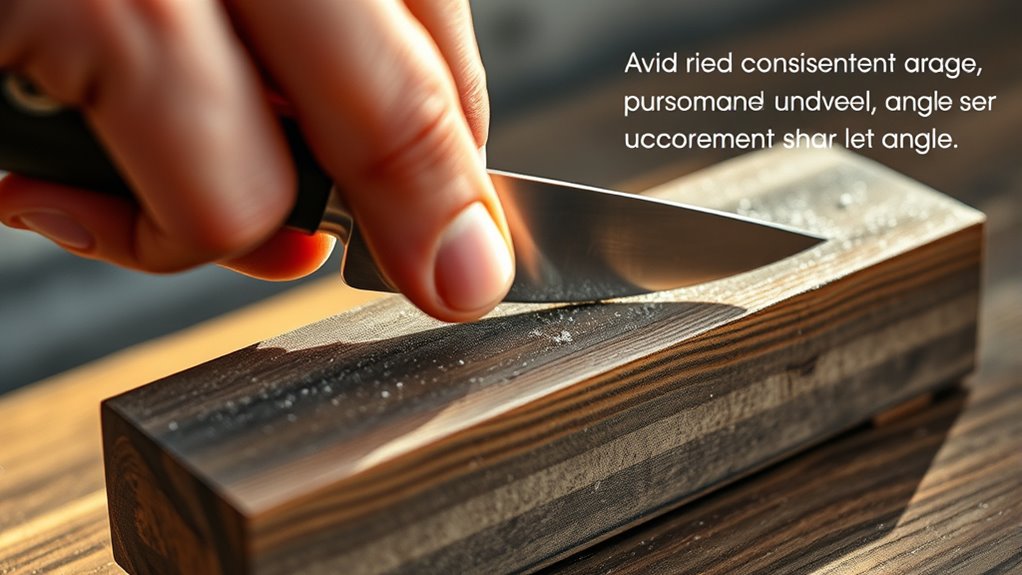
Practicing the Angle With a Simple Stance

Have you ever wondered how to start practicing your angle with confidence? The key is establishing a simple stance that feels natural and steady. Here’s how to do it:
Begin by adopting a natural, balanced stance to confidently practice your angle.
- Align your angle stance by placing your feet shoulder-width apart, ensuring your body feels balanced and stable.
- Focus on grip positioning—hold your tool firmly but comfortably, maintaining control without tension.
- Keep your arms relaxed, guiding your tool smoothly along the surface as you practice the angle.
- Remember to maintain proper posture to support consistent and precise angle work, which is essential for effective digital asset management in various projects.
- Developing an awareness of body alignment can help you maintain stability and improve your overall technique during practice.
Tips for Maintaining Consistency During Sharpening
Maintaining consistency during sharpening can be challenging, but focusing on steady movements and mindful technique helps you stay on track. To improve sharpness consistency, develop a reliable rhythm and avoid rushing. Practice angle memorization by visualizing the correct angle each time you sharpen, which reinforces muscle memory. Keep your hand steady and maintain a uniform pressure to prevent uneven edges. Regularly check your progress to assure you’re not drifting from the desired angle. Developing a consistent technique and consciously repeating the same motions help you sharpen with precision. By focusing on your grip and maintaining steady movements, you build confidence and accuracy. Over time, these habits help you sharpen consistently, producing a fine edge every time without the need for tools or complicated techniques. Additionally, utilizing passive voice detection tools can help you identify and correct unintentional passive constructions in your writing. Incorporating focused practice and visualization techniques into your routine can further enhance your skill and ensure reliable results. Being mindful of your overall technique consistency can also prevent fatigue and improve your long-term sharpening results.
Common Mistakes and How to Avoid Them
One of the most common mistakes when sharpening at an incorrect angle is losing control over your edge, which results in uneven or dull edges. Angle distortion occurs when you inadvertently change your intended angle mid-swing, leading to inconsistent sharpening. Relying too heavily on tools can cause tool dependency, making it harder to develop your skill and maintain control. To avoid these pitfalls, keep these tips in mind:
- Focus on maintaining a steady, consistent angle throughout each stroke.
- Practice without tools initially to build your sense of the correct angle.
- Regularly check your progress, ensuring no unintentional angle shifts occur.
Frequently Asked Questions
Can I Sharpen My Knife Without Any Prior Experience?
Yes, you can sharpen your knife without experience, but your beginners’ confidence might be shaky at first. Focus on the basics, like maintaining a consistent angle and using natural motions. Don’t fall for sharpening myths that suggest complicated techniques. Start slow, practice regularly, and stay patient. With time, you’ll improve, and your confidence will grow. Remember, simple is often best when you’re just starting out.
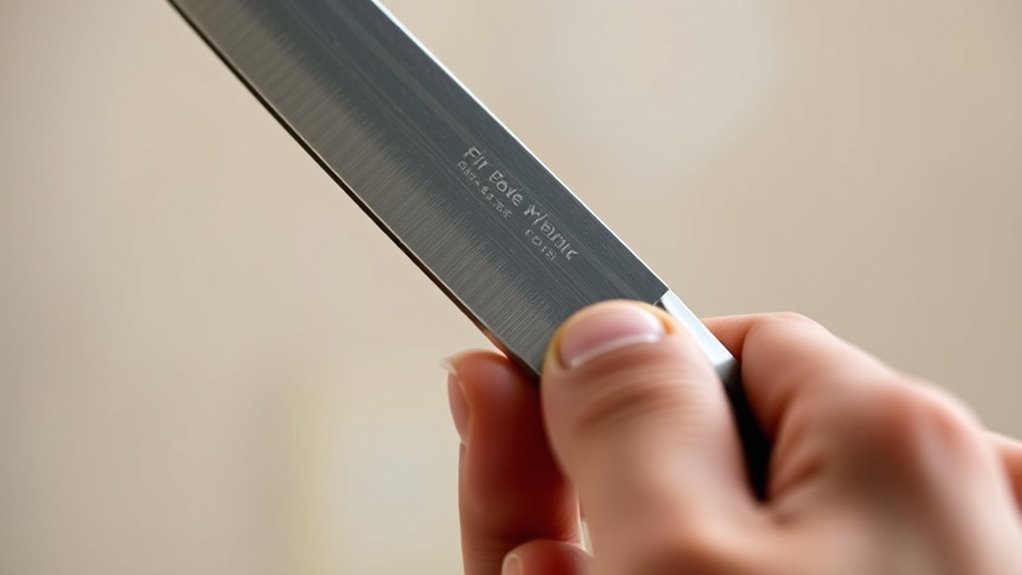
How Do I Know if I’Ve Achieved the Correct Angle?
You’ll know you’ve achieved the correct angle by inspecting the edge visually and checking for consistency. Look closely at the bevel—if it’s even and smooth without any jagged spots, you’re on the right track. The edge should be uniform along its length, reflecting a steady, consistent angle. If it looks symmetrical and consistent, and the edge feels sharp when tested, then you’ve successfully found and maintained the proper sharpening angle.
What Are Signs of Over-Sharpening or Under-Sharpening?
Imagine your blade as a delicate sculpture—over-sharpening chips away its strength, while under-sharpening dulls its edge. Signs of over-sharpening include a fragile edge that chips easily, reducing blade durability and cutting performance. Under-sharpening leaves the edge dull, causing poor cuts and more effort. Keep your angle just right to maintain ideal blade durability and sharp, efficient cuts. Too much or too little can weaken your blade’s true potential.
How Often Should I Check the Angle During Sharpening?
You should check the angle during sharpening every few strokes to maintain proper angle maintenance. Typically, sticking to your sharpening schedule—such as every few uses—helps prevent over- or under-sharpening. Keep a close eye on the blade’s edge, and adjust your angle as needed to stay consistent. This approach guarantees your blade stays sharp and effective, reducing the risk of damage or dullness over time.
Is It Possible to Correct an Angle Mistake After Sharpening?
Think of sharpening like tuning a musical instrument—mistakes can often be adjusted. Yes, you can correct an angle mistake after sharpening, but it’s tricky. Angle correction involves re-sharpening at the proper angle, removing material to fix the error. If you catch the mistake early, you can often salvage the edge, but persistent sharpening mistakes might require starting over. Patience and careful re-sharpening are key to getting it right.
Conclusion
Mastering the correct sharpening angle gently guides your blade to its best potential. By paying close attention to visual cues, trusting your touch, and practicing with patience, you’ll develop an intuitive feel that subtly elevates your skills. Remember, even seasoned sharpeners sometimes drift; gentle adjustments keep your edge aligned. With time and mindful effort, you’ll find the perfect balance—an elegant dance between precision and intuition—that leads to consistently sharp results.