
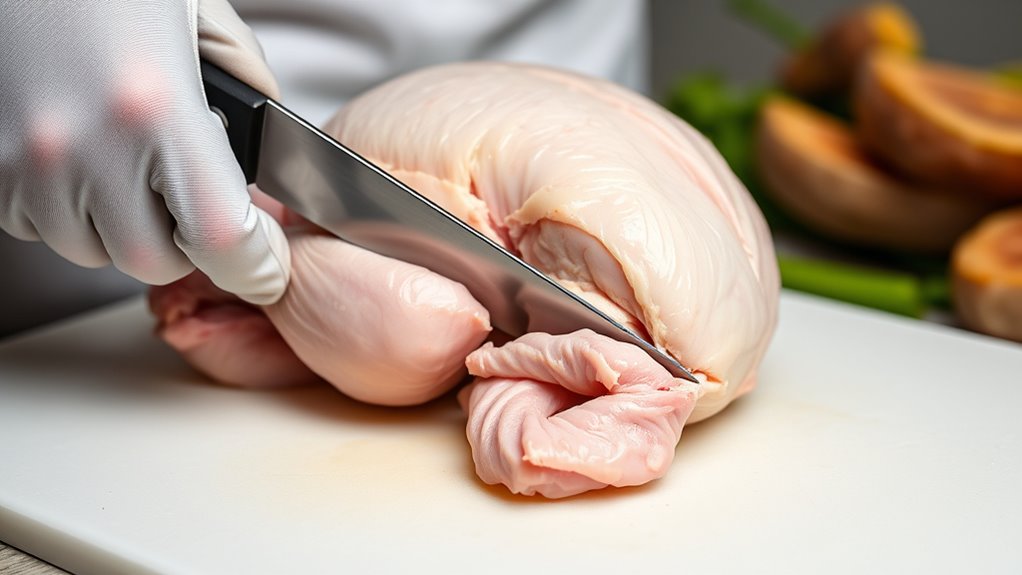
To split a chicken safely, start by using sharp knives and a sturdy cutting board. Identify joints and natural seams, avoiding bones and cartilage to prevent slips and injuries. Cut around the joints to remove legs and wings, then split the backbone for halves. Carefully separate the breast from the back without forcing cuts. Following proper safety steps and paying attention to anatomy guarantees a clean, safe split—continue for detailed techniques and tips.
Key Takeaways
- Use sharp, clean knives and poultry shears on a stable, well-lit cutting board to ensure safety and precision.
- Identify chicken joints and natural separations to avoid cutting into bones or cartilage unnecessarily.
- Cut around joints and dislocate them with steady pressure, avoiding excessive force that can cause slips or damage.
- Keep fingers clear of blades, cut away from your body, and wear cut-resistant gloves if possible.
- Wash hands thoroughly after handling raw chicken and store meat properly to prevent cross-contamination.
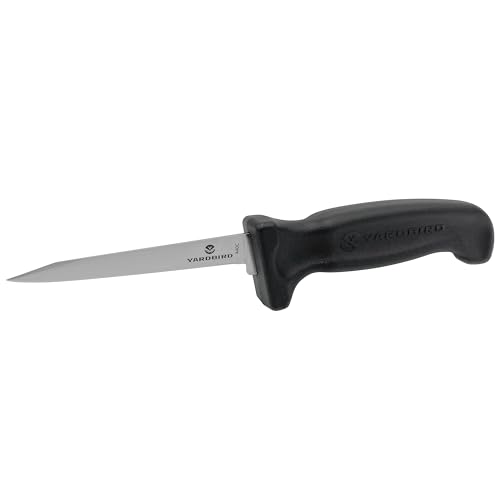
Yardbird Poultry Processing Knife, 3.5" High-Carbon Stainless Steel Blade, Dual Cutting-Edge Tip, Slip-Resistant Handle, Model: 47185
3.5" High carbon stainless steel blade
As an affiliate, we earn on qualifying purchases.
As an affiliate, we earn on qualifying purchases.
Gathering Your Tools and Preparing the Workspace
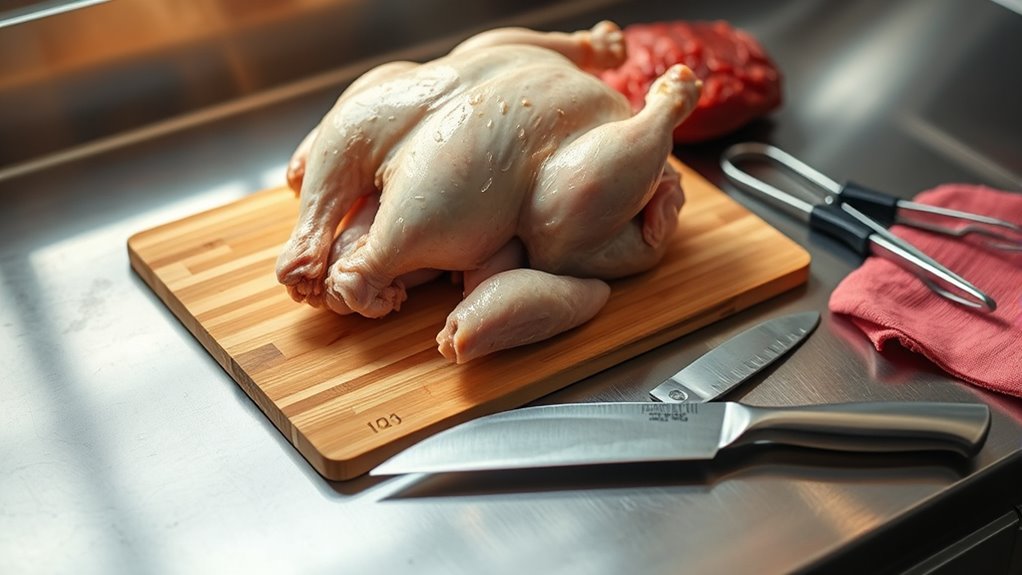
Before you start splitting a chicken, gather all the necessary tools and set up your workspace. Use sharp knives, poultry shears, and a sturdy cutting board to ensure clean cuts and safety. Organize your tools nearby so you can access them easily throughout the process. Clear the area of clutter and spills to prevent accidents. When preparing, follow proper safety precautions: wear cut-resistant gloves if available, keep your fingers away from the blade’s path, and cut away from your body. Mastering correct cutting techniques is essential for efficient splitting and avoiding injuries. Make sure your workspace is well-lit, and always handle knives carefully. Proper projector setup techniques can also help create a safe environment for food preparation. Preparing thoroughly helps you stay safe and makes the entire chicken-splitting process smoother and more precise. Additionally, understanding ergonomic handling can reduce fatigue and improve control during cutting tasks. Incorporating proper posture can further enhance safety and comfort during extended preparation sessions. Paying attention to workstation ergonomics ensures you maintain comfort and reduce strain while working. Furthermore, being aware of safety hazards in your workspace can help prevent accidents and injuries during food prep.

NoCry Premium Cut Resistant Gloves Food Grade — 100% Food Safe — Level 5 Meat Cutting Glove for Chefs & Butchers — Perfect Mandoline Glove or Oyster Shucking Gloves with Superior Comfort & Dexterity
4X MORE CUT-RESISTANT THAN LEATHER — Safety gloves made from the highest level of cut resistant material on…
As an affiliate, we earn on qualifying purchases.
As an affiliate, we earn on qualifying purchases.
Understanding the Chicken Anatomy
Understanding the chicken’s anatomy is key to splitting it correctly and safely. Knowing where the chicken muscle and bone structure are helps you avoid mistakes and guarantees a clean cut. Here are three essential points:
Mastering chicken anatomy ensures safe, precise splitting with clean cuts.
- The chicken muscle is divided into major parts like the breast, drumsticks, and thighs, each with distinct muscle groups. Recognizing these muscle groups facilitates precise cuts and better portioning.
- The bone structure includes the backbone, ribs, and joints, which guide where you should cut. Being familiar with the bone structure helps you avoid cutting into bones unintentionally.
- The joints act as natural separators, making them ideal spots for splitting or removing parts.
- Being aware of the muscle groups and bones helps you identify safe cutting points and prevent injuries.

Farberware Large Cutting Board, Dishwasher- Safe Plastic Chopping Board for Kitchen with Easy Grip Handle, 11-inch by 14-inch, White
QUALITY MATERIALS: This cutting board is made of polypropylene plastic. The poly material is non absorbent, nonporous, and…
As an affiliate, we earn on qualifying purchases.
As an affiliate, we earn on qualifying purchases.
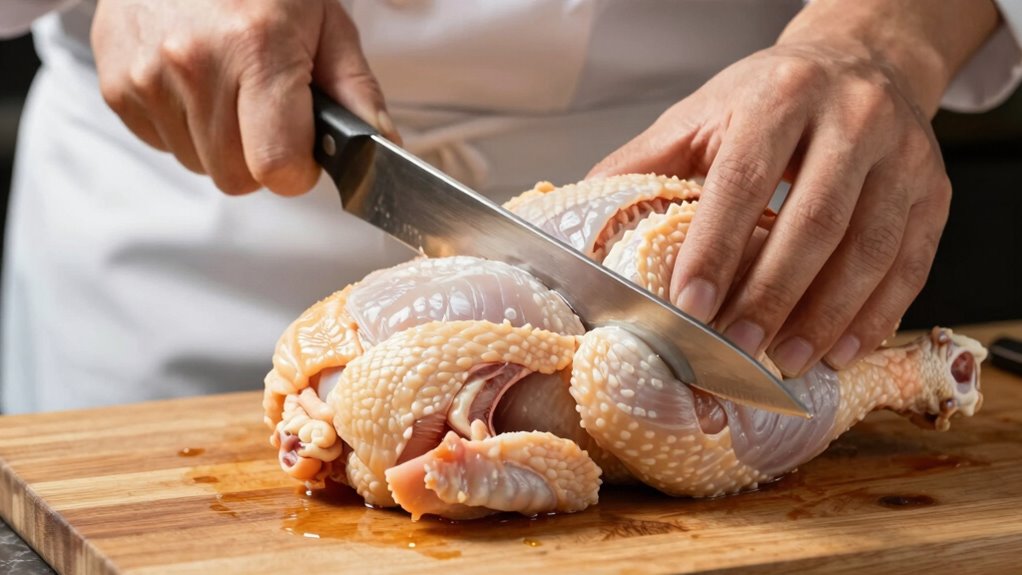
Identifying the Key Cutting Points
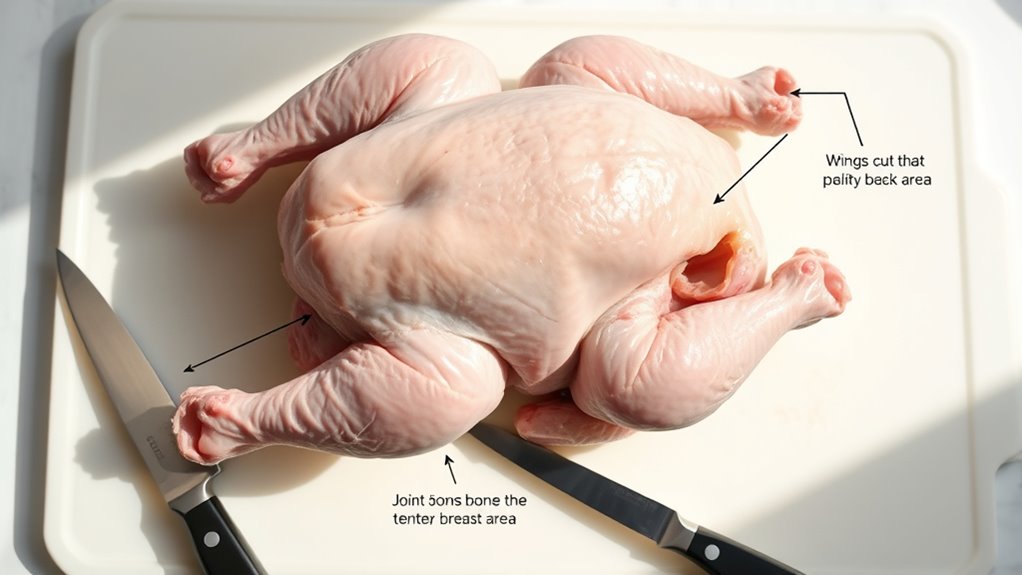
Have you ever wondered where to make the most effective cuts when splitting a chicken? To do this safely, you need to identify the key cutting points on the bird. Focus on the joints connecting the drumsticks, wings, and the body. Using proper cutting techniques, start by locating these joints and applying steady pressure with a sharp knife. Always keep safety precautions in mind: cut away from your body, and ensure your knife is sharp to prevent slips. Recognizing these key points helps you avoid cutting through bones or cartilage unnecessarily, which can be dangerous and affect the meat quality. Understanding anatomy of the chicken aids in making precise cuts. Knowing the safety precautions associated with handling sharp knives is essential for a safe and efficient butchering process. Additionally, being familiar with the best practices for cutting can help you maintain control and prevent accidents. By pinpointing these critical areas, you can split the chicken efficiently, safely, and with minimal mess.

MAD SHARK Heavy Duty Poultry Shears, Kitchen Shears with Non-Slip Handle & Safety Lock, All Purpose Kitchen Scissors for Chicken, Meat Cutting, Turkey, Fish, Vegetables, Spring Loaded, Dishwasher Safe
Professional-Grade Durability & Corrosion Resistance: Forged with rust-proof molybdenum-vanadium steel and precision-tempered 3.5mm blades, these poultry shears cut…
As an affiliate, we earn on qualifying purchases.
As an affiliate, we earn on qualifying purchases.
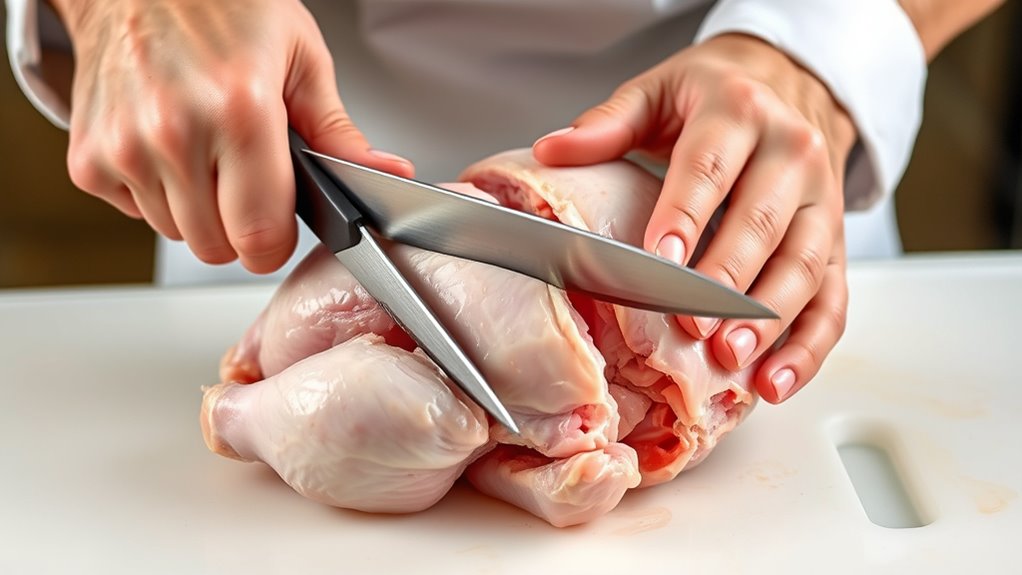
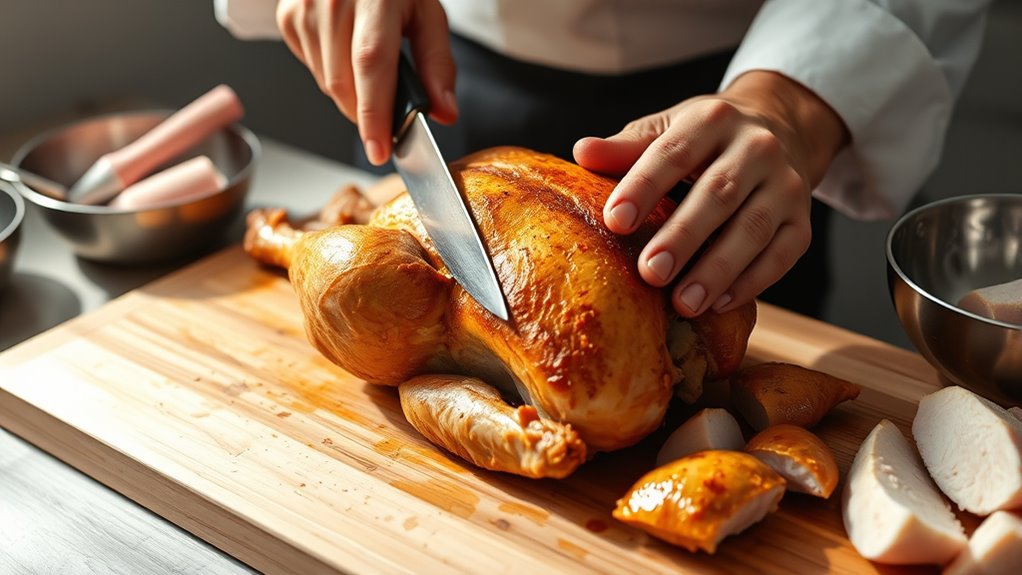
Starting With the Breaks: Removing the Legs and Wings
To start removing the legs and wings, you’ll first locate the joints where the limbs connect to the body. Use your knife to cut through these joints carefully, feeling for where the bones bend. Once you find the joints, simply carve around them to detach the limbs cleanly. Proper technique ensures safety and precision during the process. Being mindful of the cutting methods can help prevent accidents and achieve cleaner cuts. Additionally, understanding the anatomy of a chicken can assist you in identifying the best points to cut for easier removal. Recognizing the key pieces involved can further improve your efficiency when processing poultry. Applying net+ certification knowledge about proper handling can further improve your knife skills and safety when processing poultry.
Locating the Joints
Ever wonder how to find the joints that connect the wings and legs to the chicken’s body? You can locate them by feeling for areas with more joint flexibility and cartilage, which feel softer and more pliable. To identify these joints:
- Gently bend the wing or leg to feel for a natural bend at the joint, indicating where the bone connects.
- Look for a slight gap or indentation at the connection point, often marked by a cartilage ridge.
- Use your fingers to feel for a smooth transition between bone and cartilage, helping you pinpoint the joint location precisely.
Focusing on cartilage identification makes it easier to find clean break points. Recognizing these key features ensures a safe, precise cut without damaging the meat or splintering the bone.
Removing the Limbs
Ready to remove the limbs? Start by locating the joints for the legs and wings. For claw removal, gently cut around the claws, then grip and pull to detach them. Be careful to avoid cutting into the meat. To remove the wings, dislocate the joint by applying slight pressure at the wing dislocation point, then cut through the joint to detach each wing. When removing the legs, cut through the hip joint after dislocating it with a firm twist or pressure. Use sharp, clean knives to make precise cuts. Keep your motions steady to avoid tearing the meat. Removing the limbs correctly ensures a clean separation and sets the stage for further butchering. Always follow the natural joint lines for safe, effective limb removal.
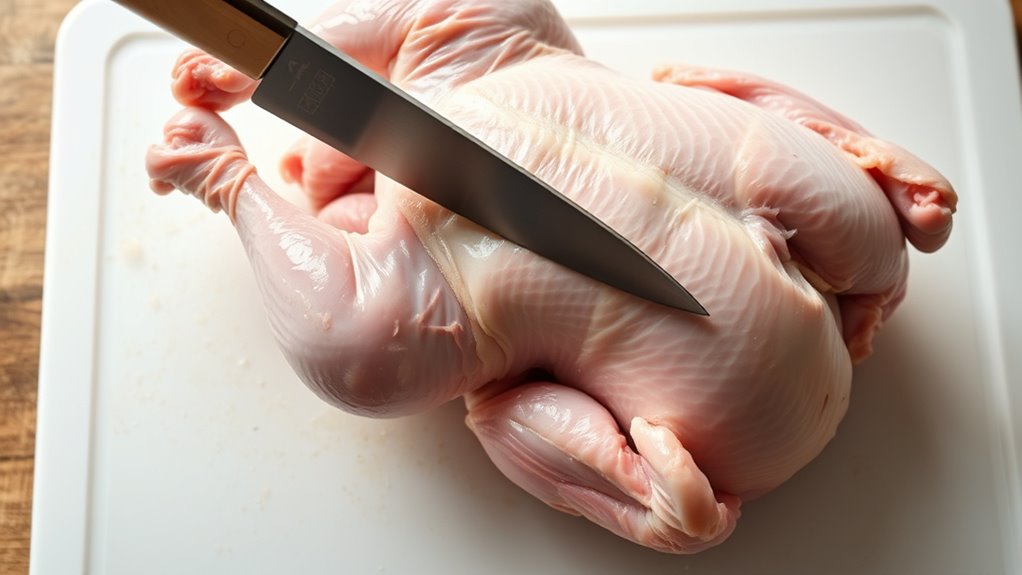
Cutting Through the Backbone for Halves
To cut through the backbone, you’ll need a sharp knife or poultry shears. Start by locating the backbone and applying steady pressure as you cut along each side. Once you’ve removed the backbone, you can easily split the chicken into halves.
Tools Needed for Backbone Cut
You’ll need a sharp, sturdy tool to cut through the chicken’s backbone effectively. A reliable knife guarantees clean cuts and minimizes the risk of accidents. When using your knife, always prioritize knife safety by keeping your fingers clear of the blade and cutting away from your body. Proper cutting techniques involve steady, controlled motions to avoid slips. Here are the essential tools you’ll need:
- Heavy-duty poultry or chef’s knife – for powerful, precise cuts.
- Kitchen shears or scissors – to cut through bones if necessary.
- Cutting board – a stable surface that prevents slips during cutting.
Ensure your tools are sharp and well-maintained. Sharp knives require less force, making cutting safer and easier. Follow proper cutting techniques to ensure safety and efficiency throughout this process. Smartphone guidelines can help you stay safe when handling sharp tools. Additionally, understanding safe cutting practices can reduce the risk of injury during this task. Being familiar with piercing care and hygiene tips can also help prevent infections if you are working in or near body areas with piercings.
Steps to Remove Backbone
Begin by placing the chicken on your cutting board with the backbone facing up. To safely remove it, start cutting along each side of the backbone using a sharp, well-sharpened knife. Ensuring your knife is sharp is vital for poultry safety, as it prevents slips and reduces the risk of injury. Apply steady, even pressure and cut through the bones, taking care not to cut into the meat. If your knife isn’t sharp enough, it’ll be harder to make precise cuts and could lead to accidental slips. Once you’ve cut through both sides of the backbone, lift it away. This step prepares your chicken for halving or further butchering. Always work carefully, and keep your knife sharp for maximum control and safety.
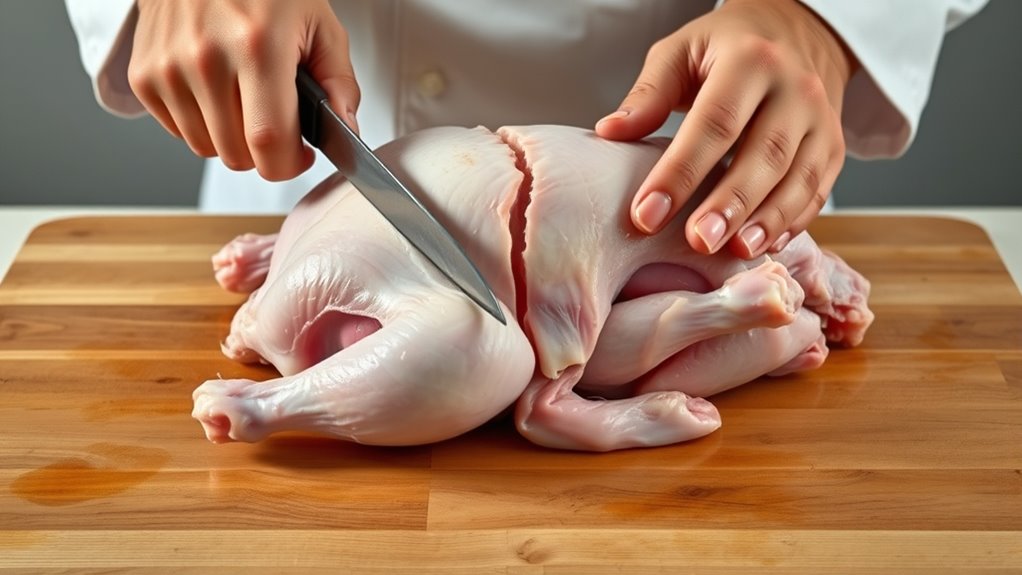
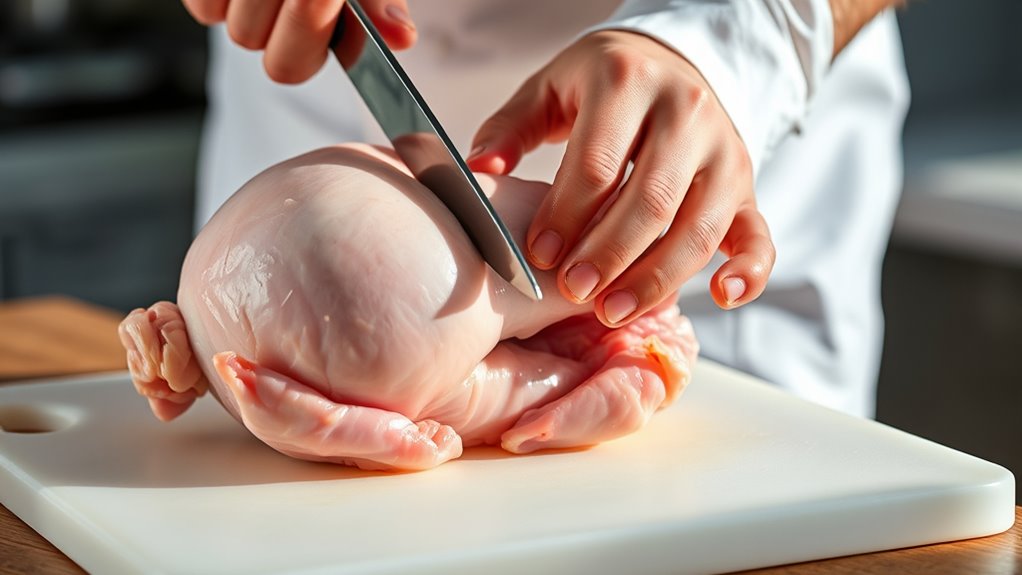
Separating the Breast From the Back

Separating the breast from the back is a straightforward step that requires a sharp knife and careful technique. Good knife skills and attention to kitchen safety guarantee a clean cut without accidents. To do this: 1. Place the chicken on a stable surface, breast side up, and find the natural separation between the breast and backbone. 2. Use your knife to make a precise cut along the seam, applying steady pressure and angling your blade to follow the contour. 3. Keep your fingers clear of the blade, maintaining control and avoiding slips. Always cut away from your body for safety. 4. Understanding safe handling practices can help prevent injuries and ensure a successful butchering process. 5. Being aware of proper knife techniques can improve efficiency and reduce the risk of accidents during this process. 6. Developing cutting skills not only makes the process safer but also more efficient for future butchering tasks. Additionally, practicing proper wielding techniques can enhance precision and safety when working with sharp tools.
Avoiding Common Mistakes and Dangerous Cuts
To prevent accidents and guarantee clean cuts, it’s essential to recognize common mistakes that can occur when splitting a chicken. One major mistake is using dull knives, which can slip and cause injuries, so always make certain your knife is sharp for knife safety. Avoid applying excessive force, as it increases the risk of slips and jagged cuts that compromise food safety. Cutting too quickly or rushing can lead to accidental nicks or cuts, so work deliberately and focus on your technique. Be cautious around bones, which can cause your knife to slip unexpectedly. Also, never ignore proper hygiene—cross-contamination can happen easily if you don’t keep your workspace and tools clean. Staying attentive to these safety tips helps prevent accidents and ensures your chicken is prepared safely. Additionally, understanding proper knife handling techniques can further reduce the risk of injury and improve your overall safety in the kitchen. Regularly inspecting your knives and keeping them sharp is an important aspect of kitchen safety, especially when working with raw poultry. Practicing safe cutting techniques can make the process both easier and safer for you.
Tips for Handling Raw Chicken Safely
Handling raw chicken safely is essential to prevent foodborne illnesses. To do this effectively, follow these tips:
- Always wash your hands thoroughly with soap and warm water before and after handling raw chicken.
- Use separate cutting boards for raw chicken and other ingredients to avoid cross-contamination.
- When marinating, do so in the refrigerator, not on the counter, and discard any leftover marinade that touched raw chicken. For seasoning, apply chicken seasoning after cleaning the chicken and ensure your work surface is sanitized. This minimizes bacteria spread and keeps your chicken safe to cook. Proper handling also helps preserve flavors from marinating techniques, enhancing your dish without risking health. Staying vigilant with these steps will keep your kitchen safe and your chicken delicious.
Finishing Up and Properly Storing the Split Chicken
Once you’ve finished splitting your chicken, the next step is to guarantee it’s properly stored to maintain freshness and prevent foodborne illness. Start by placing the chicken in airtight storage containers or resealable plastic bags to prevent contamination. If you plan to marinate the chicken, do so in the refrigerator using a non-reactive container, like glass or food-safe plastic. Incorporate marinating techniques that evenly distribute flavors, but always discard used marinade or boil it before reuse to avoid bacteria transfer. For longer storage, consider freezing the chicken, making sure to label containers with the date. Proper storage ensures your chicken stays fresh and safe until you’re ready to cook, ensuring optimal flavor and safety every time.
Frequently Asked Questions
How Do I Choose the Right Knife for Chicken Splitting?
You should choose a sharp, flexible boning knife or a chef’s knife for chicken splitting. These cutting tools allow precise knife techniques, helping you make clean cuts without slipping. Look for a knife with a comfortable handle and a flexible blade to navigate joints and bones easily. Avoid dull or bulky knives, as they increase the risk of accidents and make the process less efficient.
What Are the Signs of a Fresh Chicken?
You can tell a chicken’s fresh by checking its freshness indicators during a chicken inspection. Look for firm, moist, and plump flesh, with a clean, neutral smell—no sour or off odors. The skin should be smooth and slightly shiny, without discoloration or sliminess. Fresh chicken also has clear, bright eyes if it’s whole. If these signs are present, you’re likely choosing a fresh, safe chicken for your meal.
Can I Split Chicken Without Prior Cooking Experience?
Yes, you can split a chicken without prior cooking experience if you focus on good knife skills and understanding chicken anatomy. Use a sharp, sturdy knife and follow natural joints to make clean cuts. Take your time, keep your fingers clear of the blade, and watch tutorials if needed. Familiarizing yourself with the chicken’s structure will make the process safer and easier, even for beginners.
How Do I Prevent Cross-Contamination During Cutting?
Imagine your cutting board as a clean stage for your chicken performance. To prevent cross-contamination, you must practice proper hygiene—wash your hands thoroughly before and after handling raw chicken. Use sharp knives and proper cutting techniques to avoid splattering. Keep raw chicken separate from other ingredients, and sanitize all surfaces and utensils immediately after use. These steps guarantee a safe, contamination-free cooking process, protecting you and your loved ones.
What Are Recommended Safety Gear and Precautions?
You should wear protective gloves to prevent contamination and protect your hands from cuts. Always work in a sanitized workspace to reduce bacteria transfer. Keep knives sharp for safer cuts and handle them carefully. Wash your hands thoroughly before and after handling raw chicken. Use separate cutting boards for poultry and other foods. These precautions help guarantee safety and minimize the risk of foodborne illness.
Conclusion
Now that you know the key steps, you’re almost ready to tackle your chicken with confidence. Imagine the satisfying moment as you reveal perfectly separated pieces, each cut precise and safe. But beware—one wrong move can turn your kitchen into a messy battlefield. Stay sharp, follow the tips, and keep your focus. With practice, you’ll master this skill, transforming raw chicken into ready-to-cook portions—just waiting for your next delicious creation.