To tell if your knife is sharp without risking injury, inspect the edge for burrs, chips, or discoloration, and use a straight edge or ruler to check for flatness. Perform gentle tests like slicing through paper or a tomato—sharp blades cut cleanly with minimal effort—then carefully feel the edge with your fingertip for smoothness, and observe how easily it glides through food. If you want more tips, there’s much more to explore.
Key Takeaways
- Perform a gentle fingertip or hair strand test along the edge to feel for a smooth, snag-free surface without risking cuts.
- Use the paper test—try slicing through paper; a sharp knife cuts cleanly, while a dull one tears or crushes it.
- Check the blade visually for chips, uneven edges, discoloration, or tarnish indicating dullness or damage.
- Observe resistance during slicing—minimal effort and smooth cuts suggest a sharp blade.
- Use a knife sharpness tester for an objective measurement of sharpness without risking injury.
Laser Knife Edge Reader- See how sharp your knife is with laser precision. For use with sharpening stones and professional equipment.
As an affiliate, we earn on qualifying purchases.
As an affiliate, we earn on qualifying purchases.
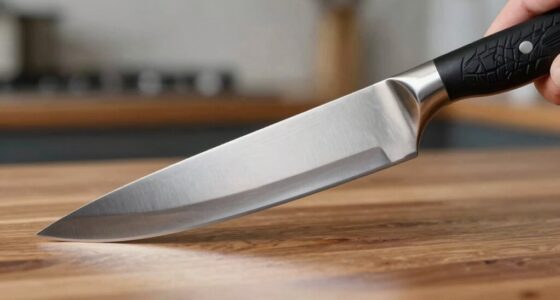
Visual Inspection of the Blade Edge

To determine if your knife is sharp, start by closely inspecting the blade edge. A sharp knife usually has a polished finish along its edge, giving it a smooth, shiny appearance. Run your fingers gently along the blade—be cautious, but note that a finely honed edge feels smooth and even. Look for blade discoloration, which can indicate dullness or corrosion; dull blades often show tarnish or uneven spots. If the edge looks chipped, uneven, or lacks the shiny polish, it’s likely dull. A well-maintained, sharp knife will have a consistent, sleek edge free of discoloration or damage. Regular visual checks help you catch dullness early, ensuring safe and effective cutting without risking injury or damaging your blades. Additionally, understanding the importance of blade maintenance can extend the life and performance of your knives. Proper cleaning and storage practices also contribute to maintaining a sharp edge, helping you avoid premature dulling. Being aware of blade durability can guide you in choosing the right care routines to keep your knives in optimal condition. Moreover, inspecting for signs of blade corrosion can prevent potential damage and ensure your knife remains in top shape longer. Maintaining a regular sharpening schedule is key to keeping your blades in top condition and performing at their best.

Intelitopia Complete Knife Sharpening Stone Set – Dual Grit Whetstone 400/1000 3000/8000 Knife Sharpener with Leather Strop, Flattening Stone, Bamboo Base, 3 Non-slip Rubber Bases & Angle Guide
【Complete Knife Sharpening Stone Kit】You don't need to be a Pro to sharpen your blades, all you need…
As an affiliate, we earn on qualifying purchases.
As an affiliate, we earn on qualifying purchases.
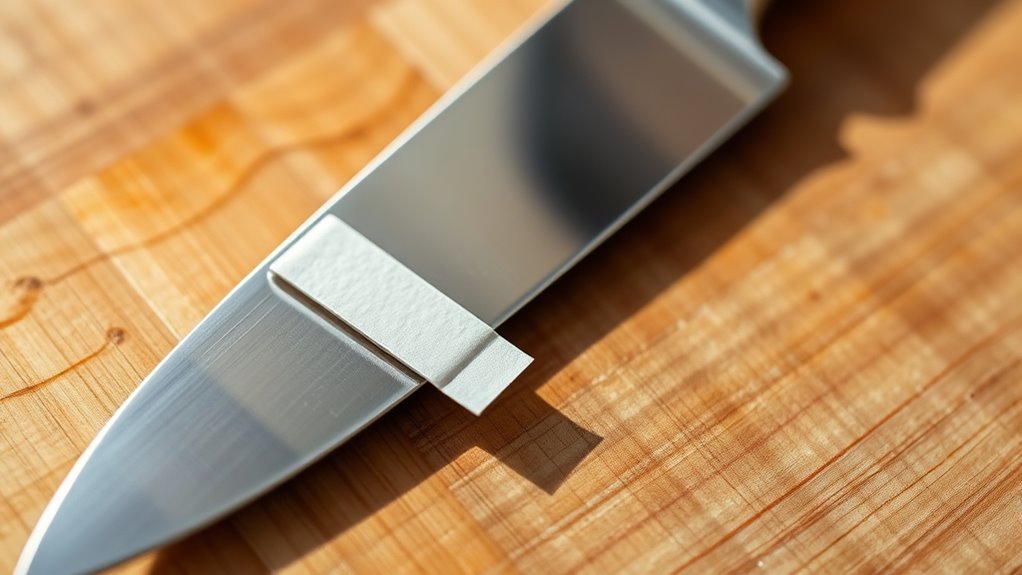
The Paper Test: Slicing Through a Sheet

The paper test provides a simple, practical way to assess your knife’s sharpness. To do it, hold a sheet of paper vertically and try to slice through it with a smooth, confident stroke. A sharp knife will cut cleanly without tearing or snagging. When testing, consider the blade angle; a proper sharpening angle (usually around 15-20 degrees) helps achieve a fine edge that slices effortlessly. If your knife struggles, it may need sharpening or realignment of the edge. Keep in mind: maintaining your knife’s edge by proper sharpening techniques ensures it stays sharp and effective. Additionally, understanding home cleaning systems can help you keep your knives and other kitchen tools in top condition for longer. Regularly inspecting your knife’s edge and practicing proper storage techniques can also prevent dulling and damage over time. Keep in mind:
A sharp knife slices paper cleanly, while dull blades tear or snag.
- A sharp knife will glide through paper easily
- Dull blades tend to tear or snag
- Consistent blade angle during sharpening improves results
This simple test helps you gauge sharpness without risking cuts or damage.

Chef’sChoice 15XV EdgeSelect Professional Electric Knife Sharpener with 100-Percent Diamond Abrasives and Precision Angle Guides for Straight Edge and Serrated Knives, 3-Stage, Gray
CONVERT YOUR KNIVES: Ideal for converting traditional 20-degree factory edges of household knives into high performance Trizor XV…
As an affiliate, we earn on qualifying purchases.
As an affiliate, we earn on qualifying purchases.
The Tomato Test: Cutting a Soft Fruit
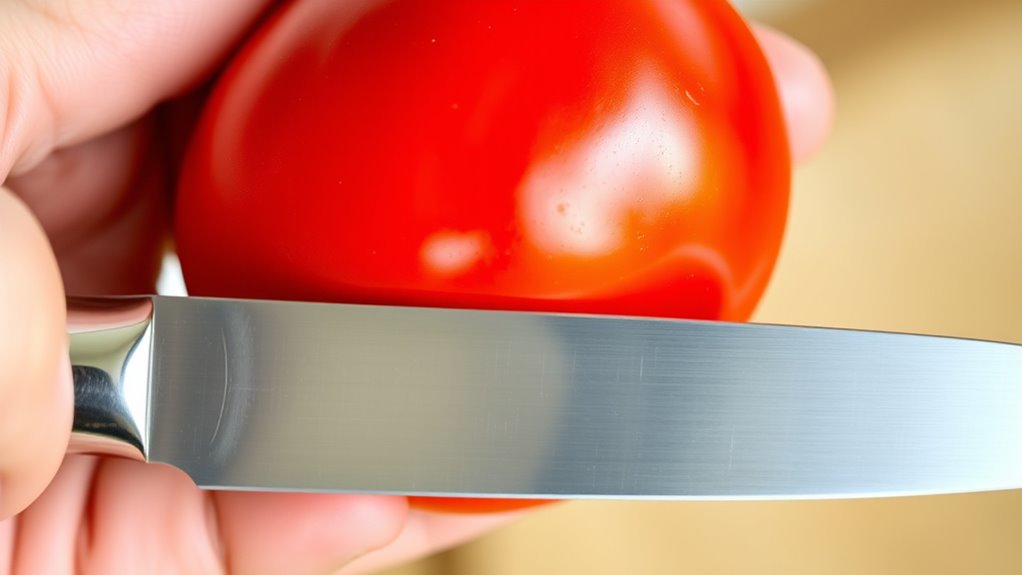
Ever wonder if your knife is sharp enough to handle soft fruits like tomatoes? The tomato test is a simple way to check. Gently press the blade against the tomato’s skin; if it slices smoothly without squishing or tearing, your knife is sharp. A dull blade will crush the skin, making the cut messy and difficult. Good knife sharpness enhances your kitchen aesthetics by ensuring clean cuts and a tidy workspace. Proper knife storage also helps maintain sharpness, preventing dulling from unnecessary contact or damage. This test doesn’t require cutting yourself, making it safe and effective. When your knife glides effortlessly through the tomato, you know it’s ready for precision tasks, elevating both your cooking experience and the visual appeal of your kitchen. Regular knife maintenance can also extend the sharpness and lifespan of your blades, keeping them in optimal condition. Additionally, understanding the importance of sharpness can help you avoid accidents caused by slipping or applying excessive force. Maintaining knife sharpness is essential for safety and efficiency in your cooking routine. Using the correct cutting technique and proper knife care can further improve performance and longevity. Incorporating proper honing techniques can also help keep your blade aligned and effective for a longer period.

Acivirdde Blade Sharpness Tester, Portable Sharp Edge Detection Tool, Knife Inspection, Enabling Precise Blade Assessment. (5g)
Precise and Efficient Testing: Equipped with a high-sensitivity sensor chip, this blade sharpness tester captures peak cutting force…
As an affiliate, we earn on qualifying purchases.
As an affiliate, we earn on qualifying purchases.
The Fingertip Test With Caution
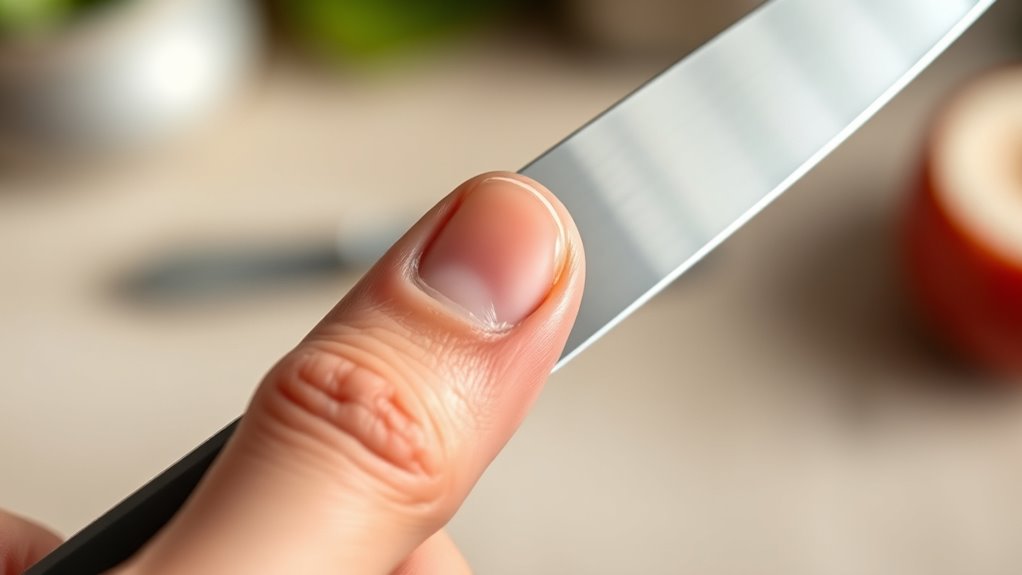
Carefully touch the blade with your fingertip, applying only gentle contact. Watch closely for any signs of skin damage or cuts. If your skin remains intact, your knife is likely sharp enough to use safely. Remember, a sharp blade often requires less force and can reduce the risk of slipping during cutting tasks.
Gentle Fingertip Contact
Wondering how to test your knife’s sharpness safely? The gentle fingertip contact method allows you to feel sharpness with minimal risk. Lightly touch the blade’s edge with your fingertip, but do so with fingertip safety in mind—use only the pad of your finger, not the tip. This provides tactile feedback on how cleanly the blade cuts. To do it safely:
- Keep your fingertip relaxed and controlled.
- Use only a gentle, gliding motion, avoiding pressure.
- Pay close attention to how the edge feels against your skin.
- Remember that tactile feedback can help you assess sharpness more accurately without risking cuts. Practicing proper testing techniques enhances your knife safety skills.
- Being aware of blade maintenance ensures your knife remains sharp and safe to use over time.
- Regularly inspecting your blade for chips or dullness helps maintain its sharpness and prolongs its lifespan.
This test is subtle but effective, giving you a sense of sharpness without risking cuts. Remember, the key is to trust your tactile feedback while maintaining cautious fingertip safety at all times.
Observe for Skin Damage
After performing the fingertip test, it’s important to check your skin for any signs of damage. If your skin shows scratches, redness, or cuts, your knife isn’t sharp enough. Look closely for blade corrosion, which can weaken the edge and cause uneven cutting. Also, assess handle stability; if the handle feels loose or wobbly, it may affect your control and safety. Ensuring the well-sourced coverage of knife features can help you better understand proper maintenance and safety practices. Additionally, inspecting the quality of the blade material can give you insights into its durability and sharpness retention over time. Regularly examining your knife’s components and proper cleaning techniques can further ensure your blade remains in optimal condition. Being aware of website performance metrics can also help you access helpful guides and tutorials more efficiently. Moreover, understanding blade edge retention can assist in determining when to sharpen or replace your knife for optimal safety.
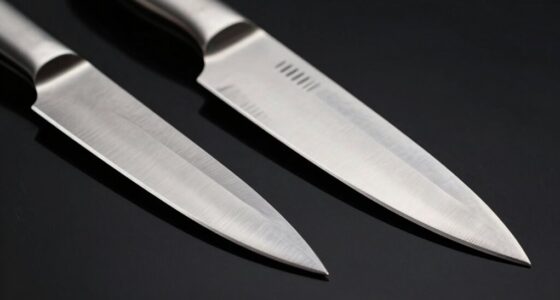
Checking for Burrs and Flatness

To determine if your knife is sharp, start by checking for burrs and flatness along the edge. Edge burrs are tiny, unwelcome metal scraps that curl over the blade, indicating dullness. Blade flatness ensures your edge isn’t bent or warped, which can compromise sharpness. Using a proper testing technique like the thumb nail test can also help assess sharpness without risking injury. Run your finger gently along the edge to feel for burrs or rough spots. Look closely at the blade to spot any unevenness or bends. Use a straight edge or ruler to verify if the blade remains flat along its length. If you detect burrs or notice the blade isn’t flat, your knife may need honing or sharpening. Regularly inspecting your blade for edge integrity helps maintain its sharpness and prolongs its lifespan. Maintaining a burr-free, flat blade helps keep your knife sharp and effective for precise cuts. Additionally, understanding the importance of proper maintenance can prevent premature dulling and extend the usability of your knife.
The Hair Strand Test
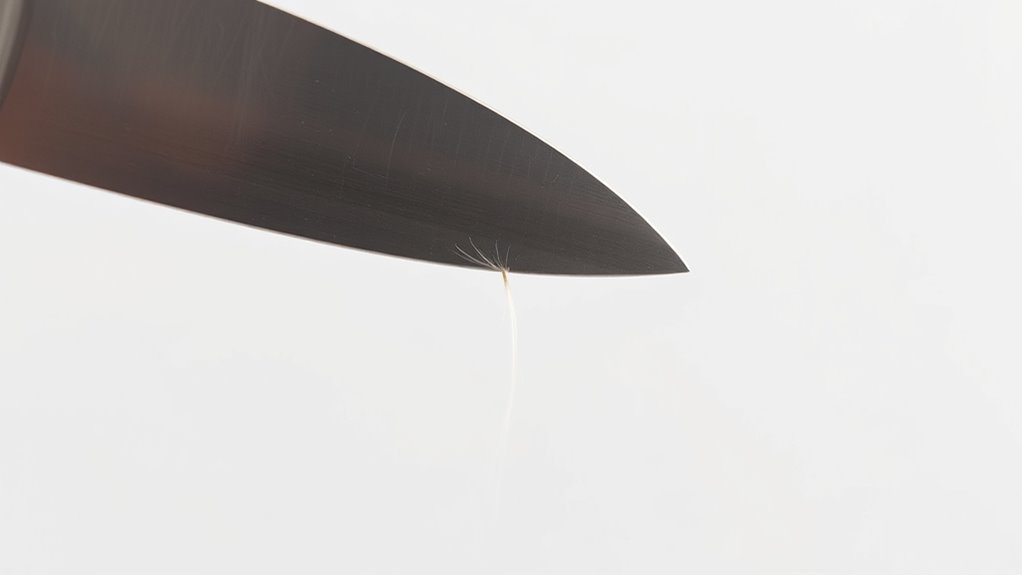
The hair strand test is a simple and effective way to check if your knife is sharp. To do this, take a clean, dry hair strand and gently press it against the blade at a slight angle. If the hair slides smoothly along the edge without snagging or catching, your knife is likely sharp. If it catches or frays, the edge may be dull. Additionally, a quick visual inspection can help; a sharp edge appears fine, smooth, and consistent, with no visible nicks or chips. The hair strand test provides an immediate, tactile method for evaluating sharpness without risking cuts. Remember, while visual inspection helps identify obvious flaws, combining it with this test offers the most reliable check of your knife’s sharpness.
The Cutting Board Resistance Method
When you cut into the food, pay attention to how much resistance you feel. A sharp knife slices easily with minimal effort, while a dull one offers more resistance and requires force. By noticing the firmness of the cut and how smoothly it slices through, you can determine if your knife needs sharpening.
Firmness of Cut
You can often gauge a knife’s sharpness by observing how it interacts with your cutting board. A sharp blade will cut smoothly without requiring excessive force. To test this, press gently and see how much resistance you feel. If the cut feels firm or requires significant pressure, your knife may not be sharp enough. Factors like the blade material influence how easily it slices through food, while handle comfort affects your control during testing. For a more accurate assessment:
- Notice if the blade glides effortlessly through the material.
- Feel for any sticking or uneven resistance.
- Ensure your handle feels secure, giving you better control.
A well-balanced, comfortable handle paired with a quality blade material makes this test more reliable and safer, helping you determine if your knife’s sharpness is up to par.
Resistance During Slicing
Resistance during slicing provides a straightforward way to assess your knife’s sharpness on the cutting board. When your knife is sharp, it glides smoothly through ingredients, requiring less force. Pay attention to blade alignment; if the blade feels misaligned or wobbles, it may hinder slicing efficiency. Handle stability also matters—if your grip feels loose or unstable, you might struggle to cut effectively, falsely indicating dullness. A sharp knife offers consistent resistance: minimal, even, and predictable. If you notice increased resistance, it could mean the edge has dulled or become uneven. Ensuring your handle is secure and your blade is correctly aligned helps you accurately judge resistance, making this method a reliable indicator of sharpness without risking injury.
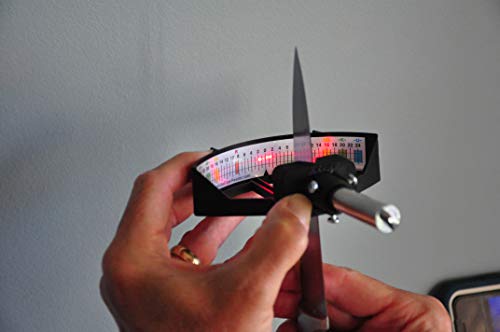
Using a Knife Sharpness Tester
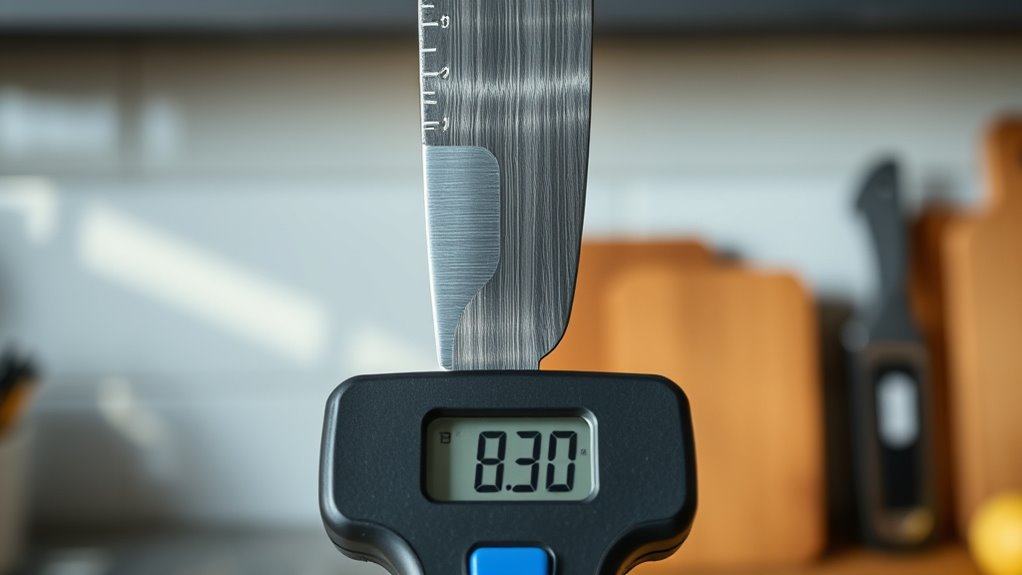
Using a knife sharpness tester provides an objective way to evaluate how sharp your knife truly is. It measures the force needed to cut through a standardized material, giving you a clear indication of edge quality. When testing, you’ll notice differences between ceramic vs. steel blades, especially regarding edge retention. Ceramic blades often stay sharp longer, but may require more careful handling, while steel blades tend to lose sharpness faster but are easier to sharpen. To get accurate results:
Using a knife sharpness tester objectively compares ceramic and steel blade edge retention.
- Ensure your knife is clean and dry before testing
- Use consistent pressure during each test
- Compare readings over time to monitor edge retention
This method helps you determine if your knife needs sharpening or if it’s still performing well, regardless of its material.
Observing Cutting Performance During Use

After testing your knife with a sharpness tester, the next step is to observe how it performs during actual cutting tasks. Pay attention to whether it slices smoothly without much effort or if you need to apply excessive pressure. A sharp knife should glide through food effortlessly, indicating good knife maintenance. If you notice tearing or slipping, it might be time to revisit your sharpening techniques. Regular sharpening keeps your blade in top condition and ensures consistent performance. Also, check for any dull spots or nicks, which can hinder cutting efficiency. Proper knife maintenance, including honing and sharpening, helps maintain excellent sharpness. By observing how your knife performs during use, you can determine if it needs a professional sharpening or if your current techniques are sufficient to keep it sharp.
Frequently Asked Questions
How Often Should I Sharpen My Knife for Optimal Performance?
You should sharpen your knife every 1-3 months, depending on usage, to maintain ideal blade maintenance and sharpness. Regular sharpening ensures your knife stays effective and safe to use. If you cook often or cut tough foods, you might need to sharpen more frequently. Pay attention to how your knife performs; if it starts to drag or require more effort, it’s time for a sharpen. Proper sharpening frequency keeps your tools in top shape.
Can a Dull Knife Be Dangerous to Use?
A dull knife can be dangerous because it requires more force, increasing the risk of slips and injuries. Proper blade maintenance, like regular sharpening, keeps your knife in safe, effective condition. Always follow safety precautions by using a stable cutting surface and keeping your fingers clear of the blade. When your knife isn’t sharp, it’s more likely to slip, so maintaining its sharpness is key to safe, efficient cutting.
What Are Common Signs of a Dull Knife?
You’ll notice a dull knife by its increased cutting resistance and uneven blade edge. If you press down harder and still struggle to slice through ingredients smoothly, it’s a sign the knife isn’t sharp enough. You might also see the blade edge look rounded or chipped. These signs indicate your knife needs sharpening to ensure safe, efficient cutting. A sharp knife reduces effort and minimizes the risk of slips or accidents.
Does a Shiny Blade Always Mean It’s Sharp?
A shiny blade doesn’t always mean it’s sharp—think of it as a high-gloss makeup job, hiding flaws. Your blade’s aesthetics can be deceiving; polishing techniques can make a dull knife sparkle but won’t sharpen it. Instead, focus on the edge’s feel and test it on a tomato or paper. A keen knife slices effortlessly, regardless of its shiny facade, so don’t rely solely on looks to judge sharpness.
Is There a Safe Way to Test a Very Sharp Knife?
Yes, you can safely test a very sharp knife with visual inspection and safe testing methods. First, look for a fine, even edge—no nicks or dents. Then, gently try slicing through a piece of paper or a tomato, applying light pressure. If it cuts smoothly without much effort, your knife is sharp. Always keep your fingers clear and use controlled movements to guarantee safe testing.
Conclusion
Now that you know how to check your knife’s sharpness, you’re armed with the tools to keep it slicing like a hot knife through butter. Think of your knife as a trusted partner—when it’s sharp, it dances effortlessly through ingredients; when dull, it’s like trying to paddle upstream. Regular checks keep your culinary journey smooth and safe, turning cooking into a delightful dance rather than a risky gamble. Keep your blades sharp, and your kitchen adventures will always shine.