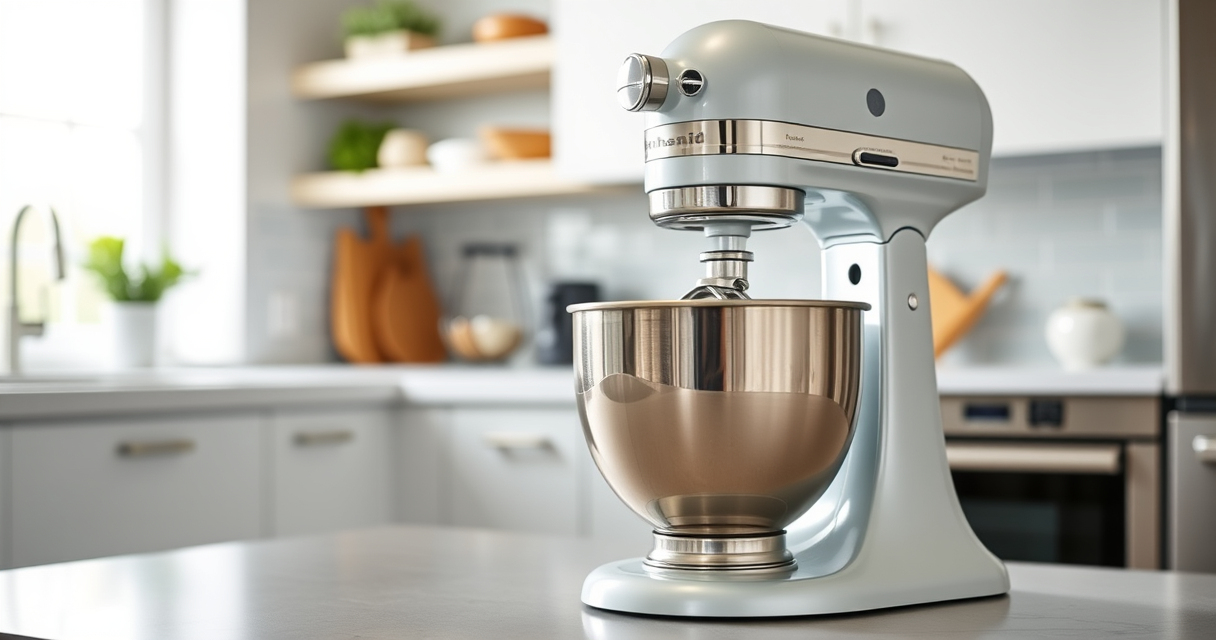

Getting started with your new KitchenAid Artisan Series 5 Quart Tilt Head Stand Mixer is exciting, but proper setup ensures optimal performance and safety. This guide walks you through each step, from unboxing to first use, with tips to troubleshoot common issues. Whether you’re a first-time user or upgrading your kitchen tools, these instructions will help you get the most out of your mixer.
We’ll cover assembly, attachment installation, initial operation, and maintenance, so you can confidently start baking, mixing, and experimenting right away.
Key Takeaways
| Easy assembly | Follow simple steps to assemble and prepare your mixer for use. |
| Attachment setup | Learn how to attach accessories like pasta rollers or grinders. |
| Safety tips | Ensure the tilt-head is locked and use the pouring shield properly. |
| Troubleshooting | Identify and fix common setup issues quickly. |
| Maintenance advice | Keep your mixer in top shape with cleaning and care tips. |

KitchenAid Artisan, 5-Qt Tilt Head Stand Mixer, KSM150PS, Milkshake
- Durable Metal Construction: Built to last with 59 touchpoints
- 5-Quart Stainless Steel Bowl: Handles small or large batches, dishwasher safe
- Tilt-Head Design: Easy ingredient addition and access to bowl
As an affiliate, we earn on qualifying purchases.
Unboxing and Initial Setup
- Carefully remove the mixer from its packaging, checking that all parts are included: the mixer body, stainless steel bowl, flat beater, wire whip, dough hook, pouring shield, and user manual.
- Place your mixer on a stable, flat surface near an electrical outlet. Ensure the area is dry and free of clutter.
- Inspect the power cord for any damage before plugging in.
It’s best to wash the stainless steel bowl and accessories with warm, soapy water before first use to remove any manufacturing residues.

KitchenAid KSMMGA Food Grinder Attachment for All KitchenAid Stand Mixers
- Compatibility: Fits all KitchenAid Stand Mixers
- Versatile Grinding Plates: Includes fine, medium, and coarse plates
- Sausage Stuffer Tubes: Two tubes for sausage making
As an affiliate, we earn on qualifying purchases.
Assembling the Mixer
- Align the bowl handle with the base and place the bowl onto the mixer’s bowl lift. Twist gently if necessary to lock into place.
- Attach the flat beater, wire whip, or dough hook to the mixer’s hub. Push down until it clicks securely into position.
- Lift the tilt-head by pressing the tilt lock lever, then tilt it back to access the bowl and attachments.
Ensure the tilt-head locks back into position before operation. This is crucial for safety and optimal mixing performance.
Connecting Attachments and Accessories
Your KitchenAid mixer is compatible with various attachments, such as pasta roller sets or food grinders. To attach these, align the accessory with the power hub on the front of the mixer and rotate clockwise until it clicks into place. Always disconnect the mixer from power before attaching or removing accessories.
For the pasta roller or grinder, pre-chill the attachment if recommended, and follow the specific attachment instructions for best results.
First Use and Testing
- Plug in your mixer and turn the speed dial to the lowest setting (stir).
- Gradually increase the speed to test different levels, ensuring the mixer runs smoothly at all speeds.
- Use the pouring shield to prevent splatters when adding ingredients, especially at higher speeds.
Start with small batches to familiarize yourself with the mixer’s behavior. If any unusual noise or vibration occurs, turn off the mixer immediately and troubleshoot.
Troubleshooting Common Setup Issues
- Attachments not fitting properly: Ensure they are aligned correctly and fully inserted into the hub.
- Mixer vibrates excessively: Confirm the bowl is seated properly and the mixer is on a flat surface.
- Mixer does not turn on: Check the power outlet and the power cord for damage. Reset the circuit if necessary.
If problems persist, consult the user manual or contact KitchenAid customer support for assistance.
The Products in This Guide

KitchenAid Artisan Series 5 Quart Tilt Head Stand Mixer
- ✔ Voltage: 120V
- ✔ Weight: 26 pounds
- ✔ Dimensions: 14 x 8 x 14 inches

KitchenAid Stand Mixer Attachment
- ✔ Attachment Type: Pasta Roller & Cutter
- ✔ Assembly: Easy snap-on
- ✔ Cleaning: Wipe clean
KitchenAid Artisan Series 5 Quart Tilt Head Stand Mixer
The KitchenAid Artisan Series 5 Quart Tilt Head Stand Mixer offers durability, multiple speeds, and a sleek design. Its tilt-head feature provides easy access, making it perfect for both beginners and experienced bakers. With a 5-quart capacity and a sturdy metal construction, it handles small and large batches effortlessly.
Pros:
- Durable metal construction
- Tilt-head design for easy access
- Multiple speed options
- Includes pouring shield
Cons:
- Relatively heavy to move
- Attachment options sold separately
Best for: Home bakers and cooking enthusiasts seeking a reliable, versatile mixer.
Not ideal for: Commercial heavy-duty use or very large batch baking.
Bottom line: A durable, versatile mixer suited for a range of baking needs.
KitchenAid Stand Mixer Attachment
The KitchenAid Stand Mixer Attachment for Pasta Roller & Cutter Set transforms your mixer into a pasta-making station. It’s easy to use, with adjustable thickness settings and compatible cutters for spaghetti and fettuccine. Perfect for homemade pasta lovers, it adds a new dimension to your cooking.
Pros:
- Easy to attach and use
- Multiple thickness settings
- Includes cutters and cleaning tool
- Made of stainless steel
Cons:
- Requires additional storage space
- Pasta sheets require manual handling
Best for: Homemade pasta enthusiasts and culinary experimenters.
Not ideal for: For those who don’t frequently make pasta or prefer pre-made noodles.
Bottom line: A must-have for fresh pasta fans looking to expand their culinary skills.
Frequently Asked Questions
How do I attach accessories like a pasta roller or grinder?
Align the accessory with the power hub on the front of your mixer, then rotate clockwise until it clicks into place. Always disconnect power before attaching or removing accessories.
Can I use my mixer continuously for long periods?
While the KitchenAid Artisan is durable, it’s best to avoid extended continuous operation to prevent overheating. Follow the manufacturer’s recommendations for usage duration.
How do I troubleshoot vibration issues?
Ensure the bowl is seated properly, the mixer is on a flat surface, and the attachments are securely fitted. Excess vibration may also result from overloading or uneven batches.
Is the mixing bowl dishwasher safe?
Yes, the 5-quart stainless steel bowl is dishwasher safe, making cleanup easy after baking or mixing.
What maintenance does the mixer require?
Regularly wipe down the exterior and attachments, check for loose parts, and keep the motor vent clear. Refer to the user manual for detailed care instructions.
Start Baking with Confidence
Now that you know how to set up your KitchenAid Artisan Stand Mixer properly, you’re ready to explore countless recipes with confidence. Proper assembly and attachment use ensure safe, efficient operation, helping you achieve perfect baking results every time. Remember to keep your mixer clean and well-maintained for years of reliable service. Happy baking!
Affiliate disclosure: As an Amazon Associate we earn from qualifying purchases. Prices and availability are accurate as of the time of publishing.