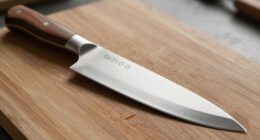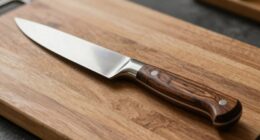

If your knife won’t get sharp even after sharpening, first check your technique—ensure you’re maintaining a steady angle and applying consistent pressure. Inspect your equipment for cracks or damage and make sure your sharpening stones or rods are clean and in good shape. Also, examine the blade for chips or dents that may need professional attention. Using the right grit progression is essential. If issues persist, learning more can help you get that edge perfect.
Key Takeaways
- Ensure your sharpening technique maintains consistent pressure, angle, and smooth strokes to effectively refine the edge.
- Inspect and clean your sharpening tools and examine the blade for damage or nicks that hinder sharpening progress.
- Use the correct grit progression, starting with coarse to repair and moving to fine for polishing, avoiding skipped grits.
- Maintain a steady blade angle and handle stability during sharpening to prevent uneven edges and dull spots.
- Seek professional sharpening if persistent dullness, damage, or uneven edges remain despite your efforts.
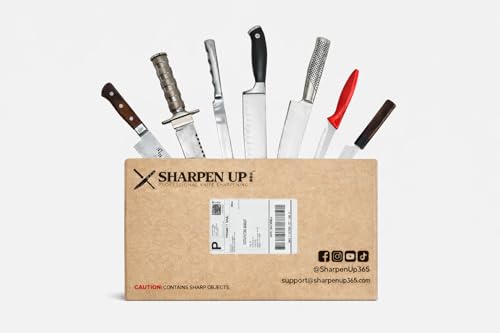
Knife Sharpening Service by Mail, Professional Blade Repair, Razor-Sharp Results, Insured and Trackable Shipping, Sharpen Up 365 Kit Included (4 Knives)
CONVENIENT SHIPPING OPTIONS: Convenient mail-in knife sharpening service with custom protective sleeves and trackable prepaid envelope – no…
As an affiliate, we earn on qualifying purchases.
As an affiliate, we earn on qualifying purchases.
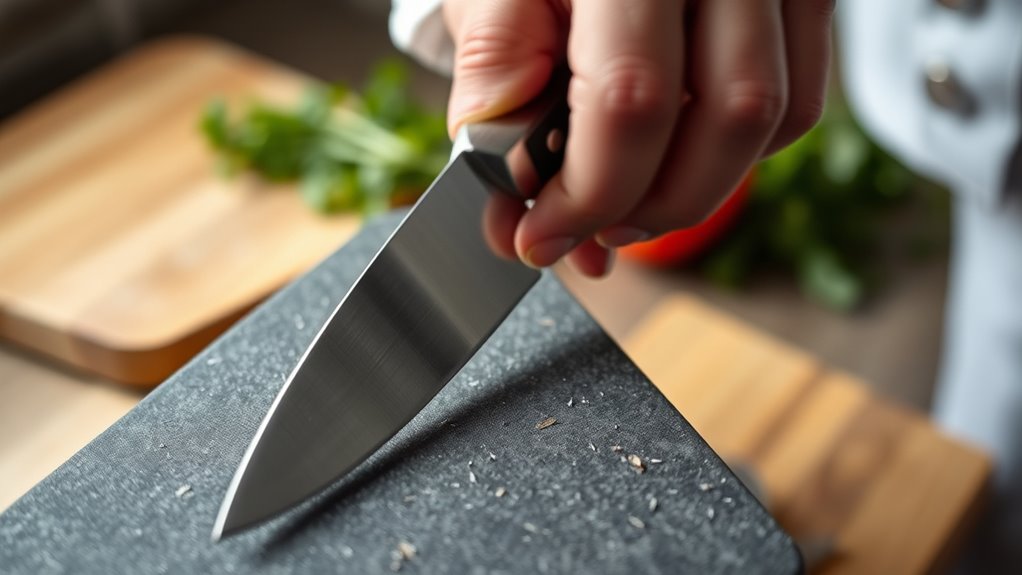
Examine and Adjust Your Sharpening Technique
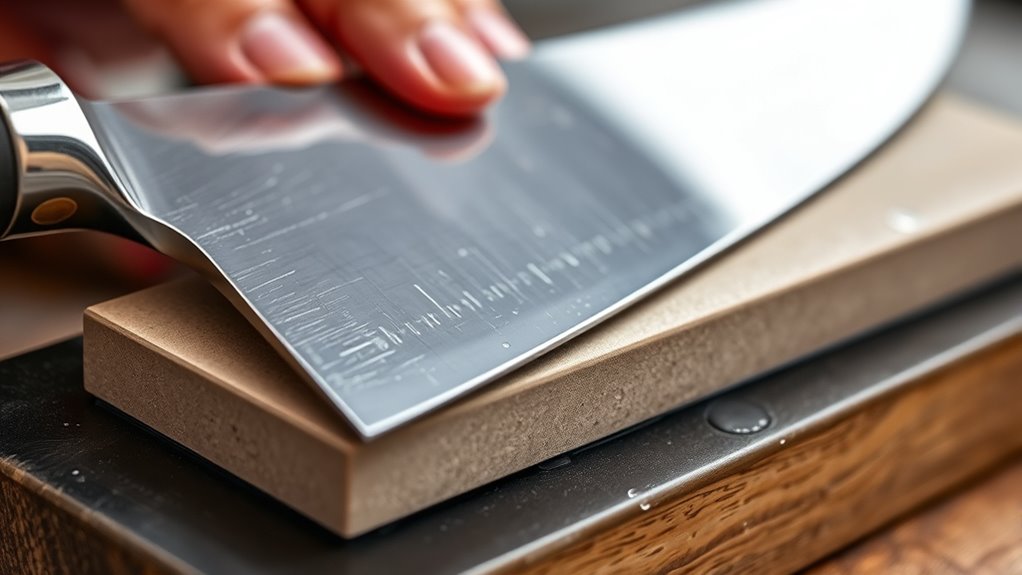
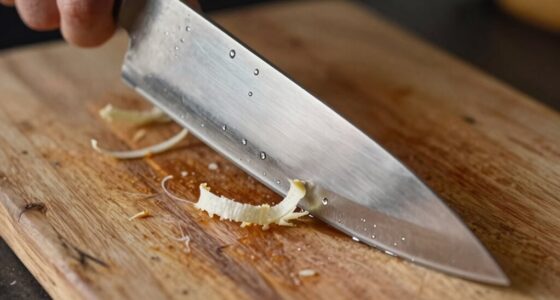
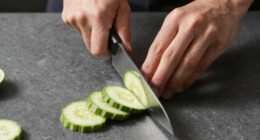
To achieve the best results, you need to regularly examine and adjust your sharpening technique. Proper technique is essential for effective sharpening, so focus on maintaining consistent pressure throughout each pass. Apply steady, even force as you slide the blade along the sharpening stone or rod, avoiding any sudden pushes or releases. Keep your angle steady; inconsistent angles lead to uneven edges and dull knives. Pay attention to your hand positioning and movement, ensuring you’re not pressing too hard or too lightly. Consistent pressure helps create a uniform edge and prevents damage. If your knife still isn’t sharp after sharpening, review your technique and make adjustments. Small changes in pressure or angle can markedly improve the sharpness, making your efforts more effective and efficient. Additionally, adopting innovative sharpening tools can enhance precision and results, especially when used with proper sharpening techniques. Incorporating regular maintenance into your routine can also help maintain optimal sharpness over time.

Intelitopia Complete Knife Sharpening Stone Set – Dual Grit Whetstone 400/1000 3000/8000 Knife Sharpener with Leather Strop, Flattening Stone, Bamboo Base, 3 Non-slip Rubber Bases & Angle Guide
【Complete Knife Sharpening Stone Kit】You don't need to be a Pro to sharpen your blades, all you need…
As an affiliate, we earn on qualifying purchases.
As an affiliate, we earn on qualifying purchases.
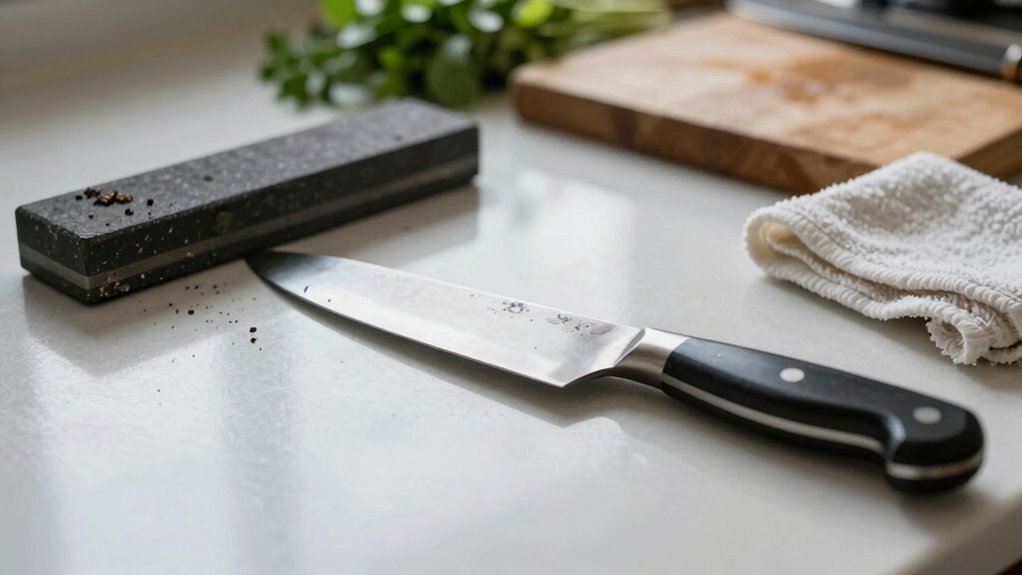
Check the Condition of Your Sharpening Equipment
Before sharpening, you should inspect your equipment to make certain it’s in good condition. Check your sharpening stones for cracks or uneven surfaces, and assess your honing rods for wear or damage. Also, evaluate your sharpening tools to make sure they’re clean and functioning properly. Ensuring your tools are well-maintained can significantly impact the quality of your sharpening results, similar to how proper Gold IRA markets setup affects successful deep-sky imaging.
Inspect Sharpening Stones
Have you ever checked your sharpening stones before starting? Inspecting them guarantees your knives get a proper edge. First, examine the surface for deep scratches or cracks, which can hinder sharpening. Second, check if the stone is flat; if it’s uneven, use a flattening stone or lapping plate. Third, ensure your sharpening oil is fresh and applied evenly—this prevents slipping and rust. Fourth, look at the knife handle for cleanliness and stability, as a loose handle can affect your grip. Also, make sure your sharpening oil isn’t contaminated, as dirty oil can clog the stone. Regular inspection of your sharpening equipment keeps your tools in top shape, making each honing session more effective and ensuring your knives stay sharp and safe to use. Additionally, maintaining proper airflow around your sharpening setup can help prevent dust accumulation and improve overall safety during the process.
Assess Honing Rods
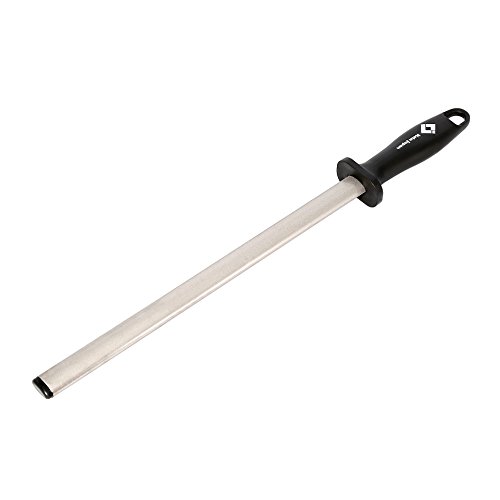
Checking the condition of your honing rods is key to maintaining sharp and effective knives. Regular honing rod maintenance helps keep the edge aligned and prevents dullness. Examine the rod’s surface for nicks, grooves, or uneven wear, which can hinder proper honing. A damaged or worn honing rod won’t effectively realign your knife’s edge and may do more harm than good. If the rod’s surface is heavily scratched or rounded, it’s time for honing rod replacement. Using a worn-out rod can give false confidence that your knife is sharp when it’s not. Keep your honing rods in good shape by cleaning them regularly and replacing them when they no longer perform properly. Proper maintenance ensures your knives stay sharp and safe to use.
Evaluate Sharpening Tools
How often do you inspect your sharpening tools to guarantee they’re in top condition? Regular checks ensure your equipment performs well, especially since dull or damaged tools can hinder sharpening. Start by examining your traditional whetstones or sharpening stones for chips or uneven surfaces. If you rely on historical sharpening methods, like leather strops or ceramic rods, look for cracks or wear. For alternative sharpening tools, verify their abrasiveness and cleanliness. Wave and wind can lead to uneven sharpening results if your tools are not properly maintained. Here are some tips:
- Check for cracks, chips, or uneven surfaces on stones.
- Ensure honing guides and angle jigs are intact.
- Clean and dry tools after use to prevent rust.
- Replace or repair damaged or worn-out equipment promptly.
- Regularly inspect your sharpening tools as part of your overall tool maintenance routine to prevent performance issues.
Maintaining your sharpening tools guarantees better results and extends their lifespan.
Kota Japan 12 in. Diamond Carbon Steel Professional Knife Sharpener Rod | Kitchen, Home or Hunting | Master Chef, Hunter or Home Gourmet Blade Sharpening Rod or Stick
✔️ DIAMOND ELECTOPLATING: State-of-the-art manufacturing for precision Kitchen, Home or Hunting blade sharpening. Ensures efficient and sharp sharpening…
As an affiliate, we earn on qualifying purchases.
As an affiliate, we earn on qualifying purchases.
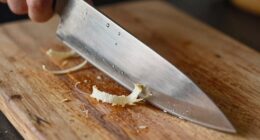
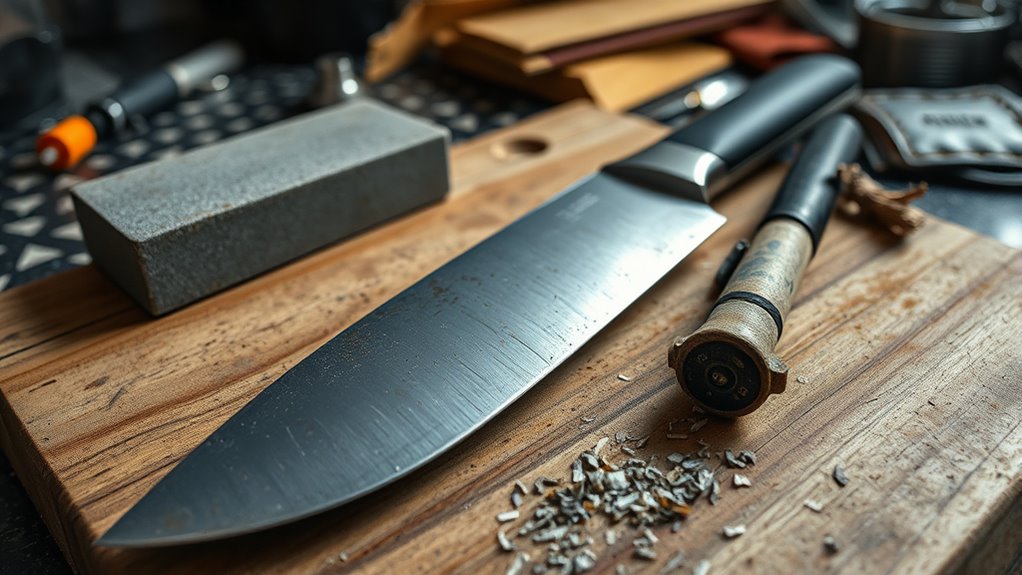
Inspect the Blade for Damage or Nicks
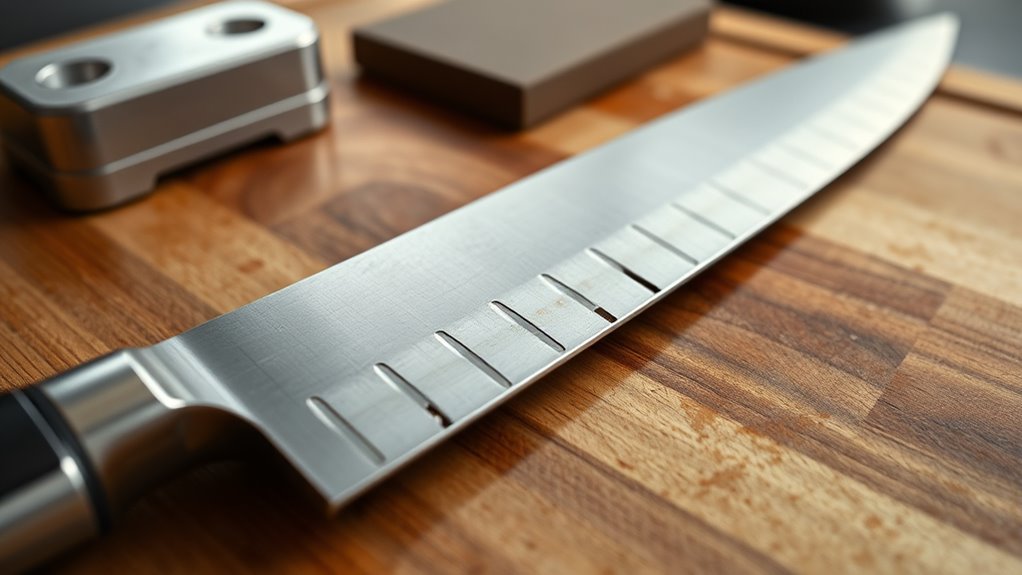
Before sharpening, carefully inspect your blade for chips or nicks. Look closely at the edge to spot any damage that could affect your results. Addressing these issues early guarantees a smoother, more effective sharpening process.
Check for Chips
Is your knife blade free of chips or nicks? If not, you need to check carefully. Chips can result from hitting hard surfaces or using improper technique, especially with softer blade material. To verify kitchen safety and maintain your knife’s performance:
- Examine the entire edge under good lighting for any visible dents or irregularities.
- Run your finger gently along the edge (without applying pressure) to feel for rough spots or nicks.
- Inspect the tip and along the sides for any small chips that might have broken off.
- Consider the blade material—softer metals are more prone to chipping and may need professional repair.
Addressing chips early prevents further damage and keeps your knife safe to use.
Examine Edge Damage
When examining your knife for damage, carefully run your fingernail or a soft cloth along the edge to detect any nicks or irregularities that aren’t immediately visible. Damaged edges can affect blade aesthetics, making the knife look worn or uneven. Look for tiny chips or dents that might be hiding beneath the surface, as these can prevent proper sharpening. Also, check the handle comfort—if the blade has damage near the handle, it could cause instability or discomfort when using. Addressing edge damage is essential; a damaged edge won’t sharpen properly, no matter how much you hone it. Identifying and understanding these imperfections helps you decide whether to repair, reshape, or replace your knife for maximum performance. Additionally, understanding edge damage and its impact on tool performance can help guide appropriate repair methods. Recognizing the signs of blade deterioration early can save you time and effort in restoring your knife’s sharpness.

SHARPAL 196N ANGLE PYRAMID Whetstone Knife Blade Sharpener Sharpening Stone Angle Guide 2-Pack, 4 Universal Angles-14°, 17°, 20°, 25°
It makes sharpening blade edge like a pro!
As an affiliate, we earn on qualifying purchases.
As an affiliate, we earn on qualifying purchases.
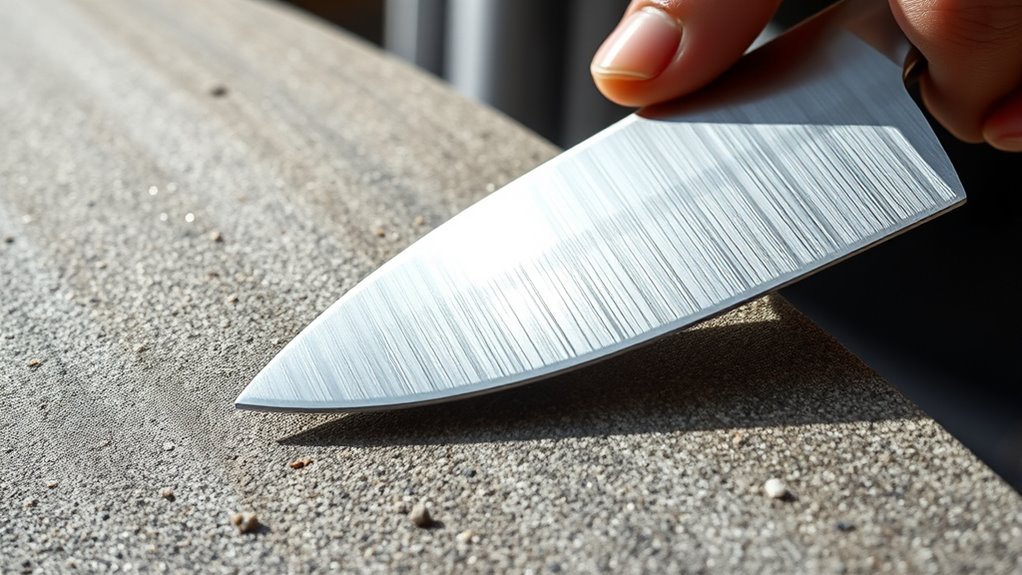
Consider the Proper Angle and Consistency
Maintaining the correct angle while sharpening is essential for achieving a sharp, durable edge. Your blade angle influences how effectively the metal is removed and how long the edge stays sharp. To guarantee sharpening consistency, follow these tips:
- Keep the blade angle steady throughout each stroke.
- Use a sharpening guide if necessary to maintain the correct angle.
- Maintain uniform pressure on both sides of the blade.
- Practice steady, controlled strokes to avoid uneven edges.
- Regularly inspect and adjust your technique to ensure the proper sharpening angle is maintained. Additionally, understanding how precision and automation can enhance your sharpening process will help you achieve better results over time.
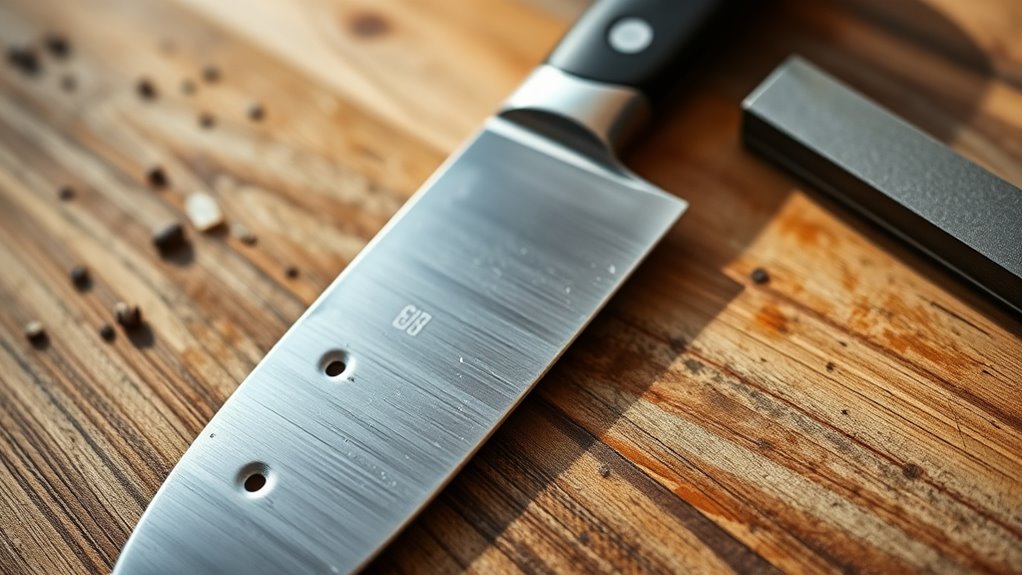
Use the Correct Grits and Progression
Using the correct grit sequence is essential for effective sharpening and achieving a razor-sharp edge. Start with a coarse grit to reshape the blade if it’s heavily dulled or damaged, but don’t skip to finer grits too soon. Progress gradually through medium and fine grits, which refine the edge and remove scratches from previous stages. This careful grit progression prevents blade corrosion by reducing microscopic nicks where moisture can settle. Additionally, maintaining handle stability during sharpening helps keep the blade aligned, ensuring even abrasion and preventing uneven dullness. Using the right grit sequence, combined with proper technique, minimizes the risk of damaging your knife and helps you avoid unnecessary corrosion, keeping your blade sharp and handle secure over time.
Evaluate the Need for Professional Sharpening
Evaluating whether your knife requires professional sharpening can save time and guarantee ideal performance. If your attempts at sharpening haven’t improved the edge, consider these signs:
If sharpening doesn’t improve your knife, seek professional help to restore its edge effectively.
- The knife still struggles to cut smoothly despite multiple passes.
- You notice visible nicks or chips that are hard to remove with basic tools.
- Your sharpening efforts feel uneven or inconsistent.
- You’re unsure about your sharpening technique or lack the proper equipment.
- Ignoring proper care and maintenance can lead to more frequent dulling and damage.
- Incorporating proper tools and techniques can make a significant difference in maintaining your knife’s edge.
In these cases, professional services can restore your knife’s edge efficiently. Alternatively, you might explore other methods like honing or using a guided sharpening system. Recognizing when to seek expert help ensures you don’t cause further damage and keeps your knives performing at their best.
Frequently Asked Questions
How Often Should I Sharpen My Knife to Maintain Its Edge?
You should sharpen your knife every 1 to 3 months, depending on your blade maintenance routine and how often you use it. Regular sharpening keeps the edge precise, preventing dullness. If you notice your knife isn’t cutting well, it’s time to sharpen again. Keep an eye on the blade’s performance and adjust your sharpening frequency accordingly, ensuring your knife stays sharp and safe to use.
Can Improper Storage Affect My Knife’s Sharpness?
Did you know improper storage is responsible for up to 70% of knife dulling? Yes, your knife’s sharpness can suffer if you don’t store it correctly. Poor knife storage exposes blades to moisture, increasing rust risk and dulling the edge. To keep your knife sharp, always store it in a knife block, on a magnetic strip, or in a protective sheath. This helps prevent rust and maintains ideal sharpness.
What Types of Knives Are More Prone to Dulling?
You’ll notice that knives with softer blade materials, like high-carbon steel or softer stainless steel, dull more quickly, especially with frequent use. Knives with handles made from less durable materials, such as plastic or low-quality wood, also tend to dull faster because they may require more aggressive sharpening or damage easily. To keep your knives sharp longer, opt for high-quality blade materials and sturdy handles that withstand daily tasks.
Are Ceramic Knives More Difficult to Sharpen Effectively?
Did you know ceramic knives are about five times harder than steel? That makes them durable but also more challenging to sharpen. Because of ceramic durability, sharpening challenges arise since they require special tools and techniques. You might find it tougher to restore their edge compared to metal knives, and improper sharpening can even chip the blade. So, if your ceramic knife isn’t sharp, consider professional sharpening or specific ceramic sharpening tools.
How Can I Tell if My Knife Is Beyond Repair?
You can tell your knife is beyond repair if it shows significant blade damage or edge deformation, like chips or bends. When sharpening no longer restores the edge’s sharpness, and the damage doesn’t improve after multiple attempts, it’s a clear sign. If the blade feels unstable or the damage is deep, replacing the knife is often the safest choice. Don’t risk injury or further damage by trying to fix a severely compromised blade.
Conclusion
Sometimes, your knife’s true sharpness lies just beyond your current reach. If it refuses to cooperate, it might be whispering that a fresh perspective or a gentle nudge from a professional is all it needs. Remember, even the finest blades benefit from a little expert care now and then. Embrace patience and know that with the right touch, your knife can find its way back to effortless grace—sometimes, it’s about knowing when to step back and let the experts guide you.