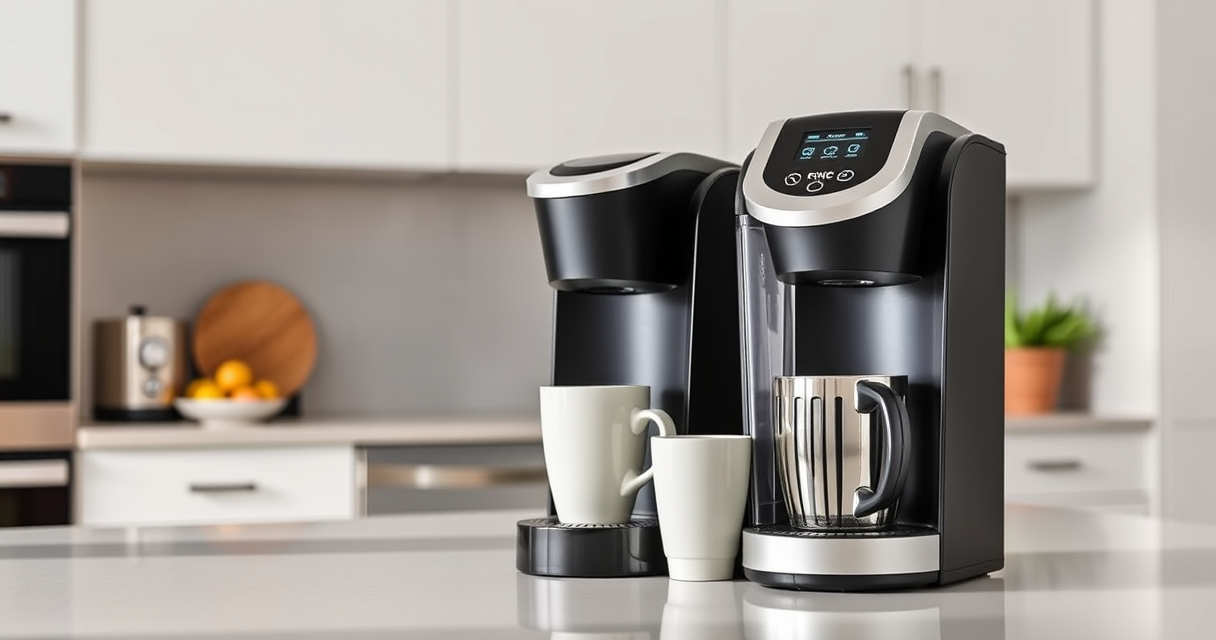

The Keurig K-Mini is a compact, efficient single-serve coffee maker perfect for small spaces and busy mornings. However, like any appliance, it can sometimes encounter issues such as clogs, brew problems, or mineral buildup. Proper troubleshooting and regular care are essential to keep your machine functioning at its best and to ensure your coffee tastes great every time.

Get kitchen gear delivered free — and shop member deals
- Fast, free delivery on millions of items
- Access to Prime Big Deal Days deals on October 6–7
- Prime Video, Amazon Music and more included
In this guide, we’ll walk you through common problems, detailed maintenance steps, and tips to prolong your Keurig’s lifespan. Follow these simple instructions to resolve issues safely and efficiently, saving you time and money while enjoying your favorite brews.
Key Takeaways
| Regular descaling prevents mineral buildup | Descale your Keurig every 3 months to maintain optimal performance. |
| Cleaning the brew path is crucial | Rinse the K-Cup holder and brew chamber regularly to avoid clogs. |
| Troubleshoot common errors step-by-step | Identify and fix issues like water not dispensing or weak brews easily. |
| Use proper cleaning tools and solutions | Employ recommended descaling and cleaning kits for safe maintenance. |
| Ensure water reservoir is properly filled and seated | Check water levels and placement to prevent brewing issues. |
Initial Troubleshooting Steps
- Check the water reservoir: Ensure it’s filled with fresh water and properly seated in the machine.
- Inspect the brew basket and K-Cup holder: Remove any used pods or debris blocking the flow.
- Test for clogs: Run a brew cycle without a pod to see if water flows freely.
- Reset the machine: Unplug for 30 seconds, then plug back in to reset electronics.
Cleaning and Descaling Your Keurig
Mineral deposits from tap water can cause brewing issues over time. Regular descaling is essential:
- Fill the water reservoir with a descaling solution or a mixture of equal parts white vinegar and water.
- Place a large mug or bowl on the drip tray to catch the solution.
- Run a brew cycle without a K-Cup, allowing the solution to run through the machine.
- Repeat with clean water to rinse out any remaining descaling solution.
- Perform this process every 3 months or as needed based on usage and water hardness.
Deep Cleaning the Brew Path
Residue buildup can cause weak or inconsistent brews. Regular cleaning keeps your machine performing optimally:
- Remove the K-Cup holder and brew basket, then wash with warm, soapy water.
- Use a soft brush or cloth to clean the brew chamber and exit needle.
- Wipe the exterior with a damp cloth and dry thoroughly.
- Reassemble and run a water-only brew cycle to clear any remaining particles.
Addressing Common Brewing Issues
If your Keurig isn’t brewing correctly, try these specific fixes:
- Water not dispensing: Check for clogs or blockages in the water reservoir or exit needle. Clean the needle with a paperclip or needle cleaning tool.
- Weak coffee or no coffee flow: Descale the machine, or ensure the water reservoir is full and properly seated.
- Machine turning off unexpectedly: Verify the auto-off feature isn’t set to a short duration, or reset the machine.
Maintaining Your Keurig for Longevity
Consistent care extends the life of your Keurig and ensures high-quality coffee every time. Use the following tips:
- Descale every 3 months or sooner if you notice slower brewing or weak coffee.
- Clean the exterior and removable parts weekly.
- Replace water filter cartridges as recommended to prevent mineral buildup.
- Use filtered water when possible to reduce mineral deposits.
- Store in a dry, cool place if not used regularly.
The Products in This Guide

Keurig K-Mini Single Serve K-Cup Pod Coffee Maker
- ✔ Width: Less than 5 inches
- ✔ Capacity: 6-12 oz brew sizes
- ✔ Auto Off: Yes

My K-Cup® Reusable Coffee Filter
- ✔ Compatibility: Keurig K-Mini and more
- ✔ Material: Plastic
- ✔ Cleaning: Dishwasher safe
Keurig K-Mini Single Serve K-Cup Pod Coffee Maker
The Keurig K-Mini excels in small spaces, offering quick brewing and simple maintenance. Its compact size makes it perfect for apartments, offices, or travel, and with regular care, it remains a dependable coffee maker.
Pros:
- Space-saving design
- Brews in minutes
- Removable drip tray for travel mugs
- Energy-efficient auto-off
Cons:
- Limited brew size options
- No water filter built-in
- Requires frequent descaling in hard water areas
Best for: Small spaces, quick coffee needs, travel-friendly brewing
Not ideal for: Users seeking advanced features or larger capacities
Bottom line: A compact, reliable coffee maker with straightforward maintenance for everyday use.
My K-Cup® Reusable Coffee Filter
The My K-Cup Reusable Coffee Filter is a great addition for those who prefer ground coffee or want to reduce waste. It’s compatible with the Keurig K-Mini and other models, making your brewing routine more versatile and eco-friendly.
Pros:
- Reusable and eco-friendly
- Allows custom ground coffee
- Easy to clean and use
- Compatible with multiple Keurig models
Cons:
- Requires manual filling
- Potential for clogging if not cleaned regularly
- Slightly more maintenance than pods
Best for: Brewing ground coffee, eco-conscious users, cost-saving
Not ideal for: Users preferring capsule convenience or minimal cleaning
Bottom line: A practical reusable filter that enhances your Keurig’s versatility.
Frequently Asked Questions
How often should I descale my Keurig K-Mini?
Descaling should be done every 3 months or sooner if you notice slower brewing or weak coffee, especially in areas with hard water.
Why is my Keurig not brewing properly?
Common causes include clogs in the brew path or water flow, mineral buildup, or an improperly seated water reservoir. Regular cleaning and descaling usually resolve these issues.
Can I use ground coffee with my Keurig?
Yes, you can use ground coffee with a reusable My K-Cup filter. Ensure it is properly placed and cleaned after each use.
What should I do if my Keurig leaks water?
Check the water reservoir for proper seating, inspect the brew basket for blockages, and clean the exit needle. Descaling may also help if mineral deposits are causing leaks.
Is it safe to use vinegar for descaling?
Yes, a mixture of equal parts white vinegar and water is safe for descaling, but be sure to run multiple rinse cycles afterward to remove any vinegar residue.
Keep Your Keurig K-Mini Brewing Perfectly
With regular cleaning, descaling, and proper maintenance, your Keurig K-Mini will continue delivering fresh coffee quickly and reliably. Addressing issues early and following this comprehensive troubleshooting guide will extend the lifespan of your machine and enhance your coffee experience. Remember, simple steps like cleaning the brew path and maintaining the water reservoir can prevent many common problems, ensuring your mornings start smoothly every time.
Affiliate disclosure: As an Amazon Associate we earn from qualifying purchases. Prices and availability are accurate as of the time of publishing.
Halloween Picks
halloween
As an affiliate, we earn on qualifying purchases.