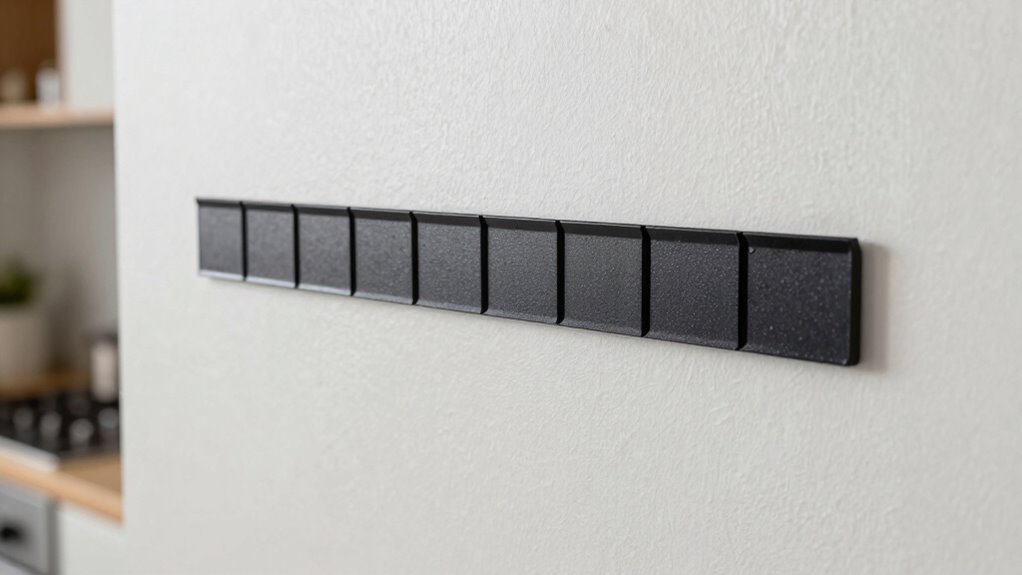
To mount a magnetic strip at the right height, start by choosing a spot that’s easily accessible but out of the way of everyday traffic. Use a measuring tape and level to mark your desired height, typically around eye or waist level for convenience. Make sure it’s secure and stable. Make small adjustments if needed, and double-check everything before mounting. For more tips on perfect placement and installation, keep exploring how to optimize your workspace.

Get kitchen gear delivered free with Prime
- Fast, free delivery on millions of items
- Prime Video, Amazon Music and more included
- Member-only deals all year
Key Takeaways
- Measure and mark the desired height on the wall considering accessibility and safety.
- Use a level to ensure the markings are straight before drilling.
- Adjust the mounting height to prevent strain and optimize workspace efficiency.
- Choose a height that allows easy access to frequently used items.
- Reassess the position after mounting to confirm the strip is at the correct height.
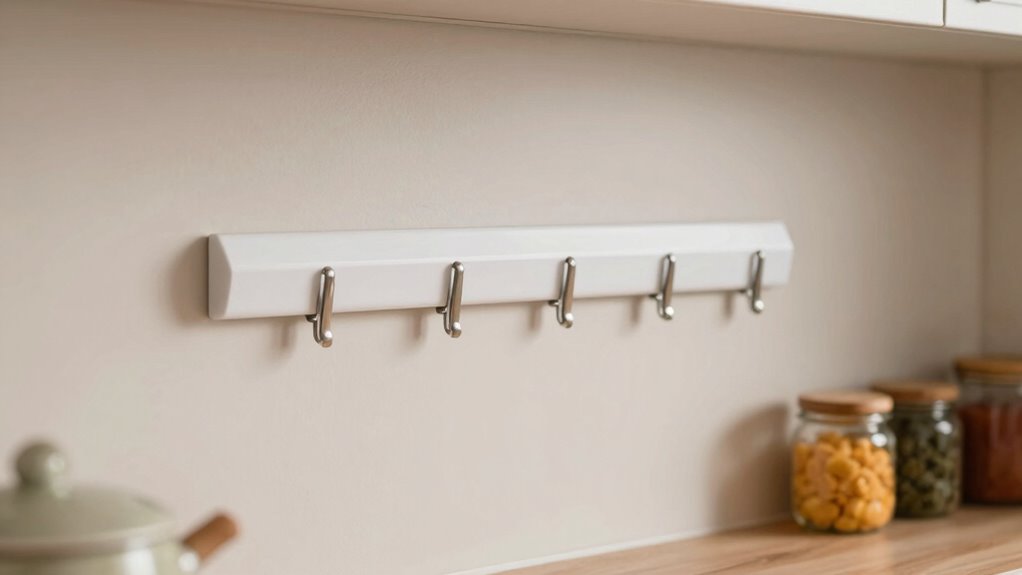
Mounting a magnetic strip is a straightforward process that can help you organize tools, knives, or other metal objects efficiently. To get started, you want to take into account the different magnetic strip types available, such as those with strong neodymium magnets or more flexible rubber-coated options. Each type has its advantages depending on what you plan to hang, so choosing the right one guarantees your setup is both secure and accessible. Once you’ve selected the appropriate strip, you’ll need the right installation tools. Basic tools like a drill, screwdriver, level, measuring tape, and mounting hardware—screws and anchors—are essential to ensure a clean, professional finish.
Choosing the right magnetic strip and proper tools ensures secure, accessible, and organized storage for tools and knives.
First, decide where you want to mount the strip. Think about accessibility and height; you want it at a level that’s easy to reach while standing comfortably. Use a measuring tape to mark the exact spot on the wall, then double-check with a level to ensure the markings are straight. Proper height is critical because it affects how easily you can grab items without stretching or bending awkwardly. Too high, and you might struggle to reach, too low, and it could be in the way or cause clutter. Additionally, considering ergonomics can help improve overall convenience and safety. Adjusting for the right height can also prevent strain and make your workspace more efficient.
Once your measurements are set, gather your installation tools. If your wall material is drywall, you’ll likely need wall anchors to make sure the magnetic strip stays securely in place. Drill holes at your marked points, then insert anchors if necessary. For harder surfaces like tile or concrete, use a masonry bit and appropriate anchors. After that, align the magnetic strip with the drilled holes and screw it in securely. Tighten the screws just enough to hold the strip firmly against the wall without risking damage to the strip or wall. It’s also helpful to ensure the wall surface is clean and free of dust before mounting for better adhesion. Being aware of the wall material can help you select the most effective mounting hardware and techniques.
After mounting, step back and verify that the strip is level and firmly attached. Adjust if needed, tightening the screws or repositioning slightly. The right height isn’t just about aesthetics; it’s about functionality and safety. Mounting it at the correct height will make your workspace more efficient and prevent items from falling or becoming hard to reach. Proper installation ensures the magnetic strip’s longevity and safety, which is essential for a secure setup. By carefully selecting the magnetic strip type and using the right installation tools, you guarantee your magnetic strip’s longevity and your convenience. With a little patience and proper planning, you can enjoy a tidy, organized space where your tools and knives are always within easy reach.
Products Worth Considering
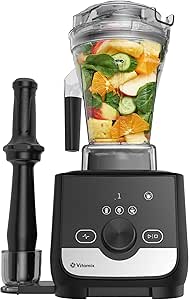
Vitamix Ascent X3 Professional-Grade Blender, 3 Programs, Shadow Black

Ninja Foodi Air Fryer 10 Qt DualZone 6-in-1 Black DZ302

KitchenAid 28 oz Cold Brew Coffee Maker, KCM4212
As an affiliate, we earn on qualifying purchases.
Frequently Asked Questions
What Tools Are Best for Measuring Optimal Mounting Height?
You should use measuring tools like a tape measure or a ruler to determine the ideal mounting height for your magnetic strip. These tools help you achieve precise measurements and consistent placement. Employ proper mounting techniques, such as marking the spot beforehand and using a level to ensure straight alignment. This way, you’ll guarantee the magnetic strip is mounted at a practical, accessible height, making it easy to use and secure.
Can Magnetic Strips Be Mounted on Uneven Surfaces?
You can mount magnetic strips on uneven surfaces, but surface compatibility affects magnetic strength. Think of the strip as a dancer trying to stay balanced on uneven ground—it struggles to hold firmly. To maximize magnetic strength, guarantee the surface is as smooth as possible, or consider using a flat mounting plate. This helps the magnetic strip grip securely, turning a shaky foundation into a sturdy stage for your tools.
How Do I Prevent the Magnetic Strip From Falling?
To prevent the magnetic strip from falling, guarantee you select a strip with strong magnetic strength suitable for your items. Use high-quality mounting adhesives or screws designed for the surface you’re attaching to. Clean the surface thoroughly before mounting, and press firmly to secure the strip. Regularly check the adhesive’s integrity and replace it if it weakens. Proper installation and choosing the right adhesive will keep your magnetic strip securely in place.
Is There a Recommended Height for Different Items?
The ideal mounting height for a magnetic strip depends on the items you’ll store. For most kitchen tools, place the magnetic strip at about eye level or slightly lower, around 48-54 inches from the floor. For small or lightweight items, keep the magnetic strip lower, around 36 inches. Proper magnetic strip placement guarantees easy access and safety, so adjust the ideal mounting height based on your specific needs and the size of your items.
How Do I Remove the Magnetic Strip Without Damage?
Oh, you want to remove that magnetic strip without causing damage? Easy! Just gently pry it off with a plastic pry tool or your fingernail, working slowly along its edges. Avoid yankin’ or using metal tools, which might cause damage. Applying a little heat can help loosen the adhesive, ensuring a smooth magnetic strip removal while damage prevention stays intact. Patience is your best friend here!
Conclusion
Mounting your magnetic strip at the right height makes a big difference in its effectiveness and your convenience. When positioned at eye level or just above your workspace, it’s easier to grab tools quickly and stay organized. Did you know that a cluttered workspace can reduce productivity by up to 20%? So, taking the time to mount your magnetic strip correctly isn’t just about aesthetics—it’s about boosting your efficiency and feeling more in control of your space.