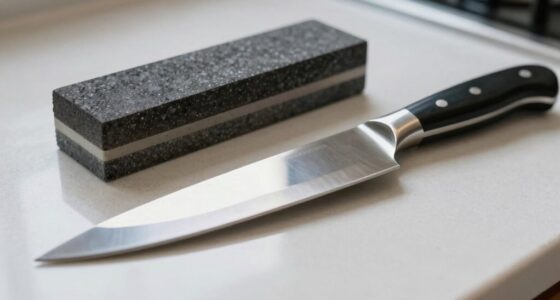

To flatten a whetstone effectively, first check for uneven surfaces by drawing grid lines or inspecting light reflection, which indicates dips or high spots. Use a flattening tool like a truing stone, diamond plate, or coarse wet/dry sandpaper on a flat surface, and apply steady pressure in circular motions. Regularly verify progress until the grid lines vanish. Mastering these steps helps guarantee consistent sharpening; keep going to discover more pro tips.
Key Takeaways
- Regularly inspect your whetstone surface using pencil grids or light reflection to identify uneven wear.
- Use proper tools like a truing stone, diamond plate, or coarse sandpaper on a flat surface for effective flattening.
- Apply consistent pressure and circular motions during flattening, checking progress frequently until the surface is even.
- After flattening, refine the edge with light strokes on a fine stone or strop to remove rough spots and burrs.
- Maintain flatness regularly and store stones in a dry environment to ensure long-term performance and consistent sharpening results.

HOSHANHO Kitchen Knife in Japanese High Carbon Steel, Professional High-Class Chef's Knife 8 inch, Non-slip Ultra Sharp Cooking Knives with Ergonomic Handle
【High-End Japanese Steel Chef's Knife】 HOSHANHO chef's knife is made of Japanese high carbon steel 10Cr15CoMoV, 2x of...
As an affiliate, we earn on qualifying purchases.
Recognizing When Your Whetstone Needs Flattening
Knowing when your whetstone needs flattening is essential for consistent sharpening results. You’ll notice uneven edges or that your knife isn’t getting sharp despite multiple passes. Check the surface by drawing a pencil grid vertically and horizontally across it. If the lines stay visible or gaps appear, your stone isn’t level. Hold the stone to the light—any visible dips or central depressions confirm unevenness. Frequently, the center wears faster, creating a dish that affects sharpening. Markings from the grid disappear first at the edges, signaling that the middle has become higher. Regularly inspecting your stone ensures you catch these signs early, preventing uneven bevels and reducing the time needed for correction later. Proper maintenance of your whetstone can significantly extend its lifespan and performance. Recognizing these cues helps maintain peak performance and prolongs your whetstone’s lifespan. Additionally, natural stones tend to wear more evenly when properly maintained, which can reduce the frequency of flattening. Being aware of the wear patterns can help you develop a consistent maintenance routine. Incorporating regular flattening into your sharpening routine will ensure your stone stays in optimal condition for precise results.

imarku Chef Knife 7 Inch Kitchen Knife Ultra Sharp Santoku Knife - High Carbon Japanese Chefs Knife, Kitchen Gadgets 2025, Apartment Essentials, Birthday Gifts for Him Her, Best Gifts for Women Men
Professional Santoku Knife: This imarku super sharp santoku knife is made of high carbon stainless steel that resists...
As an affiliate, we earn on qualifying purchases.
Gathering the Right Tools for the Job
To guarantee a smooth flattening process, gathering the right tools is essential. You’ll need options suited for your stone’s grit and type. Choose a truing stone, diamond lapping plates, or coarse sandpaper for quick results. Ensure water lubrication for all techniques. Here’s a quick overview:
| Tool | Best Use |
|---|---|
| Truing stone | Fast, effective flattening of all grit sizes |
| Diamond plates | Precise, efficient abrasion |
| Wet/dry sandpaper | Budget-friendly, versatile, on flat glass |
| Fire bricks | Basic, softer stones |
| Straight edge | Checks for flatness |
Having these tools ready saves time and guarantees a consistent, flat surface for optimal sharpening results. Additionally, understanding power tool safety and proper setup procedures helps prevent accidents during the flattening process.

Japanese Chef Knife, 8 Inch Damascus Kitchen Knife with VG10 Steel, Handcrafted Sharp Knife with Ergonomic Handle, Cooking Knives for Home Chefs, Cooking Gifts for Men and Women
【Premium Damascus Chef Knife with VG-10 Steel Core】Our Japanese knives feature a VG-10 steel core (60 HRC) for...
As an affiliate, we earn on qualifying purchases.
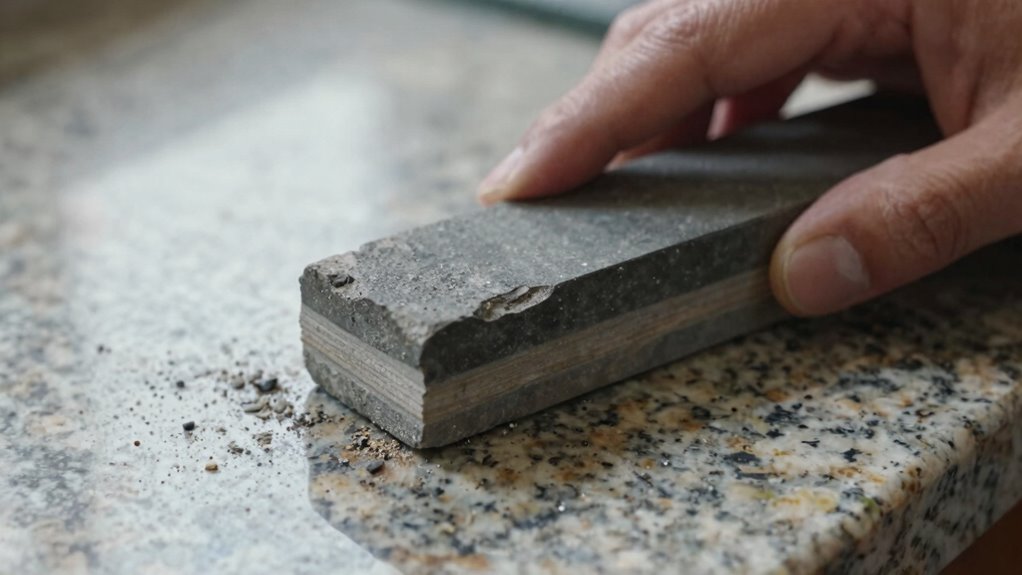
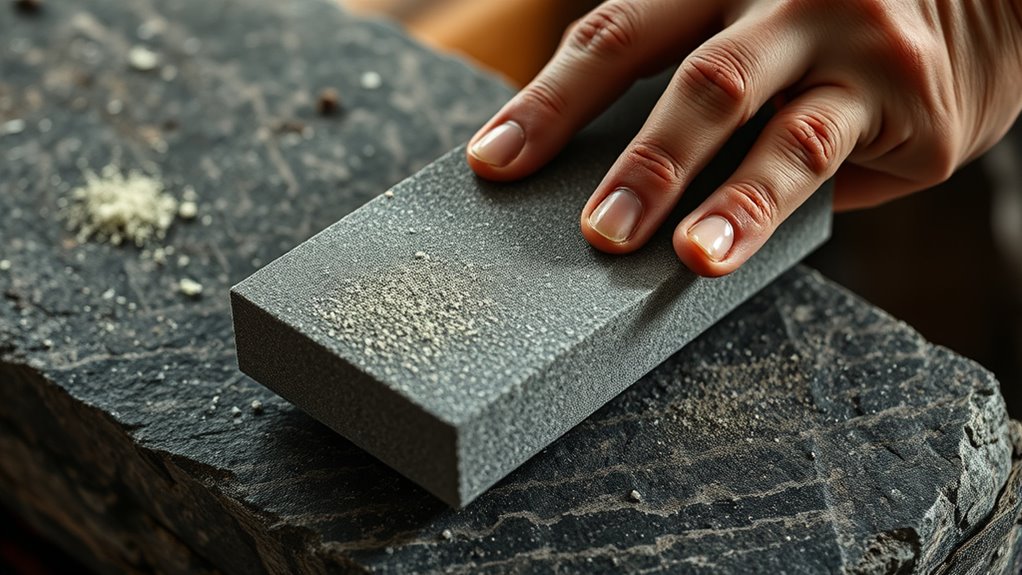
Preparing Your Whetstone and Work Area
Before you start flattening your whetstone, set up a clean, stable work area with good lighting. Clear the space of clutter to avoid accidents and guarantee safety. Gather your tools—flattening stone, water, towel, and any abrasives—within easy reach. Use a flat, non-slip surface like a workbench or sturdy table; placing the whetstone on a damp towel prevents slipping. Good lighting helps you see surface imperfections and check for flatness. Keep a container nearby for water to lubricate your tools and wash away debris. Avoid working in dim or unstable environments, which can lead to uneven flattening or accidents. Proper preparation ensures efficiency, safety, and a smooth, accurate flattening process. Incorporating regular maintenance of your sharpening tools can also improve your overall sharpening results. Additionally, ensuring your work area is free of distractions helps you focus and achieve the best results. Being mindful of your work environment and maintaining a clutter-free space can make the process more precise and enjoyable. To further enhance your sharpening routine, consider verifying the cleanliness and condition of your air purifier, which can help maintain a healthy workspace free of airborne dust and allergens that might interfere with your focus.

imarku Japanese Chef Knife - Sharp Kitchen Knife 8 Inch Chef's Knives HC Steel Paring Knife, Unique Gifts for Men and Women, Gifts for Mom or Dad, Kitchen Gadgets with Gift Box, Gyutou Knives
High-Carbon Stainless Steel Blade: It is manufactured from high-quality stainless steel that maintains its functionality for a long...
As an affiliate, we earn on qualifying purchases.
Step-By-Step: Flattening With a Truing or Flattening Stone

To get the best results, you need to prepare the surface of your flattening stone properly. Make sure it’s clean and fully soaked, so it glides smoothly over your whetstone. Once you start, keep working until the entire surface is flat and free of high spots or dips. Proper water chemistry ensures your sharpening stones stay in optimal condition and perform effectively. Additionally, regular maintenance with a truing stone can help maintain the surface’s flatness over time.
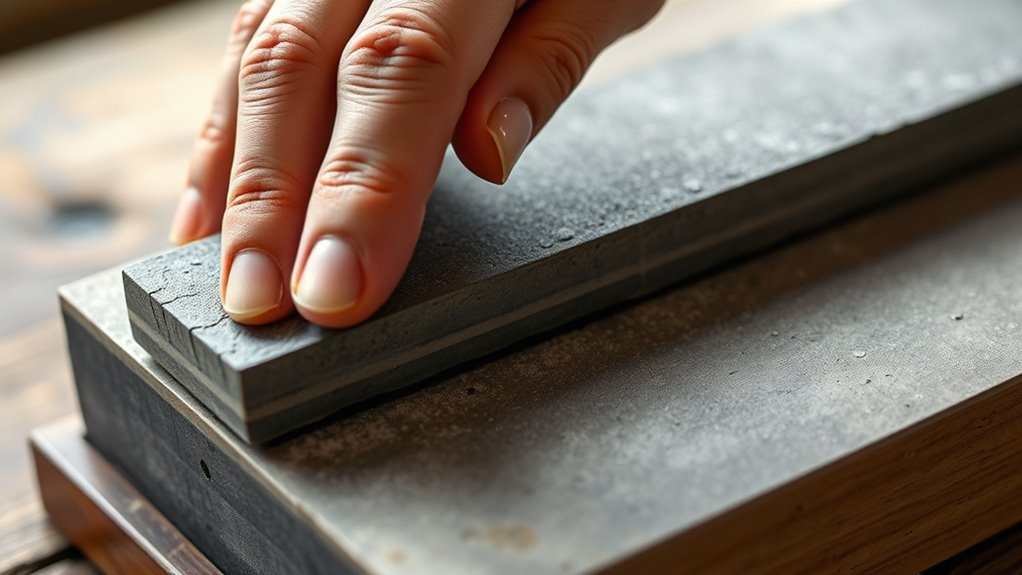
Preparing the Surface
Start by soaking both the whetstone and your truing or flattening stone in water for several minutes. This guarantees they’re properly lubricated, reducing friction and preventing surface damage. Once soaked, place the stones on a stable, flat surface to maintain consistent contact. Check for any loose debris or uneven spots on their surfaces—clean or flatten if needed. If using a flattening plate or sandpaper, secure it tightly to a flat surface like glass or a workbench. Wet the surface and the stone to minimize slurry buildup. Proper preparation creates an even, smooth contact area. This step is essential because it ensures that the flattening process proceeds efficiently and uniformly, laying the groundwork for a perfectly flat, uniform sharpening surface. Additionally, verifying that the luggage & bags are suitable for your travel needs can help you stay organized during the entire sharpening process.
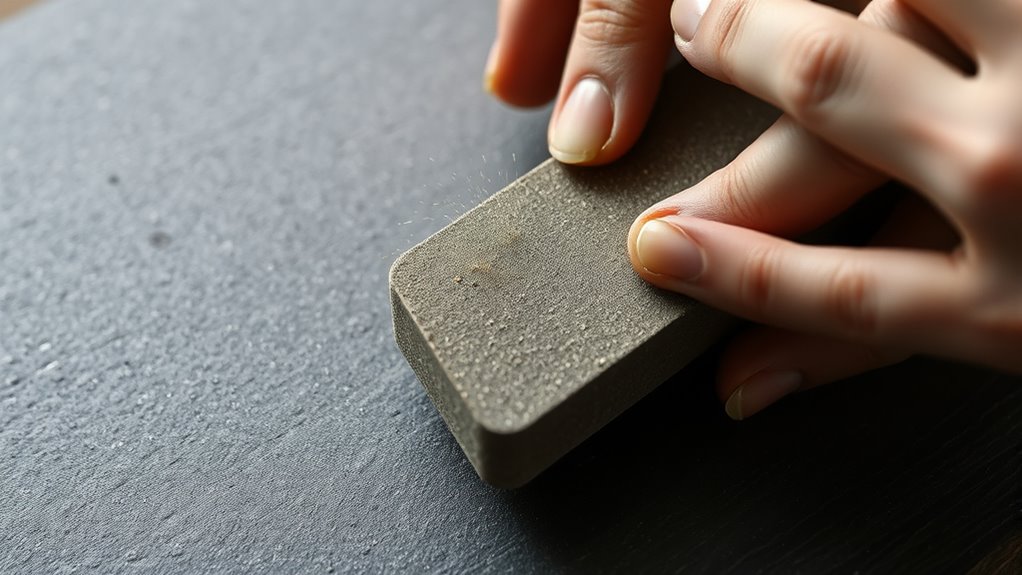
Achieving Full Flatness
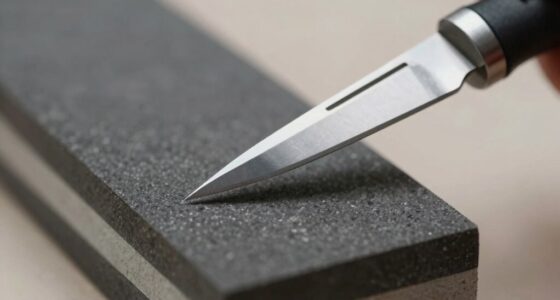
Once your stones are soaked and properly positioned, begin the flattening process by applying steady, high pressure as you rub the truing or flattening stone in circular motions over the whetstone’s surface. Focus on maintaining consistent pressure to guarantee even abrasion. Visualize the process with this grid:
| Initial State | During Flattening | Final Flatness |
|---|---|---|
| Dished center | Removing high spots | Smooth, even surface |
| Pencil marks | Erasing grid lines | Fully erased marks |
| Uneven edges | Uniform contact | Flat, aligned edges |
Keep the strokes flowing, covering all areas evenly. Check frequently, making sure the surface becomes uniformly flat. Once the pencil marks disappear and the grid is fully erased, your stone is ready for the next sharpening stage.
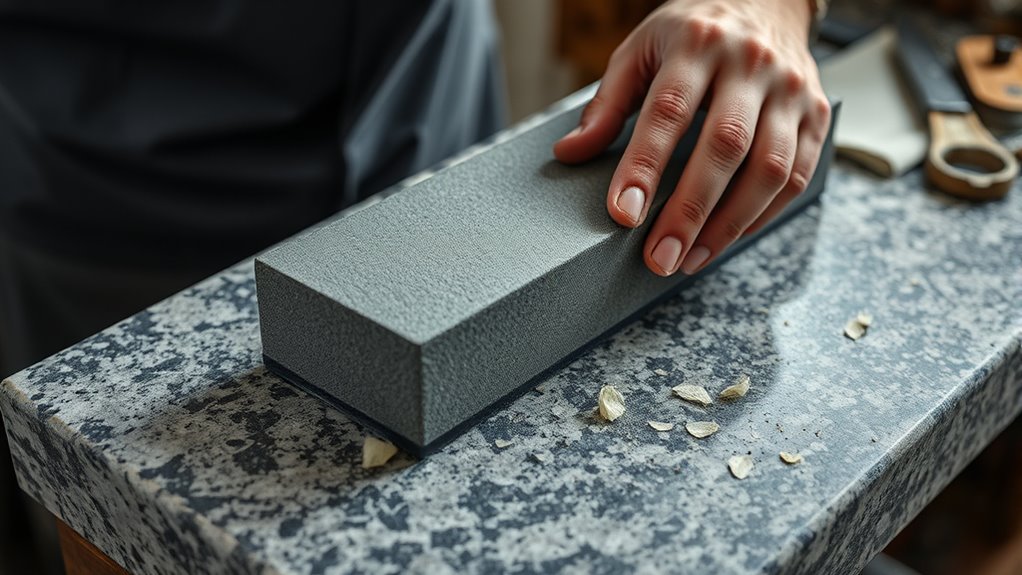
Alternative Method: Using Sandpaper on a Flat Surface
To effectively flatten your whetstone with sandpaper, you need a stable, flat surface like glass or a float plate. Properly preparing this surface guarantees accurate abrasion and a smooth finish. Using water as a lubricant during sanding keeps the process clean and prevents clogging, resulting in a more consistent flatness.
Preparing the Lapping Surface
Preparing the lapping surface with sandpaper on a flat substrate is an effective and accessible method for flattening whetstones. Start by securing coarse sandpaper (120-150 grit) onto a flat, sturdy surface like glass or a float plate using tape or adhesive. Wet the sandpaper thoroughly with water to reduce dust and ensure smooth abrasion. Place the whetstone on the prepared surface, then move it in random circular or back-and-forth motions. Use continuous water flow to wash away slurry and keep the surface clean. Check your progress regularly by inspecting the stone’s surface for evenness. Stop when the discoloration or markings from the pencil grid disappear completely. Slightly round the edges to prevent knife snags during sharpening. Incorporating proper technique in your process can further improve the consistency of your sharpening results and help maintain the flatness of your whetstone over time.
Effective Sandpaper Abrasion Techniques
Using sandpaper on a flat surface is an effective alternative for flattening your whetstones, especially when you lack specialized tools. You can achieve a flat surface by securing coarse sandpaper (120-150 grit) to glass or a flat board with tape. Water acts as a lubricant and helps wash away slurry. Rub the stone in circular or back-and-forth motions, applying consistent pressure. Stop once the discoloration or markings fade completely, indicating flatness. To prevent snags, slightly round the edges of the stone. Proper setup and placement are crucial for consistent results, and using a flat surface ensures even abrasion. Use the following table for quick reference:
| Step | Tip |
|---|---|
| Secure sandpaper | Use tape for stability |
| Lubricate surface | Water prevents clogging |
| Motion | Circular or linear for even abrasion |
| Check progress | Look for full removal of markings |
| Edge rounding | Slightly bevel to avoid snags |
Finishing Touches: Re-establishing a Sharp Edge and Edges

Achieving a razor-sharp edge doesn’t end with just flattening your stone; it requires careful finishing to re-establish a clean, precise bevel and smooth out the edges. After sharpening, examine your blade’s edge for any rough spots or burrs. Use light, controlled strokes on a fine stone or leather strop to refine the bevel and remove micro-burrs. Focus on the entire bevel, maintaining a consistent angle. Round over any sharp or uneven edges to prevent snagging. You might also run the blade lightly along a strop or leather strip to polish the edge further, ensuring it’s smooth and free of imperfections. Proper edge maintenance involves these finishing steps, which enhance cutting performance, prolong edge retention, and give your knife a professional, polished look. Incorporating smart tools like honing guides or electric sharpeners can also help achieve consistent angles and superior results, especially when combined with regular maintenance routines to keep your blades in top condition.
Maintaining Your Whetstone for Long-Term Performance
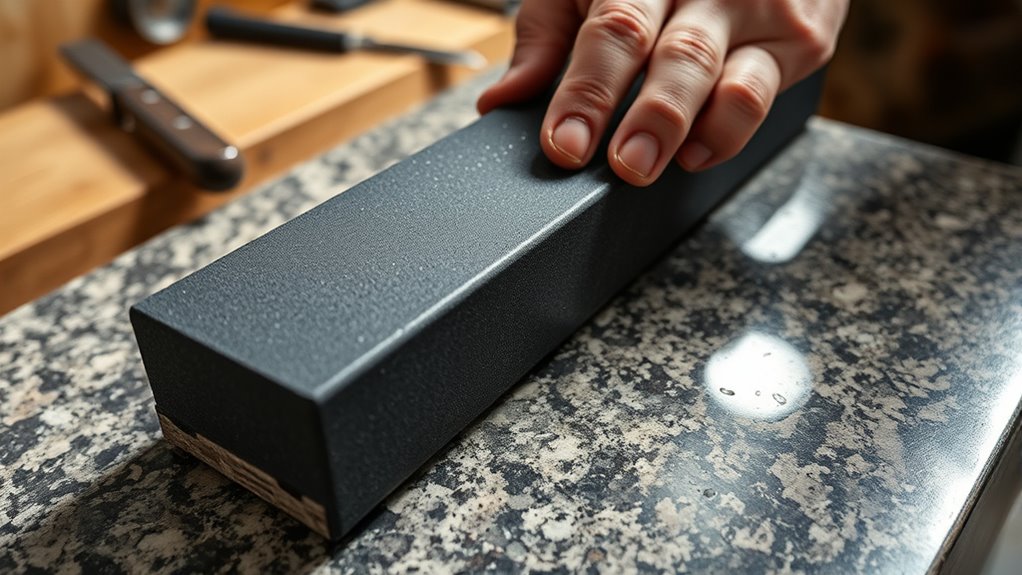
To keep your whetstone performing at its best over time, regular maintenance is essential. Start by checking its flatness every few sharpening sessions. Use a pencil grid and a straight edge to identify any dishing or uneven spots. When needed, flatten the stone using a truing stone, diamond lapping plate, or coarse wet/dry sandpaper on a flat surface. Always soak stones before flattening and apply consistent pressure for even results. After flattening, bevel the edges at 45 degrees to prevent chipping. Keep your stone clean and dry between uses, and avoid letting slurry or debris build up. Frequent, light maintenance ensures consistent sharpening, reduces correction time, and extends your whetstone’s lifespan, making it a reliable tool for precision edge work. Understanding the science behind sharpening can help you optimize your technique and prolong the life of your stone. Additionally, proper storage in a dry environment helps prevent unnecessary wear and damage.
Frequently Asked Questions
How Often Should I Check My Whetstone for Flatness?
You should check your whetstone for flatness every 2-3 sharpening sessions. This helps you catch any dishing early, especially on low and medium grit stones. Regular checks prevent uneven bevels and maintain consistent sharpening results. Use a pencil grid or light to spot unevenness. Frequent, quick inspections make it easier to keep your stone flat and avoid lengthy correction sessions later.
Can I Flatten a Wet Stone With Dry Tools?
You shouldn’t flatten a wet stone with dry tools because water lubrication is vital during the process. Using dry tools on a wet stone can cause uneven abrasion and damage the surface. Instead, use wet/dry sandpaper, a diamond lapping plate, or a truing stone with water to guarantee proper lubrication. This helps achieve a smooth, flat surface and prolongs your whetstone’s lifespan.
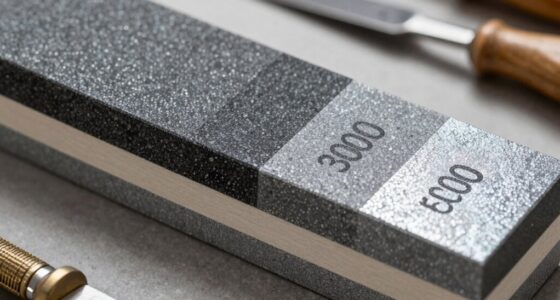
Is It Necessary to Flatten All Grit Levels Equally?
No, you don’t need to flatten all grit levels equally. Coarser stones, like 220-1000 grit, require more frequent flattening because they dish faster. Finer grits, such as 3000+, need less frequent attention, usually every 5-10 knives. Regularly check each stone’s flatness, especially after sharpening multiple knives, to maintain consistent results. Flattening only when necessary helps prolong your stones’ lifespan and guarantees peak performance.
What Signs Indicate My Whetstone Is Too Dished?
You’ll notice your whetstone is too dished when pencil marks fade first at the edges but stay visible in the center, showing uneven wear. Holding the stone to light reveals gaps or dips in the middle. You might also see a central depression or feel unevenness when running your fingers across the surface. These signs indicate the need to flatten your stone for consistent sharpening results.
Can I Use Household Items for Flattening My Whetstone?
Yes, you can turn household items into a whetstone’s best friend. Cinder blocks or fire bricks act like rough-hewn artisans, providing a sturdy surface for lapping. Wet/dry sandpaper on a flat glass or countertop becomes your mini workshop, gently leveling the stone. Just remember to keep everything lubricated with water—dry methods can cause damage. With patience, these everyday items transform into effective tools for maintaining your sharp edge.
Conclusion
So, next time your whetstone feels uneven, don’t ignore it—think of it as your knife’s personal trainer. Flattening might seem like a hassle, but it’s the secret to sharper, longer-lasting edges. Ironically, neglecting this step could make your knives duller faster, forcing you to sharpen more often. Embrace the grind; sometimes, the boring chores are what keep your tools—and your skills—cutting smoothly for years to come.