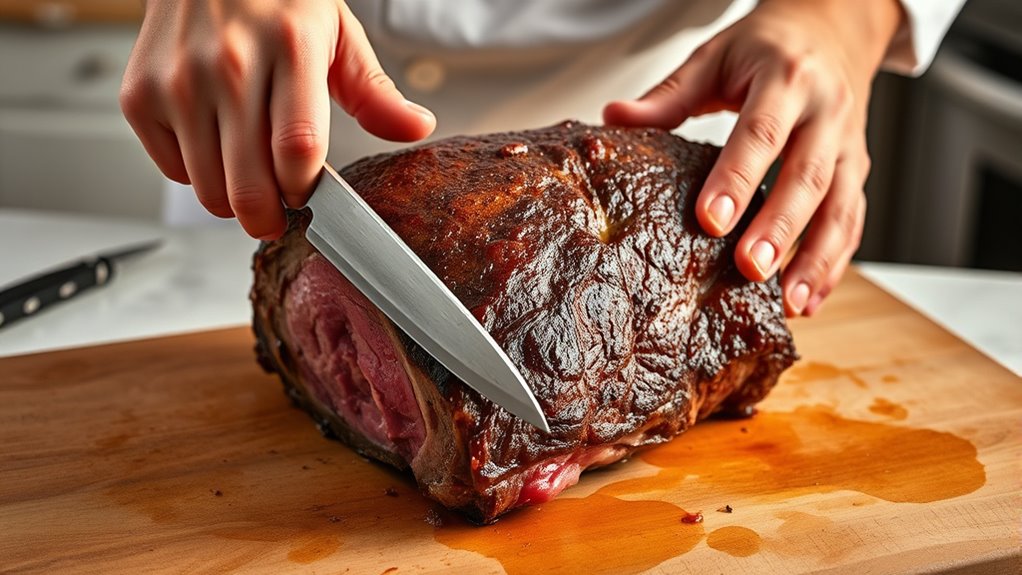
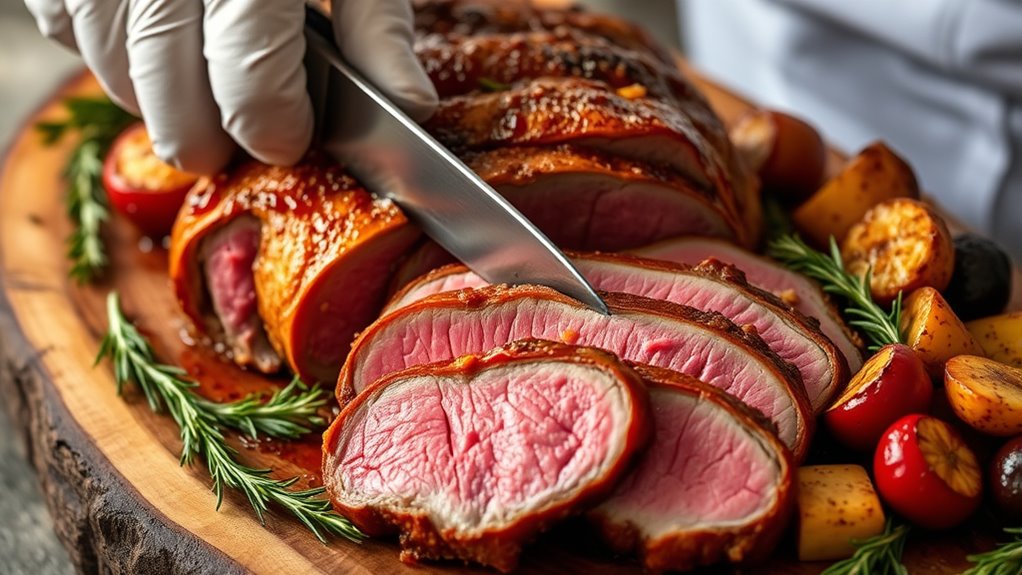
To carve a roast like a pro, start by letting it rest for 15-20 minutes to lock in juices, then secure it firmly on a sturdy cutting board. Use a sharp knife and cut against the grain in long, smooth strokes to guarantee clean, tender slices. Position the meat properly and handle bone-in and boneless cuts differently. For more expert tips on achieving perfect results, keep exploring these simple yet effective techniques.
Key Takeaways
- Rest the roast for 10-20 minutes to allow juices to settle before carving.
- Use a sharp, high-quality knife and steady the meat with a carving fork.
- Slice against the grain with long, smooth strokes to ensure tender, even cuts.
- Identify meat fibers and cut perpendicular to the grain for uniform slices.
- Serve immediately and arrange slices neatly for an attractive presentation.
Preparing Your Roast for Carving
To guarantee your roast is ready for carving, start by letting it rest for 15-20 minutes after cooking. This allows the juices to redistribute, ensuring moist, flavorful slices. After resting, remove any thermometer, butcher’s twine, or strings from the roast to make slicing smoother. Position the roast breast side up or with ribs uppermost on a sturdy cutting board for stability. Trim excess fat or cut the backside flat to prevent wobbling. If possible, choose USDA Prime-grade meat for superior marbling and tenderness. These steps help prepare your roast for precise, even cuts. Taking the time to rest and tidy the roast ensures better control and more elegant presentation during carving. Proper tool setup makes all the difference in achieving restaurant-quality slices. Using innovative techniques can also enhance the consistency and presentation of your carved meat, especially when integrated with smart kitchen appliances that assist in precise slicing and presentation. Additionally, employing proper knife skills ensures cleaner, safer cuts that preserve the meat’s appearance.
Selecting the Right Tools for a Precise Cut

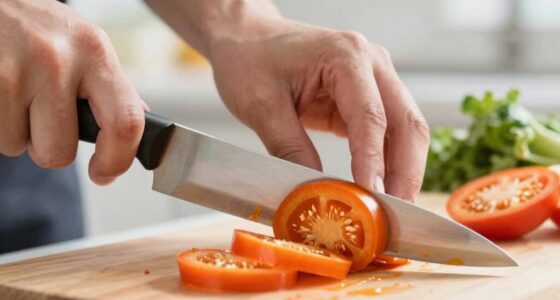
Using sharp tools is essential for clean, accurate cuts that preserve the meat’s texture. Proper handling techniques guarantee you maintain control and safety while carving. When your knives are properly sharp and used correctly, you’ll achieve a professional-looking presentation with minimal effort. Additionally, understanding knife skills can dramatically improve your carving precision. Developing good knife techniques not only enhances safety but also ensures consistent slices. Remember to select the appropriate body jewelry measurements to prevent discomfort during handling and carving. Incorporating free floating tools can also help you adapt to different carving styles and reduce strain during extended sessions.
Sharpness Ensures Precision
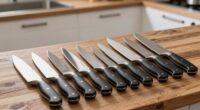
A sharp carving knife is essential for achieving clean, precise slices without shredding the meat. Dull blades require more force, which can tear fibers and compromise presentation. To guarantee peak performance, select a high-quality, well-maintained knife with a fine edge. Keep your blade sharp with regular honing and professional sharpening when needed. A sharp knife allows for smooth, controlled cuts, reducing the risk of slipping. When choosing your tools, consider:
- Using a honing steel regularly to maintain edge sharpness
- Investing in professional sharpening services periodically
- Handling knives with care to preserve their edge
- Remember that proper maintenance of your tools extends their lifespan and ensures consistent performance
Keeping your knife sharp not only improves precision but also enhances safety, making every slice effortless and professional-looking.
Proper Handling Techniques
Choosing the right tools is essential for achieving clean, precise slices when carving a roast. Use a sharp carving or boning knife to make smooth, controlled cuts without shredding the meat. A long, thin blade allows you to saw through the roast with minimal effort, producing even slices. To keep the meat steady, employ a carving fork, tongs, or wrap the roast in a kitchen towel—never hold it with your fingers. Dull knives increase the risk of slipping and uneven cuts, so always keep your tools sharp. Electric knives can help, but require gentle guidance to avoid tearing. Proper handling guarantees safety and results in attractive, uniform slices, elevating your presentation and preserving the roast’s juiciness. Additionally, maintaining your knives with proper knife maintenance ensures they stay sharp and safe for precise carving.
Positioning Your Roast for Optimal Access
To carve your roast efficiently, start by choosing the proper orientation so you have clear access to the joints and muscles. Secure the meat firmly on the cutting surface to prevent slipping, and then remove any excess fat to avoid interference with clean cuts. These steps make slicing safer and more precise, ensuring a better presentation. Paying attention to visual and auditory cues can further improve your technique and confidence during carving. Recognizing the importance of meat preparation can lead to more consistent and professional-looking slices.
Choose Proper Orientation
Positioning your roast correctly is essential for easy and efficient carving. The right orientation grants better access to key joints and ensures clean, even slices. For example, if you’re carving a bone-in rib roast, position it with the ribs facing up to expose the meat and bones clearly. For a turkey, lay the breast side up to access the breast and thigh joints easily. When working on a sirloin or round, orient the roast with the fat side up for better control and stability. Consider these pointers:
- Position bone-in roasts with ribs or bones facing upward or outward.
- Lay boneless cuts with the smooth, flat side down for stability.
- Adjust the roast so the primary joints are accessible for smooth slicing.
- Using the proper cutting technique can further improve your slicing precision and presentation.
- Proper orientation also helps maintain the integrity of the meat fibers, resulting in cleaner slices and less shredding.
- Ensuring correct meat alignment during positioning can reduce the effort needed and improve the overall appearance of your slices.
Proper orientation minimizes effort, prevents shredding, and results in more attractive, uniform slices.
Secure the Roast Firmly
Securing the roast firmly is essential to guarantee safe and precise carving. A steady grip prevents slipping, ensuring clean, even slices. Use a sturdy carving fork or tongs to hold the meat securely, especially when working near bones or edges. Position the roast so it doesn’t wobble or shift as you cut. For extra stability, place a damp towel or non-slip mat underneath the cutting board. Proper positioning minimizes accidents and helps you maintain control throughout. Here’s a quick reference:
| Tip | Why It Matters | |
|---|---|---|
| Use a carving fork | Holds the roast steady | |
| Place on a non-slip mat | Prevents sliding | |
| Position on a flat surface | Ensures stability | Additionally, understanding the importance of proper evidence collection can enhance safety during preparation and handling. |
Remove Excess Fat
Once the roast is firmly secured on the cutting board, examine its surface for excess fat that may hinder your carving. Removing this fat guarantees cleaner cuts and makes serving easier. Use a sharp knife to carefully trim away thick, uneven patches of fat, especially around the edges. This step also helps prevent greasy slices that can affect presentation and flavor. To streamline the process, consider these tips:
- Focus on thick fat deposits near the surface for easier removal.
- Avoid removing too much fat, as some adds flavor and moisture during serving.
- Work in smooth, controlled motions to prevent tearing the meat.
- Being aware of market volatility can help you plan your cooking schedule around busy or unpredictable times. Additionally, understanding meat quality factors can guide you in choosing the best cuts for roasting and carving. Recognizing the horsepower of electric dirt bikes can also be useful if you’re considering outdoor equipment for your next adventure. Knowing how trimming techniques impact the final presentation can further improve your carving skills. Properly assessing the meat’s marbling helps in determining the best trimming approach for optimal flavor and appearance.
Mastering Proper Carving Techniques
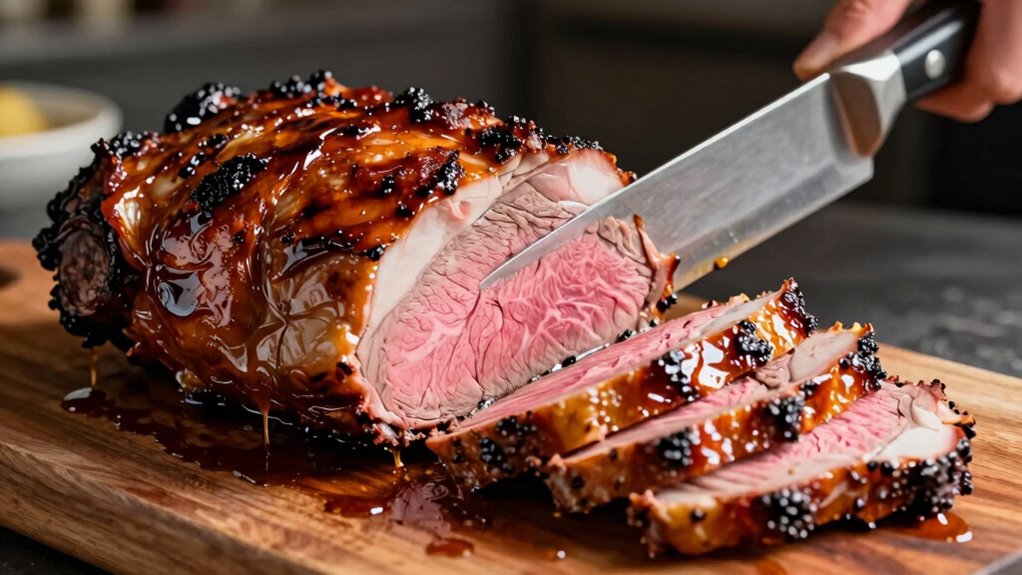
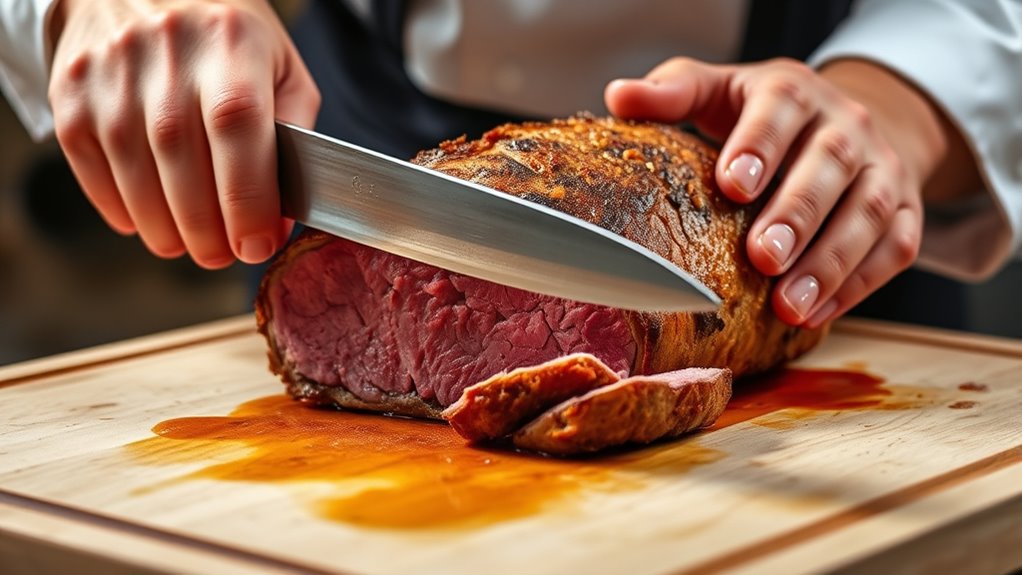
Mastering proper carving techniques begins with choosing the right tools and understanding how to make clean, controlled cuts. Use a sharp carving or boning knife to guarantee smooth slices without shredding the meat. Steady the roast with a carving fork, tongs, or a kitchen towel to prevent slipping. Position yourself comfortably, with your hands dry and firm. Make long, even strokes, avoiding sawing motions that can tear the meat. Always cut against the grain to maximize tenderness. Keep the knife at a consistent angle and use controlled pressure. If working with bone-in cuts, carefully navigate around the bones for clean separation. Practice patience and precision with each slice to achieve evenly cut portions that look professional and retain maximum flavor and moisture.
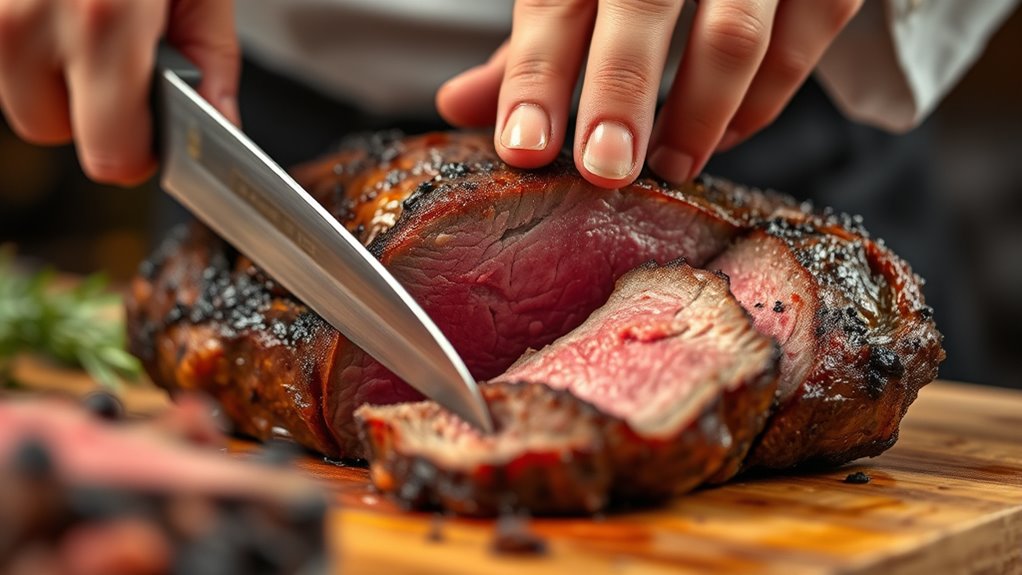
Identifying and Cutting Against the Grain
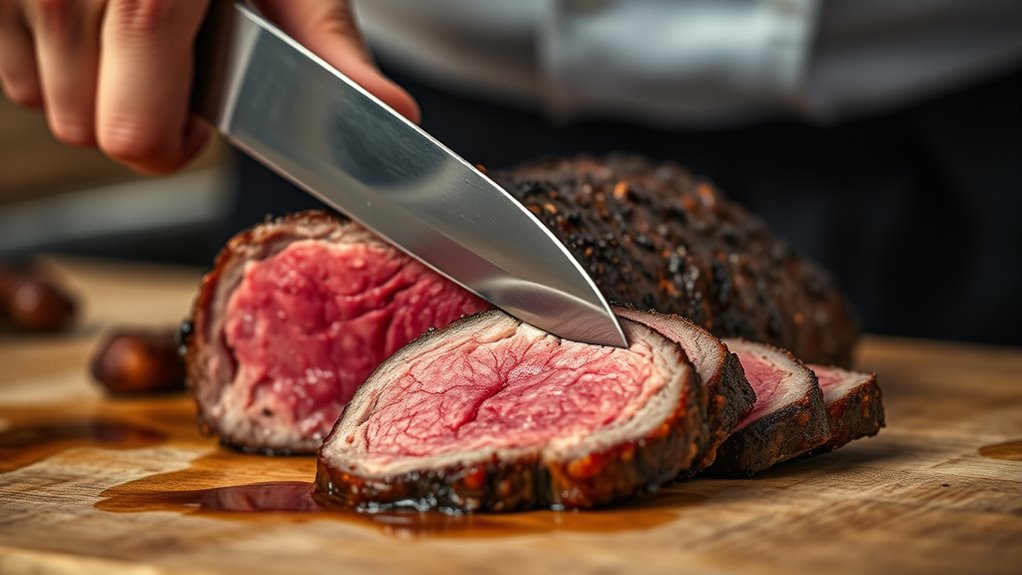
To get tender, juicy slices, you need to recognize the meat fibers running through your roast. Cutting against the grain at the right angle shortens those fibers and makes each bite easier to chew. Keep your knife perpendicular to the grain, and you’ll serve more flavorful, melt-in-your-mouth pieces.
Recognize Meat Fibers
Recognizing meat fibers is essential for achieving tender, juicy slices. To do this, look closely at the meat’s surface; fibers run in a specific direction, resembling wood grain. Usually, fibers appear as lines or streaks within the muscle, indicating the direction of the muscle fibers. When you identify these, you can plan your cut to go against the grain for maximum tenderness. Keep these tips in mind: visual cues can help you better identify the fiber direction and improve your slicing technique.
Correct Cutting Angles
Understanding the correct cutting angles is essential for slicing roast properly. To do this, first identify the direction of the meat fibers, which run like wood grain. Once you see the fibers, position your knife perpendicular to them—that’s cutting against the grain. This angle shortens the meat fibers, making each bite more tender and easier to chew. Keep your knife steady and use long, smooth strokes to avoid shredding the meat. If you’re working on a cross rib roast, follow the string lines to guide your cuts. Remember, slicing against the grain is key to achieving tender, juicy slices. Proper meat fiber orientation helps ensure your slices are both uniform and tender. Paying attention to the grain direction also prevents tearing the meat and preserves its juiciness. Mastering the cutting technique is crucial for consistent results and enhances the overall presentation of your roast. Additionally, practicing proper meat slicing methods can significantly improve your results and make carving easier. Being mindful of creative storytelling for branding in your presentation can elevate how your dish is perceived.
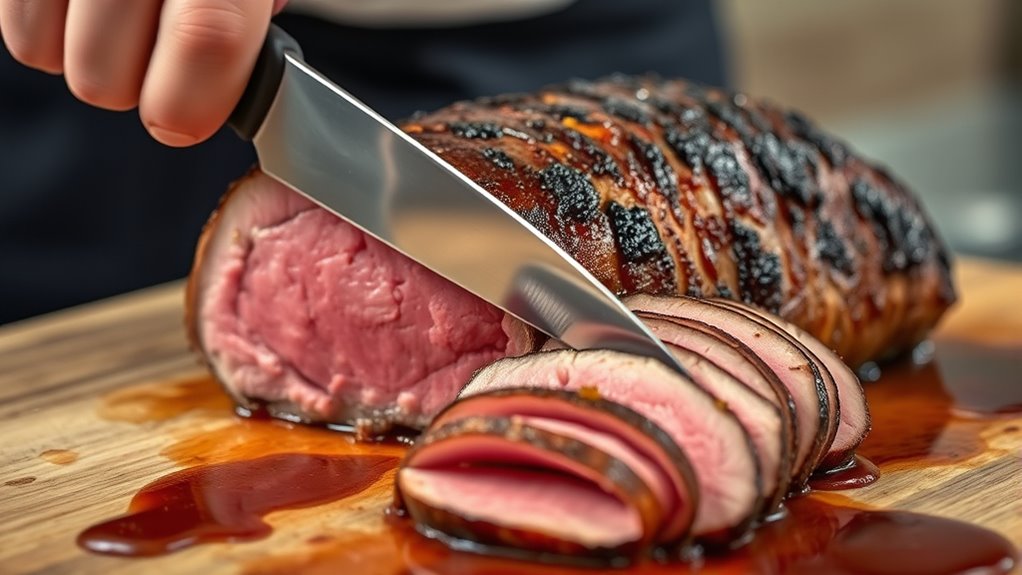
Slice for Tenderness
When slicing roast for tenderness, the most important step is to identify the direction of the meat fibers, which run like wood grain through the meat. Once you see the grain, you’ll want to cut perpendicular to it. This shortens the muscle fibers, making each bite more tender and easier to chew. To achieve this, look for lines running in a consistent direction and plan your slices accordingly. Use a sharp knife to make clean, precise cuts. Keep in mind: smart contracts can help automate and improve the accuracy of your slicing process. Always cut against the grain for maximum tenderness. Use a steady, gentle sawing motion to avoid shredding. Aim for slices about ¼ inch thick to retain moisture and flavor. Following these steps ensures your slices are juicy, tender, and perfectly cut for serving.
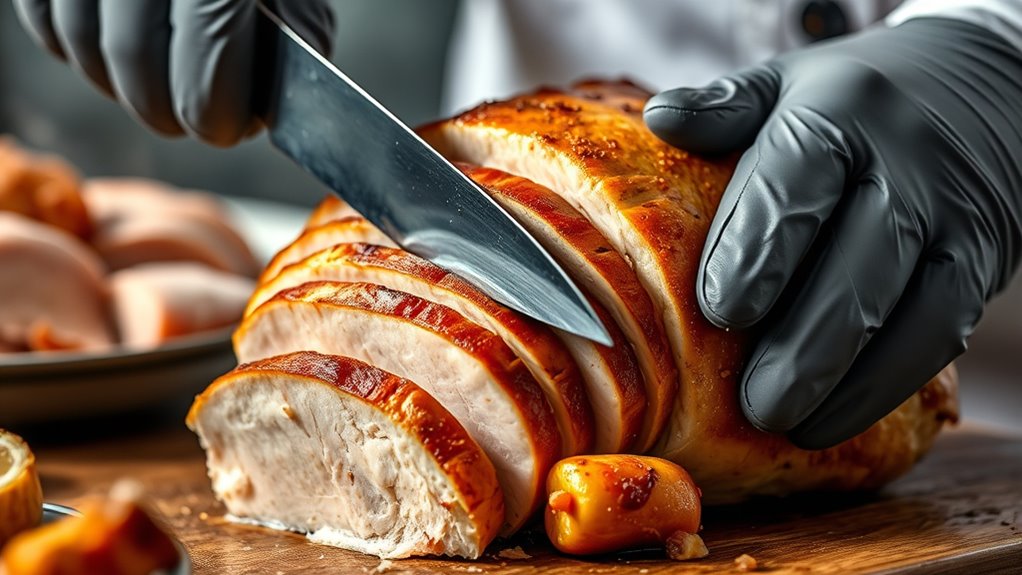
Slicing Different Types of Roasts
Different types of roasts require specific slicing techniques to maximize tenderness and flavor. For a rib roast, cut along the bones or between ribs to achieve even, flavorful slices. When carving a sirloin or top round, hold the roast steady and slice against the grain for maximum tenderness. A chuck roast is best shredded or sliced thin across the grain to break down connective tissue, making it easier to chew. For a tenderloin, use long, smooth strokes to create delicate, uniform slices. If you’re working with a brisket, slice against the grain in thin, even cuts to ensure tenderness. Remember to always identify the direction of the muscle fibers before slicing, adjusting your technique accordingly for each cut. Proper technique guarantees each slice is juicy, tender, and flavorful.
Handling Bone-In vs. Boneless Cuts

Handling bone-in versus boneless cuts requires adjusting your carving approach to guarantee clean, even slices and to maximize presentation. With bone-in cuts, you’ll want to steady the roast carefully, using a carving fork, and cut close to the bone to maximize yield. For boneless cuts, ensure stability by trimming excess fat and placing the meat flat on the board.
Consider these key differences:
- Bone-in cuts often require longer, sweeping strokes to follow the curve of the bone and extract maximum meat.
- Boneless cuts benefit from precise, straight slices, maintaining even thickness.
- Handling tips include always using a sharp knife and steadying the meat properly to prevent tearing or shredding.
Adjust your technique accordingly to achieve professional-looking, evenly sliced meat every time.
Serving and Presenting Your Carved Meat
Proper serving and presentation elevate your carved meat from a simple dish to a memorable centerpiece. Arrange the slices neatly on a warmed platter, ensuring even thickness to highlight your skill. For bone-in cuts, serve the ribs or bones separately for added flavor and visual appeal. Use tongs or a carving fork to place slices carefully, avoiding tearing or shredding. Consider garnishing with fresh herbs, citrus slices, or colorful vegetables to enhance the visual impact. Carved meat should be arranged in a way that invites guests to serve themselves easily, with accessible portions. A clean, attractive presentation not only showcases your work but also makes the meal more inviting and appetizing. Focus on balance, symmetry, and color to truly impress your guests.
Tips for Preserving Juiciness and Flavor
To keep your roast juicy and flavorful, start by letting it rest for 15-20 minutes after cooking. This allows juices to redistribute, preventing them from escaping when sliced. To further preserve moisture and flavor:
- Slice against the grain to maximize tenderness and prevent dryness.
- Keep slices thin, about ¼ inch, to maintain juiciness and ensure even flavor distribution.
- Serve immediately or cover loosely with foil to retain heat without trapping steam, which can make the meat soggy.
Additionally, avoid piercing the meat with a fork while carving, as this releases juices. Use a sharp knife for clean cuts, reducing damage to the meat’s internal structure. These steps help guarantee every bite stays moist, tender, and bursting with flavor.
Cleaning and Maintaining Your Carving Tools

Regularly cleaning and maintaining your carving tools guarantees they stay sharp, safe, and effective. After each use, wash knives with warm, soapy water, then dry thoroughly to prevent rust. Sharpen blades regularly with a honing steel or sharpening stone to preserve their edge. Store tools in a dry, secure place, ideally in a knife block or on a magnetic strip. Avoid dishwasher cleaning, which can dull blades and damage handles. Use the table below for quick tips:
| Step | Action | Frequency |
|---|---|---|
| Cleaning | Wash with warm, soapy water | After every use |
| Drying | Wipe dry immediately | After washing |
| Sharpening | Hone or sharpen blades | Weekly or as needed |
| Storage | Keep in a safe, dry spot | Always |
| Inspection | Check for damage or rust | Monthly |
Proper care keeps your tools precise and ready for perfect slices.
Frequently Asked Questions
How Can I Tell When My Roast Is Perfectly Rested?
You’ll know your roast is perfectly rested when the juices have settled and the temperature drops about 5°F from the final reading. Use a meat thermometer to check if it’s stable, and gently poke the meat to see if it feels firm yet springy. Resting for 15-20 minutes allows juices to redistribute, ensuring moist, tender slices. Don’t cut into it too early, or you’ll lose those flavorful juices.
What’s the Best Way to Prevent Meat Shredding During Carving?
To prevent shredding, think of your meat like a delicate fabric that needs careful handling. Use a sharp carving knife and steady your roast with tongs or a towel. Make smooth, long strokes instead of sawing. I once watched a chef slice a tender roast like a hot knife through butter—no shredding. Cutting against the grain and at a slight angle also helps keep slices intact and juicy.
How Do I Adjust Carving Techniques for Different Roast Sizes?
To adjust carving techniques for different roast sizes, start by choosing the right tool—use a longer, sharper knife for larger roasts and a smaller one for smaller cuts. Secure the roast firmly on a sturdy surface, and cut in smooth, even strokes. For bigger roasts, work slowly to maintain control, and for smaller ones, be precise to avoid shredding. Always carve across the grain for tenderness, regardless of size.
Can I Carve a Roast Without a Sharp Knife?
You can carve a roast without a sharp knife, but it’s not ideal. A dull blade requires more force, increasing the risk of shredding the meat and uneven slices. To get the best results, try to sharpen your knife before carving or use a honing steel to maintain its edge. If you must carve with a dull knife, go slowly and use steady, gentle strokes to minimize damage and achieve cleaner cuts.
What’s the Ideal Thickness for Meat Slices to Maximize Flavor?
You should aim for slices about ¼ inch thick to maximize flavor and tenderness. Thinner slices enhance tenderness and allow the juices to flow, making each bite more flavorful. Thicker slices can be more satisfying but may retain more connective tissue, which can be less tender. Use a sharp knife and steady your hand for even cuts, ensuring each slice retains its juiciness and flavor, elevating your dining experience.
Conclusion
With the right tools, technique, and a steady hand, you can turn carving into an art form. Remember, each slice reveals the care you put into your roast—like a story told through perfectly even cuts. So, embrace the process, stay patient, and let your confidence grow with every carve. After all, mastering the art of carving isn’t just about the meat; it’s about turning a simple meal into a memorable masterpiece.