
To carve poultry confidently, start by preparing a clean, sturdy workspace with sharp knives and all tools within reach. Begin by removing the legs and thighs at the joints, then detach the wings carefully at their natural joints. Next, use smooth cuts to carve the breast meat, working against the grain for tenderness. Arrange and garnish the meat attractively on a platter. If you keep practicing, you’ll master each step and serve beautiful, perfectly carved poultry with ease.
Key Takeaways
- Prepare a clutter-free, stable workspace with sharp knives and tools for safe, precise carving.
- Remove legs, thighs, and wings by locating joints and cutting carefully for neat separation.
- Carve the breast meat along the bone, using proper techniques to keep slices intact and tender.
- Use smooth, controlled motions to detach parts and create clean, attractive cuts.
- Arrange and garnish the carved poultry thoughtfully for an appealing presentation and optimal serving.
carving poultry knives set
As an affiliate, we earn on qualifying purchases.
As an affiliate, we earn on qualifying purchases.
Preparing Your Workspace and Tools
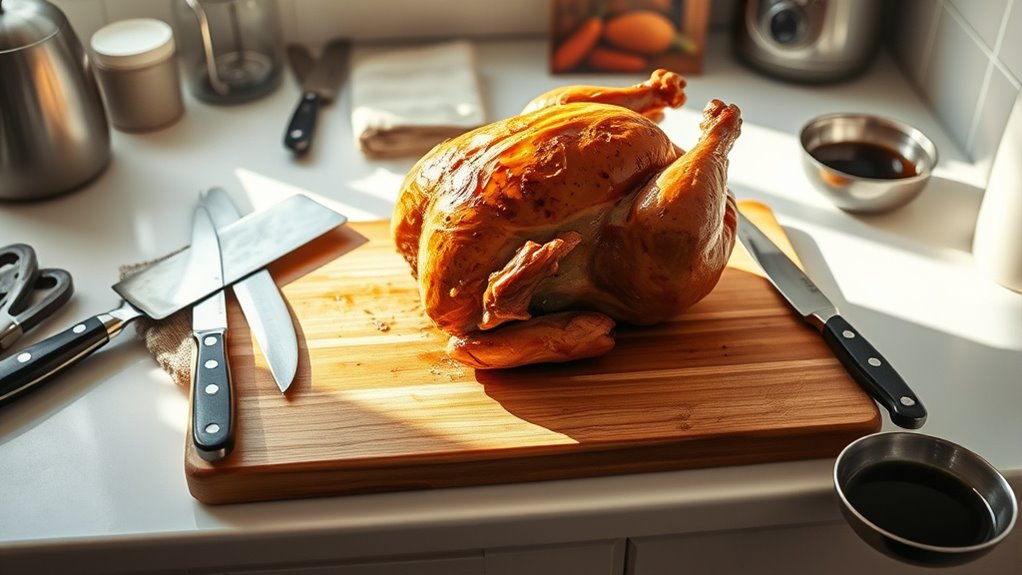
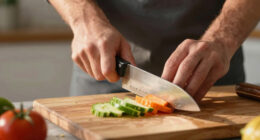
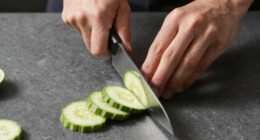
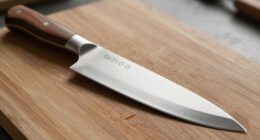
Before you start carving, it’s essential to prepare your workspace and gather the right tools. Clear your countertop to create a sturdy, clutter-free surface. Place a large cutting board, ideally non-slip, to keep the bird stable. Gather sharp knives like a chef’s knife, boning knife, or carving set—these ensure clean cuts and safety. Keep a meat fork handy to steady the poultry. Remove any obstructions like the thermometer or butcher’s twine from the roasted bird beforehand. If the chicken is frozen, pat it dry with paper towels after thawing to prevent slips. Having everything within reach helps you work efficiently and safely. Proper workspace setup minimizes mess and makes the carving process smoother, so you can confidently serve beautifully carved poultry. Additionally, understanding the best tools for carving can further improve your technique and safety. Being familiar with safe carving techniques also helps prevent accidents and ensures a clean presentation. To enhance your confidence, it’s helpful to learn about poultry anatomy, so you know exactly where to make your cuts. Practicing proper knife handling can also significantly reduce the risk of injury and improve precision.
non-slip cutting board for poultry carving
As an affiliate, we earn on qualifying purchases.
As an affiliate, we earn on qualifying purchases.
Removing and Separating the Legs and Thighs
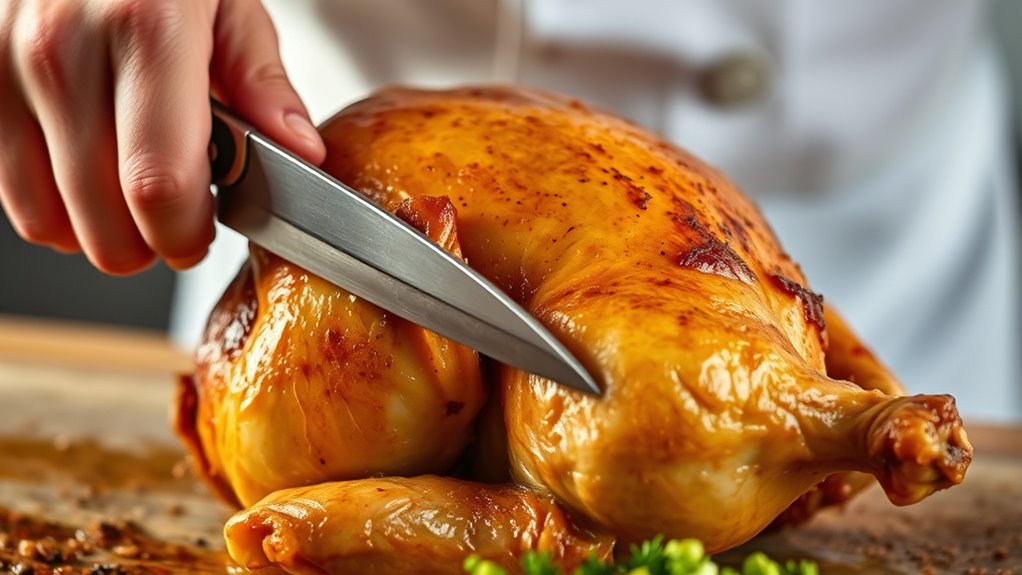
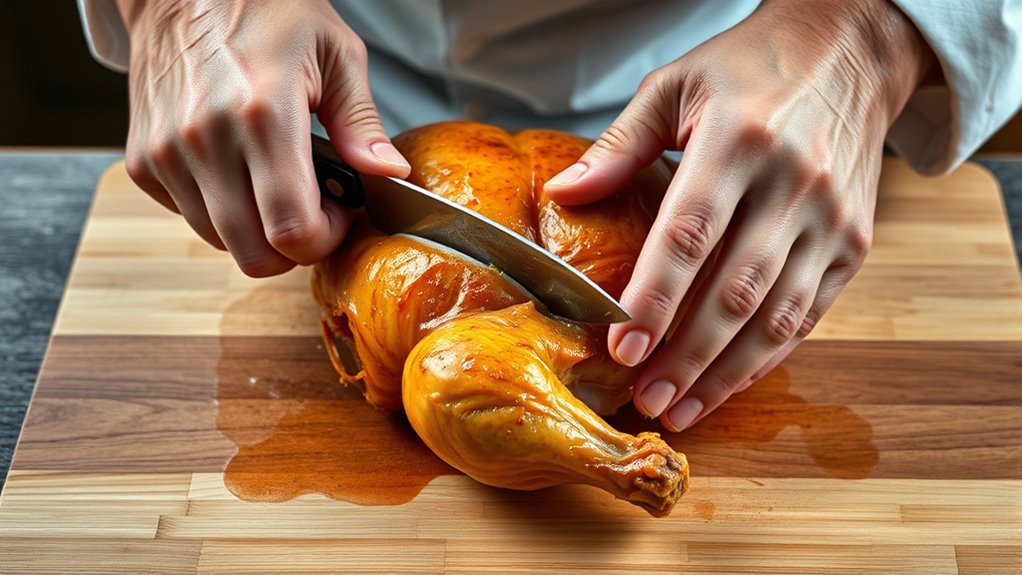
Start by locating the joint where the leg connects to the body. Use your knife to slice through the skin between the leg and the breast, exposing the joint. Gently pull the leg outward, bending it slightly to help pop the joint free. Cut through the joint with a sharp knife or meat shears. Once separated, use your hands or knife to peel the drumstick from the thigh at the joint. Repeat this process for the other leg. If the joint is hard to find, bend the leg backward to loosen it. Keep your knife steady and confident, working slowly to avoid tearing the meat. Removing the legs and thighs now makes the rest of the carving process easier and cleaner.
boning knife for meat
As an affiliate, we earn on qualifying purchases.
As an affiliate, we earn on qualifying purchases.
Detaching the Wings and Managing the Carving Process
To detach the wings cleanly, locate the joint where each wing connects to the breast. Use your knife or boning tool to cut through this joint, applying steady pressure. Gently pull the wing away from the body to expose the joint fully. If you encounter resistance, carefully work your knife around the joint to loosen it. Remove the wing tip by cutting at the joint or trimming with kitchen shears if needed. For the drumette and flat, find the natural separation point at the joint, then cut through to detach each part. Managing the wings carefully helps keep the meat intact and makes serving easier. Remember to keep your motions smooth and controlled for a clean, professional-looking result. Proper technique ensures a more efficient and safer carving process. Additionally, practicing safe carving methods can help prevent accidents and improve your confidence in the kitchen.

OXO Good Grips Stainless Steel Carving Fork, One size
Sturdy stainless steel carving fork spears, holds and serves roasts
As an affiliate, we earn on qualifying purchases.
As an affiliate, we earn on qualifying purchases.
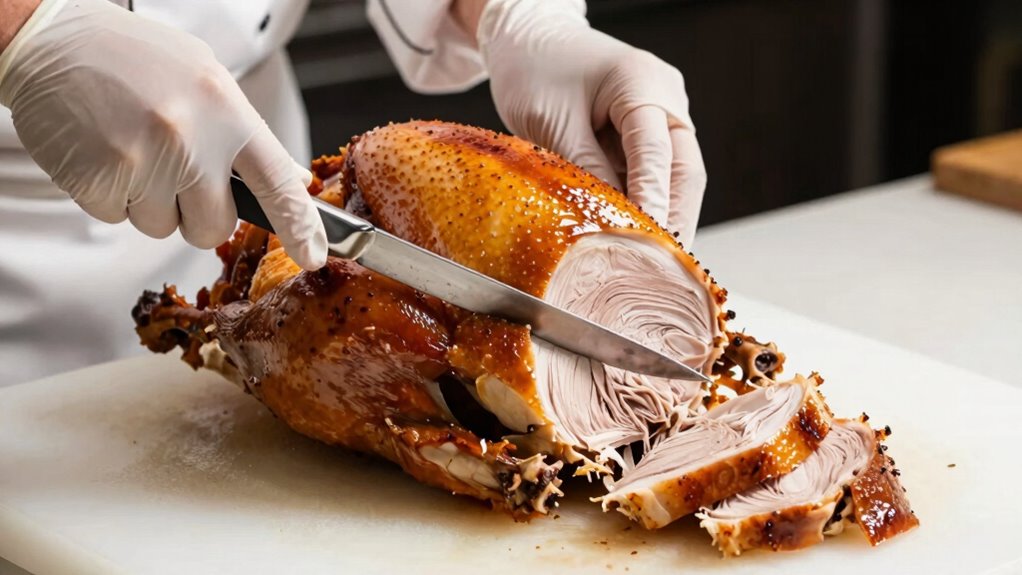
Skillfully Carving the Breast Meat
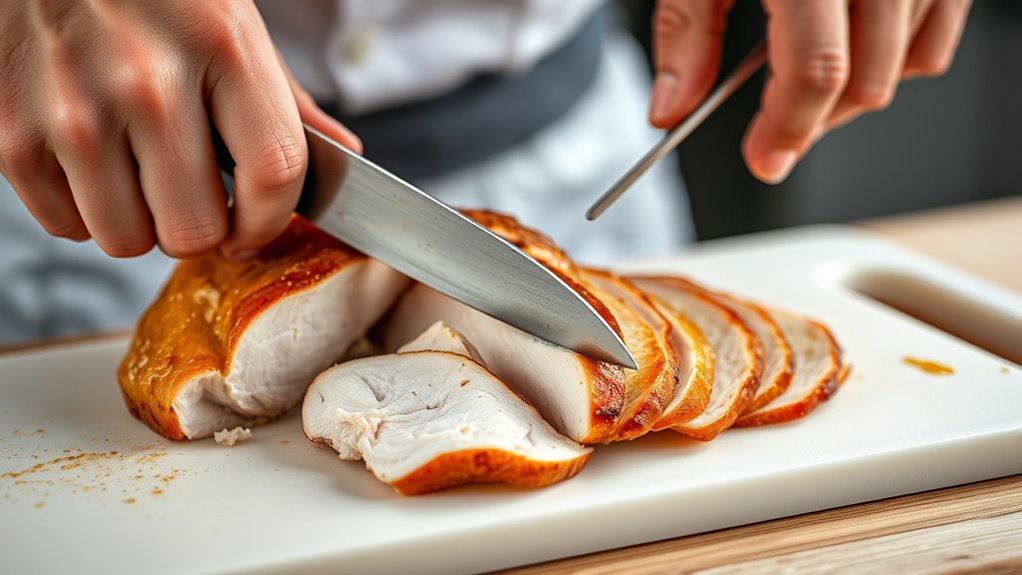
After removing the wings, focus on carving the breast meat. Place your rested poultry on a sturdy cutting board, with the breast side up. Locate the breastbone running down the center of the bird. Using a sharp knife, make a long, shallow cut along one side of the breastbone, staying close to the bone. Repeat on the other side to free the breast fillet. Gently peel or carve the meat away from the ribs, working carefully to keep the slices intact. Once separated, slice the breast crosswise into ½-inch thick pieces, keeping the skin on if desired. Cut against the grain for tender, even slices. Work slowly and confidently, ensuring clean cuts that highlight the breast meat’s natural shape. Employing proper cutting techniques helps achieve precise and attractive slices. Mastering precise cuts is essential for presenting beautiful poultry dishes. Developing a steady hand and understanding meat anatomy can further enhance your carving skills. Additionally, paying attention to visual and auditory cues can improve your precision and confidence during carving. Recognizing the sound of a clean cut can serve as a helpful feedback mechanism during the process.
Final Presentation and Serving Tips
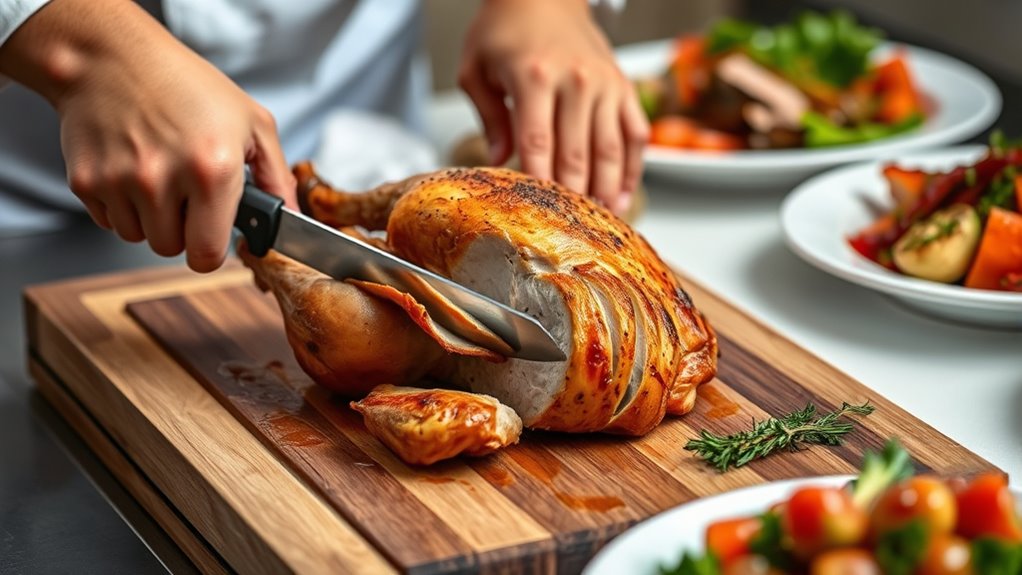
Once you’ve carved the poultry, arranging the meat attractively on a serving platter enhances its visual appeal and makes for a more inviting presentation. Place the sliced breasts neatly, fanning them out or stacking them for a clean look. Arrange the thighs, drumsticks, and wings around the breasts, balancing colors and shapes. Garnish with fresh herbs like rosemary, thyme, or parsley to add vibrant color and aroma. You can serve whole thighs or slice them for easier eating. For a polished look, drizzle a light sauce or juices over the meat. Keep the platter warm until serving, and consider adding complementary sides. Proper presentation elevates the meal, making it more appetizing and enjoyable for everyone at the table. Paying attention to food presentation techniques can further enhance the visual appeal and overall dining experience. Incorporating sustainable serving practices can also contribute to an environmentally friendly and responsible dining experience. Additionally, utilizing food safety guidelines ensures the presentation remains hygienic and safe for all guests. To further enhance the dining experience, consider temperature control to keep the meat at an optimal serving temperature. Employing thoughtful plate arrangement strategies can help create a more sophisticated and appetizing display.
Frequently Asked Questions
How Do I Prevent Tearing the Meat During Carving?
To prevent tearing meat during carving, use a sharp knife and work slowly, letting the blade do the cutting. Steady the chicken with a meat fork to keep it secure, and make gentle, confident slices close to the bone or along natural grain lines. Avoid pressing down too hard, and cut against the grain for tender slices. Practice makes perfect, so take your time to improve your technique.
What’s the Best Way to Carve a Very Hot Chicken Safely?
You might think carving hot chicken is risky, but resting it for 10-20 minutes makes it safer and easier. This allows juices to redistribute, preventing burns and slips. Use a sturdy, sharp knife and a meat fork to steady the bird. Work slowly and carefully, avoiding force. Wearing oven mitts or using tongs for stability can also keep your hands safe during the process.
How Can I Tell When My Knife Is Sharp Enough?
You can tell your knife is sharp enough if it cuts through food effortlessly with minimal pressure. Try slicing through a piece of paper or a tomato; if it glides smoothly without tearing, your knife is sharp. You should also feel a clean, precise cut with each stroke. If you notice tearing or resistance, it’s time to sharpen or hone your knife for safer, more efficient cutting.
What’s the Proper Way to Store Leftover Carved Poultry?
To store leftover carved poultry properly, first let it cool to room temperature. Then, transfer it to an airtight container or wrap it tightly with plastic wrap or foil. Label the package with the date to keep track of freshness. Store it in the refrigerator for up to four days or in the freezer for up to three months. Proper storage helps maintain flavor and prevents spoilage.
How Do I Carve a Stuffed or Spatchcocked Chicken?
You can carve a stuffed or spatchcocked chicken effectively by first letting it rest for 10-20 minutes to let juices redistribute. Then, remove the stuffing if present, and use a sharp knife to carefully cut along the breastbone or spatchcocked backbone. Slice against the grain for tender, even pieces. For stuffed chicken, gently lift the meat away from the cavity, ensuring not to crush the stuffing.
Conclusion
Now that you’ve mastered the art of carving poultry with confidence, you’re ready to impress with precision, to serve with elegance, and to present with pride. With each step, you’ve gained skill, gained clarity, and gained control. So, carve with care, serve with style, and enjoy the satisfaction of a perfectly presented meal. Confidence in your technique turns a simple task into a culinary achievement, making every meal memorable.